
Add ” Inner Shadow “.

Add ” Gradient Overlay “.

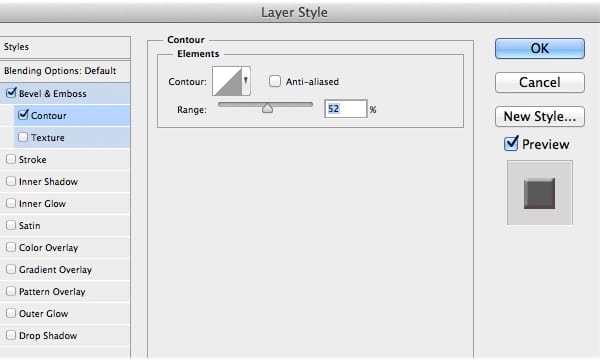
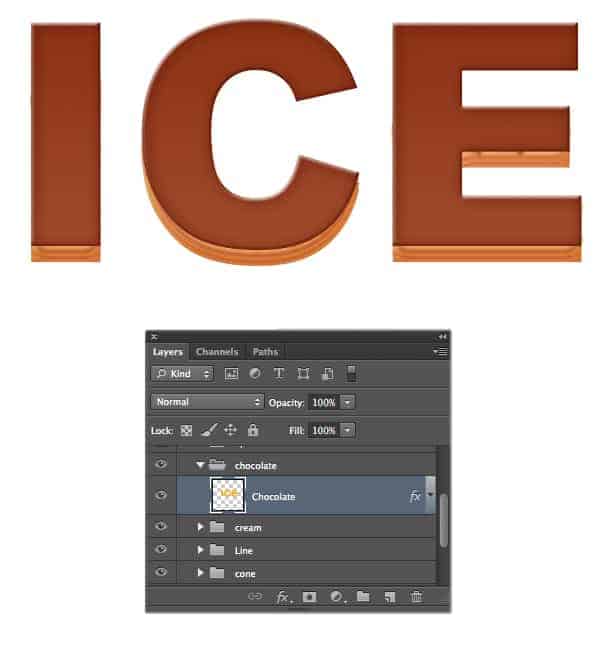
Here is my outcome.
Step 26
Next, we add layer mask on chocolate layer and use hard brush and erase some parts to get the proper imperfections for ice cream. I used large hard brush to erase most of the chocolate parts, and small hard brush to create the chocolate drops.

Step 27
For additional toppings, we will create sprinkles over the chocolate. We use small hard brush to create some circle like this image.

Step 28
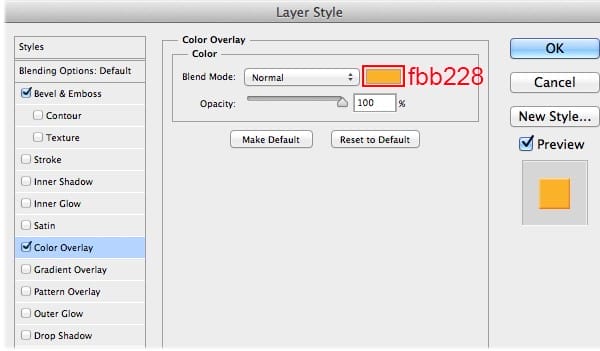
Double-click on this white sprinkles layer and use the settings below.


And you should get result like this.

Step 29
Create a new layer and add more small brush. Repeat the previous step for blue sprinkles.


Step 30
Repeat the previous step for pink sprinkles.


And you should get result like this.

Step 31
Here is my outcome for yellow sprinkles.


Step 32
Repeat the previous step for green sprinkles.


Here is my outcome.

Step 33
And we’re done with the sprinkles. In this step, we will create shadow for ICE text shape. Use the soft brush with color #77a6a9, then draw a shadow like this image below, then lower Opacity = 40%.

Step 34
Click on the appropriate icon to ” Create new fill or adjustment layer ” found at the bottom of the layers panel, and select ” Curves “. Use these settings to adjust the tone.

Then we use soft brush to erase some parts like this image below.

Step 35
Click on the appropriate icon to ” Create new fill or adjustment layer ” found at the bottom of the layers panel, and select ” Brightness/Contrast “.

Then we use soft brush to erase some parts like this image below.

Final Results

Download the PSD
Tutorial by Kim Chen

Thank you for following my tutorial. I hope you’ve enjoyed this tutorial and can apply these techniques in your future projects.
– Kim Chen
11 responses to “Create an Ice Cream Text Effect in Photoshop”
-

Merci
-
poopy but awesome!
-
woaaaaaaaaah
-
wow
-
I have just tried this great thanks for sharing.
-
It’s really nice
-
quite interesting :)
-
this is really good <3
-
how i can download this tutorial with pdf
-
ctrl + p = print
then save as pdf
-
-
Wonderful
Leave a Reply