
Step 31
Now, place the Nebula 2 on the main document. Change the blend mode to soft light. Here are the results.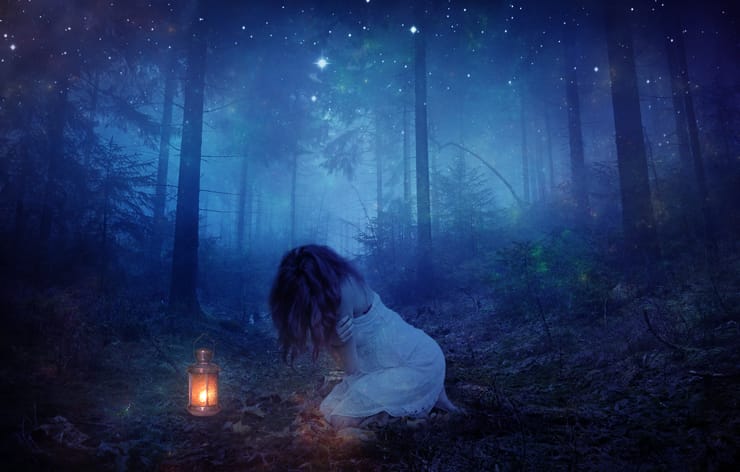
Step 32
As you can see that placing the Nebula 2 image our top right and left corner become darker. This is because our first nebula layer is below the forest layer. To get rid of this select the nebula layer which is below the forest layer and then using soft round basic brush hide the nebula layer part as shown in the image below.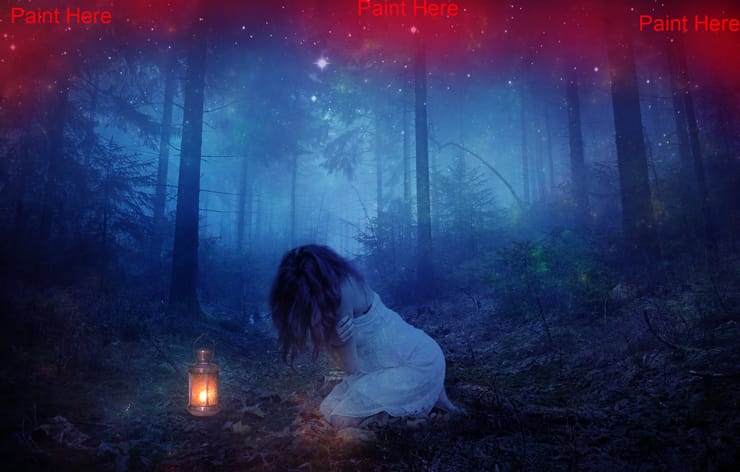

Step 33
Back to the Nebula 2 layer, add a layer mask to it. Using soft round basic brush hide the selected part because we don’t want the Nebula 2 to affect especially to lamp and it’s reflected lights.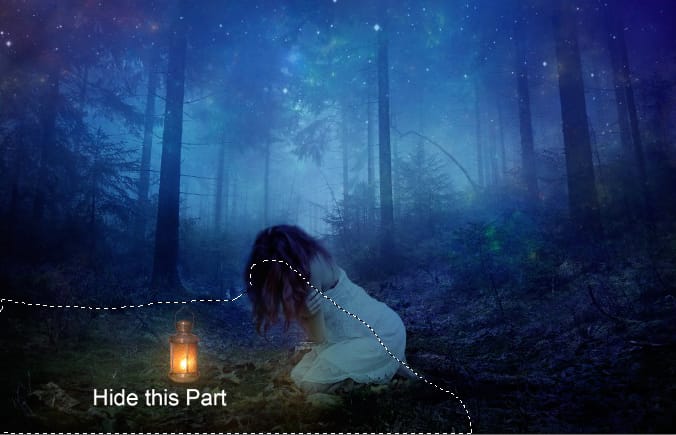
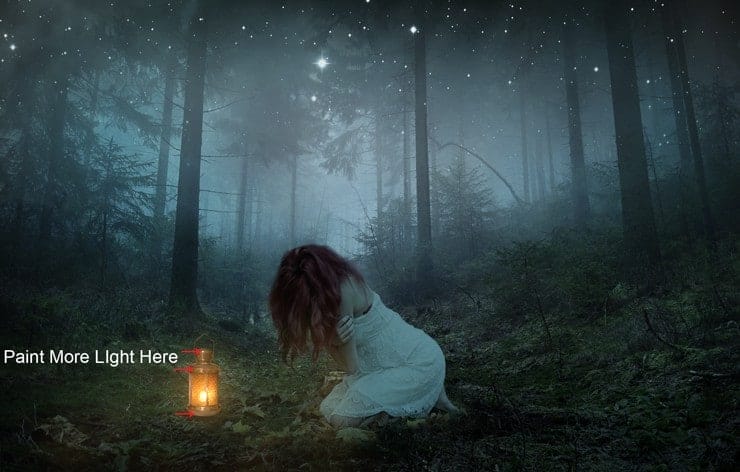
Step 34
Now, place again Nebula 2 with soft light mode and this time reduce the opacity to 85%. Add a layer mask to and hide all parts except this part (see the image below).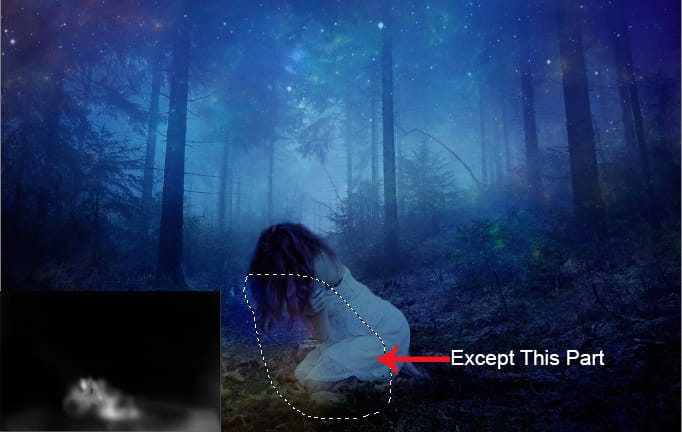
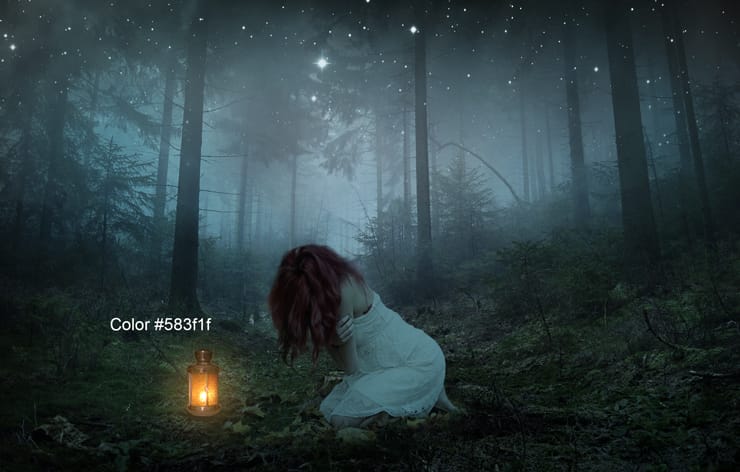
Step 35
Now create a new layer and using a soft round basic brush with color #463213 and with opacity to 30% as well as flow. Paint some light one more time. If you are satisfied with results then you can continue if not you can also paint on duplicated nebula 2 texture to get more results than satisfied your needs.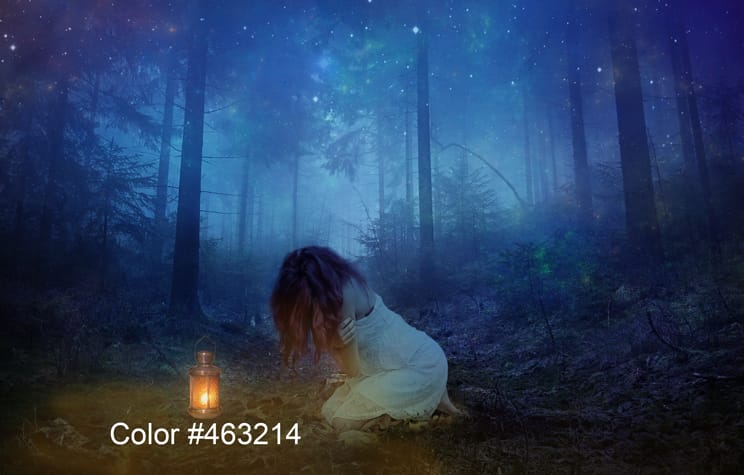
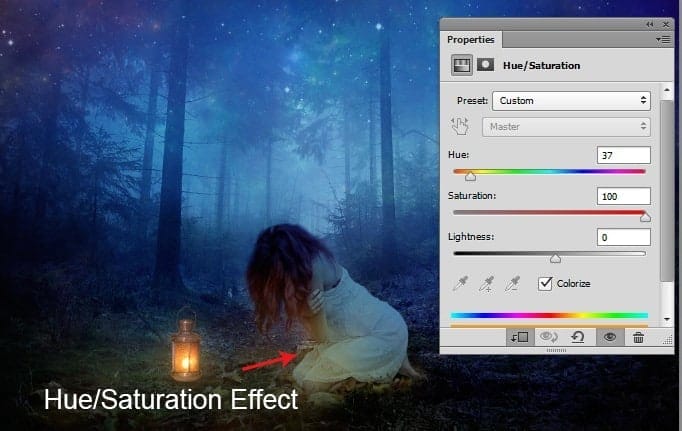
Step 36
Change the blend mode to Color Dodge. Here are the results.
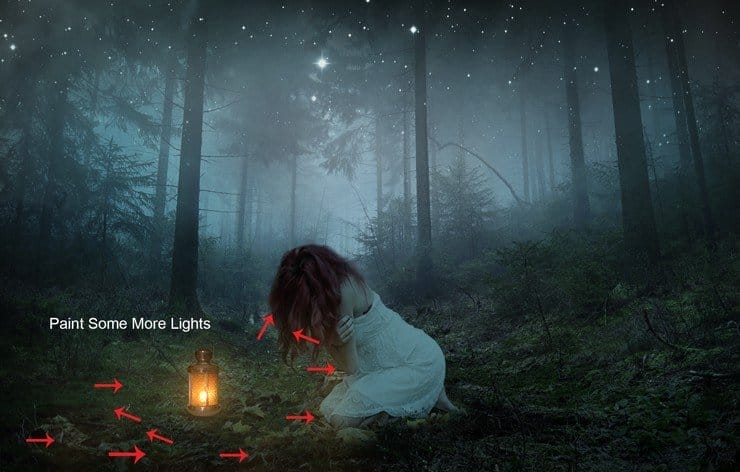
Step 37
Again create a new layer and paint some more lights as shown in the image below with the same setting in the previous step.14 responses to “Create a Magical and Emotional Forest Scene of a Lost Girl in Photoshop”
-

Can’t find the hair PSD?
-
How to hidden effect at step 7 ,thank’s iam use photoshops cs 6
-
layer mask my friend. You can see the adjustment on the bottom right
-
-
красивый урок!!!!!!!!!!!!!! спасибо.
-
Sorry about that. All of the images should be fixed.
-
there are images missing
-
I tried to watch it but it can’t_ i just dnt knw y_ any1 have some tutorials_ plz send 2me plz via ma whatspp:0721066349
-
Some images are not loading, please work at them.
-
thanks for the great tutorials :)
-
Rafael Soares ó uma pegada que te falei que ia fazer
-
Awesome tutorial
-
me encanto gracias
-
amizing
-
Hey Denny
Some of the step images not loading
Leave a Reply