


Step 27
Create a new layer.Go to Layer > New > Layer. Name it Lines and press OK. Now press the B key on your keyboard to activate the brush tool. Pick any Brush that has hardness 100% and set the size 3px. Set the foreground color to white (ffffff).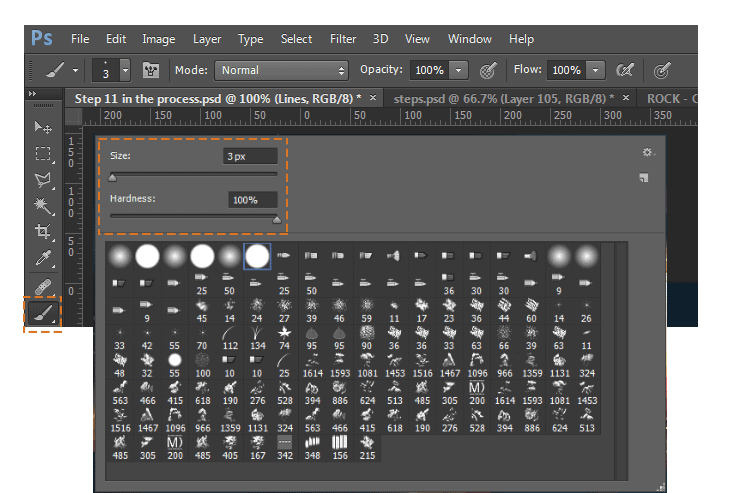

Step 28
Now make sure you have the Lines layer selected. Duplicate the layer and name it Lines Vertical.Set the blending mode to Overlay for both layers.
Step 29
Select the Lines layer. Go to Filter > Blur > Motion Blur. Set the Angle to 0 and Distance to 25 pixels. Then press Ok.Select the Lines Vertical layer. Go to Filter > Blur > Motion Blur. Set the Angle to 90 and Distance to 50 pixels.This is the result you get after completing Step 29. With that we end the tutorial.
Final Results

Download the PSD
Rock Text.zipTutorial by Ilcho Bogdanovski

10 responses to “Create a Space Flate Text Effect in Photoshop”
-

the images are broken all time when I open this page
-
Fixed! Thanks
-
-
How to download background image ?
-
Thank you for the great tutorial. I made the front of my bdaycard :D
http://prntscr.com/88h4fb-
Not bad,not bad at all.
-
-
verry good tutorial! Well done!
-
It’s nice!
-
how to create this text???
-
Simply follow the tutorial. If you are stuck at some of the steps just let me know which one is it and ill try to help you
-
You are so lame, read the instructions instead of commenting first.
-
Leave a Reply