
Step 22
Create a Gradient Map adjustment layer on the top:
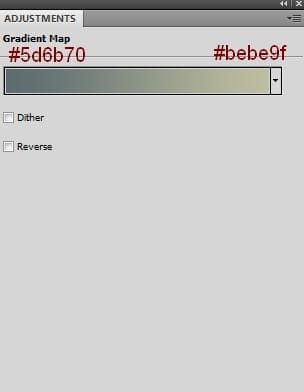
Change this layer mode to Soft Light 90%:

Step 23
I used Photo Filter to add some warm tone to the image:
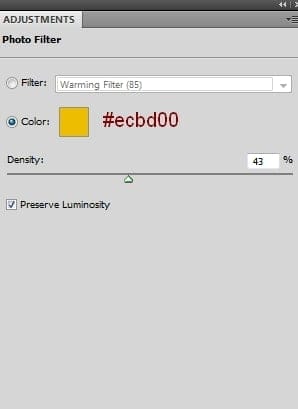

Step 24
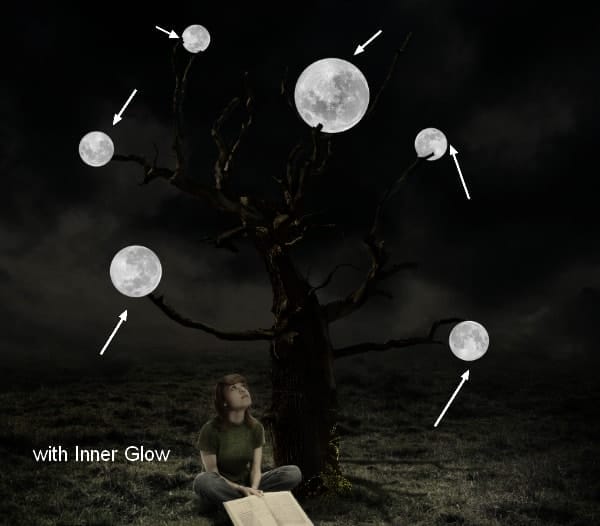
Place the moon at the top of the branches and cut it out from the background using a layer mask. Duplicate it several times and position them over the other branches:

Double click the moon layers, choose Inner Glow with white color:

Step 25
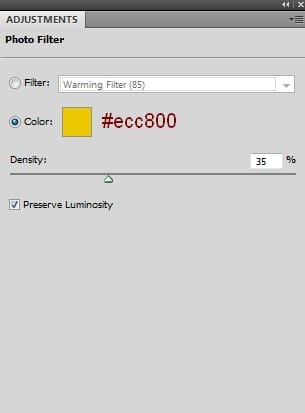
Make a group for the moon layers. Use Photo Filter to add some warm color to them:

Step 26
I used Curves to brighten the moons:

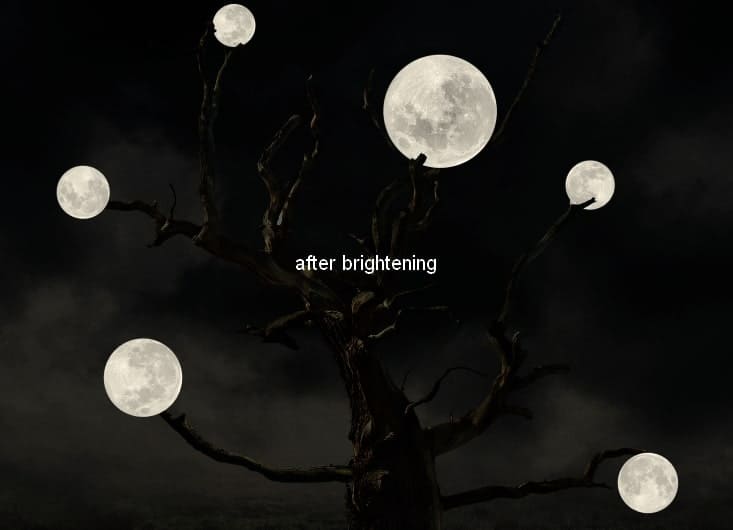
Step 27
It’s time to add some light effect. Make a new layer on the top. Use a soft brush with the color #c0beaf to paint over the moons and the branch parts which are holding them. Change this layer mode to Hard Light 100%:


Step 28
On a new layer, use the same brush to paint the light on the model and on the ground. Change this layer mode to Overlay 100%:
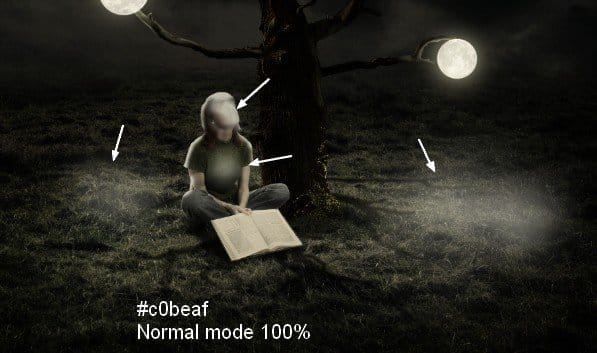

Step 29
I used the same brush on another layer to paint on the edges of the tree. Alter this layer mode to Soft Light 100%:


Final Results
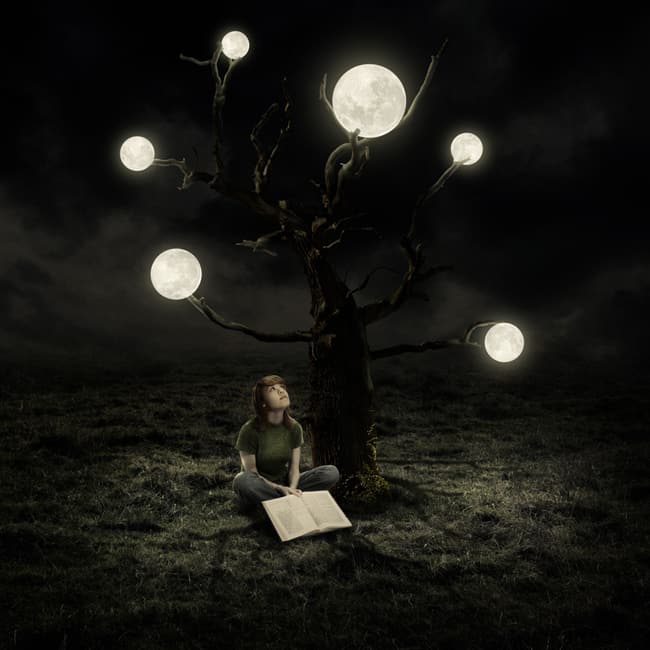
Download the PSD
Tutorial by Jenny Le
17 responses to “Create a Surreal Artwork of a Tree with Moons in Photoshop”
-
What does it mean by “Curves (Clipping Mask)” in step 7
-
realy nice explained! thanks a lot =)
-
Always love your tutorials Jenny
-
Thank you for a lovely charming lesson. It’s my pic http://j-p-g.net/if/2015/11/28/0852252001448714236.jpg
-
Thank you! Amazing tutorial.
-
Great tutorial.
-
i have seen better, but it could be worse. dunkey aka dunc. west side is my hood
-
realy good its alright
-
very nice …good explanation
-
Thank you so much
-
tutorial is good but shadow is missing on book
-
i dont understand not enough detailsssssss
-
Good tutor.
-
Perfect tutorial *-*
-
how
-
-
Thank you, I liked! My creation:
http://cartes-mireilled.eklablog.com/photomontage-surrealiste-d-un-arbre-avec-des-lunes-a117631138 -
Very good tutorials

Leave a Reply