
Step 67
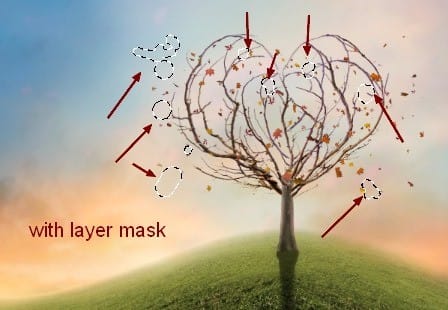
Open leaves stock pack. Choose the leaves you like and put them between the heart:


I used layer mask to remove some big leaves:
Step 68
Add more leaves to inside, around the heart and to the sky, hill to create a scattering effect, try to achieve a random look:

Step 69
To create some depth to this effect, I added more leaves to the sky part, around the branches heart. I applied Gaussian Blur with 3 px and 1.5 px for them. In the screenshots, you can see some leaves are blurrier (Blur 3 px) and some others less (1.5 px).


I used 59 layers for the leaves in sky. Group all of them and name it “sky”.
Step 70
I used 11 layers to add falling leaves on the hill:

Group them and call it “hill”.
Step 71
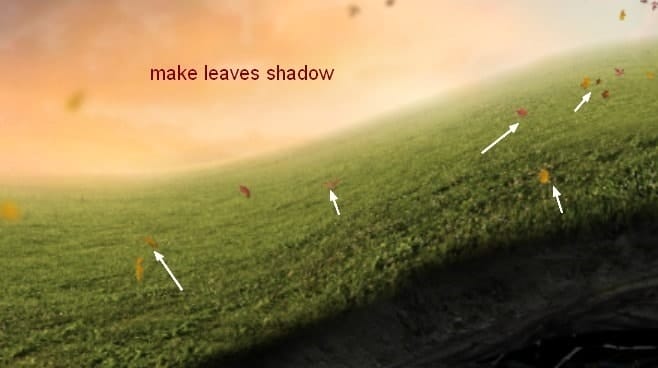
Make a layer inside the “hill” group, and place it at the bottom. Use black brush with very small size (2-3 px) to paint under the leaves lying on the hill to make shadow for them:
Step 72
Take another leaves and arrange them around model, cave, underground. I applied Gaussian Blur with 3 px for some bigger leaves to create depth to the scene.

Step 73
To the leaf on model feet, I made shadow for it with Drop Shadow effect. Double click this leaf layer, choose Blending Options:


Step 74
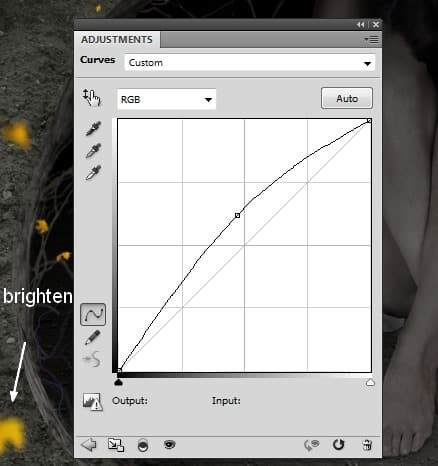
I used Curves with Clipping Mask to darken and brighten some separate leaves (darken the one inside and brighten the ones outside the cave).


Step 75
Group all the leaves layers around the cave, name it “cave”. Create a Curves layer to darken all of these leaves:
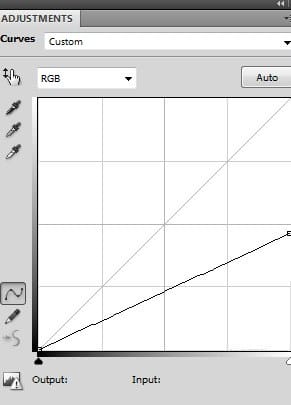
On this Curves layer mask use brush to change lightness of them. I meant to keep the ones inside the cave darker and the ones outside brighter:


Step 76
I added a Curves layer with same purpose:


Step 77
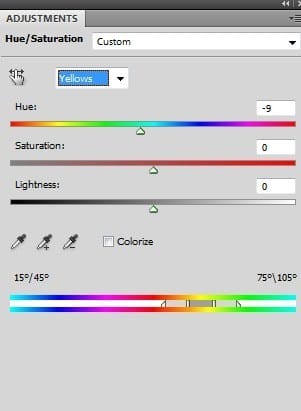
Group all groups “sky”, “hill”, “cave” and change the mode to Normal 100%. Make a Hue/Saturation layer to change color of all the leaves in these groups:

Step 78
Add another Curves to darken more some leaves at the lower positions:

Apply masking job with leaves around the hill, sky:


Step 79
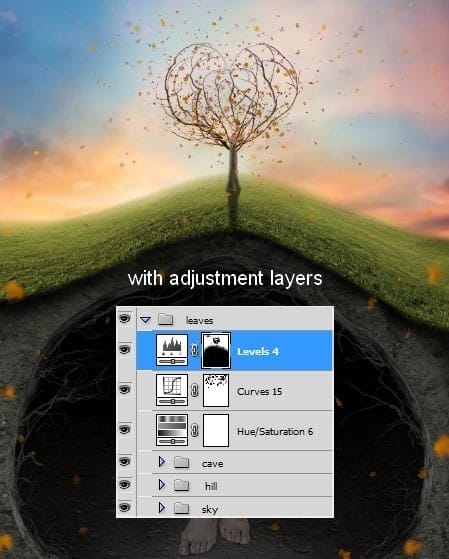
Use Levels to brighten leaves at the higher positions:
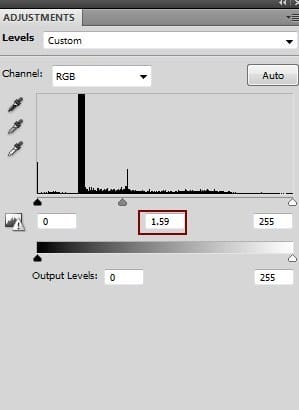
Apply layer mask brushing :
Step 80
Make leaves selection as done with branches heart (step 66).

Step 81
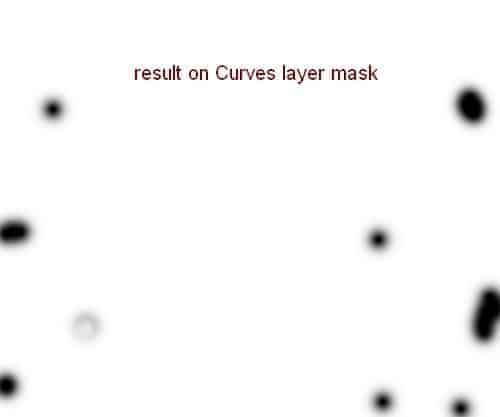
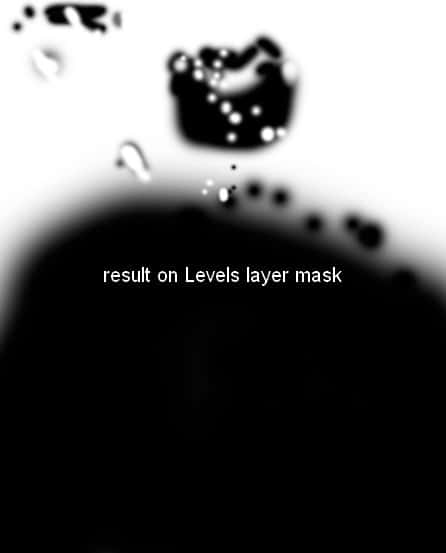
Make a new layer on the top. Load leaves selection (as done in step 53) and click Add layer mask button. We have result on its layer mask:
28 responses to “Create a Surreal, Emotional Underground Scene Photo Manipulation”
-
Thanks for that…
-
Unfortunately, the resources are no longer available. There’s a double edge to free stock photos; they’re free, but they tend to disappear. It is still possible to follow the tutorial using alternative photos. You can download the PSD and find the stock photos there as well.
-
Most of the resources won’t download, any tips or can anyone send me a zip file with then in.
TIA
-
Most of the resources won’t download, any tips
-
gooooooooooooooooooooooooooooooooooooooooooooooooooooooooooooooooooooooooooooooooooooooooooooodddddddddddddddddd
-
Great tutorial, All are path instruction for a model very teachable. Thanks for sharing great experience.
-
Great! all Photoshop tutorials are unique. Thanks for sharing your good effective knowledge.
-
Hi, I think the link for the “Branches 1” is not working. Could you give me the alternative link instead? Thank You
-
Sorry about that – the author has removed his/her image. Try using another branch stock here: https://www.deviantart.com/resources/popular-all-time/?q=branches
-
-
awesome tutorial.. make easy to learn, thanks
-
Thanks for the tutorial.. easy to learn
-
The download link of this tutorial is death! :(
-
Please re uploaded PSD file because when i click on download showing 404 error, this is best work for me i want check how did you do this
-
i can’t download the .PSD file
renew link please,, -
amazing!! great to see the amazing work of great experienced art directors!!
-
Thanks Amazing designs, best of luck in your design career!
-
Amazing tutorial! I’ve learned a lot!!! And I like it better to read tut’s so video is not necessary.
-
This is a pro job.
I’m a fan of photoshop and I see that you give real professional lessons.
I admire your work -
You are a genius Jenny
-
verrynic sof
-
You are a genius Jenny
-
I a beginner in photoshop, I know only make the cut: (
Seeing such advanced tutorials I wonder how people are to learn all that -
tutorial very detailed and well explained.
I congratulate you for your work, good job -
nice tutorial thanks
-
Beautiful!! ^_^
-
Is there any easy way to learn photoshop by videos.. its good but little bit confusing../
-
Great tutorial,thank you ^^
-
I will follow this tutorial to see the results.
I am looking for a long time this kind of lesson


Leave a Reply