

Step 20
To apply some shadow and lighting on the man, create a new layer in clipping mask. Name this layer as “Dodge/Burn”. Set this layer to overlay filled with neutral color, 50% grey.
Now activate the Dodge & Burn tool (O) and with the Range set to Midtones and Exposure of about 15%, darken the part of the man’s overcoat facing away from the light.
And with the Dodge tool (same range & exposure as the burn tool), brighten the front part which is facing the light.
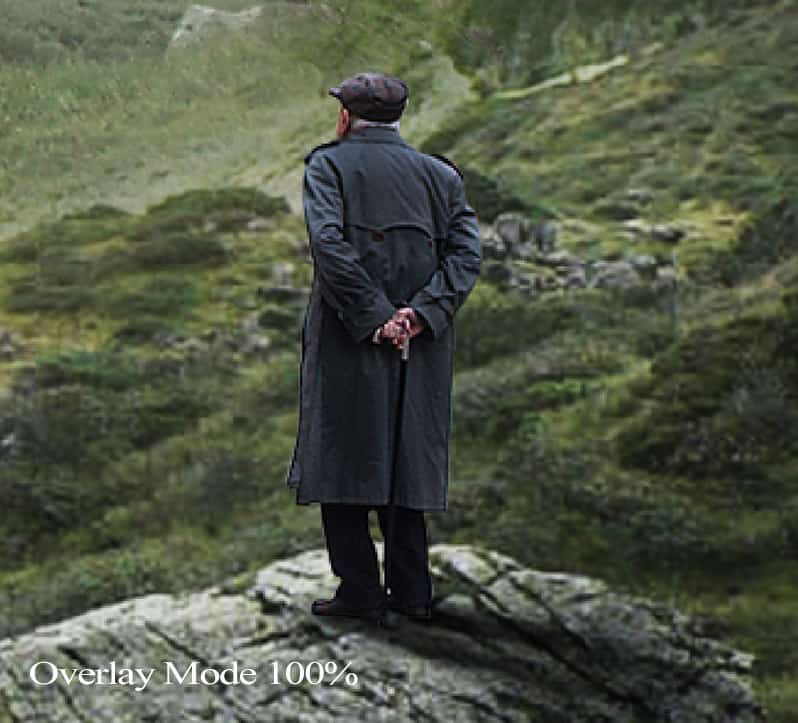
Here is the layer set in Normal blend mode:
And here is the result in Overlay blending mode – 100% opacity:


Step 21
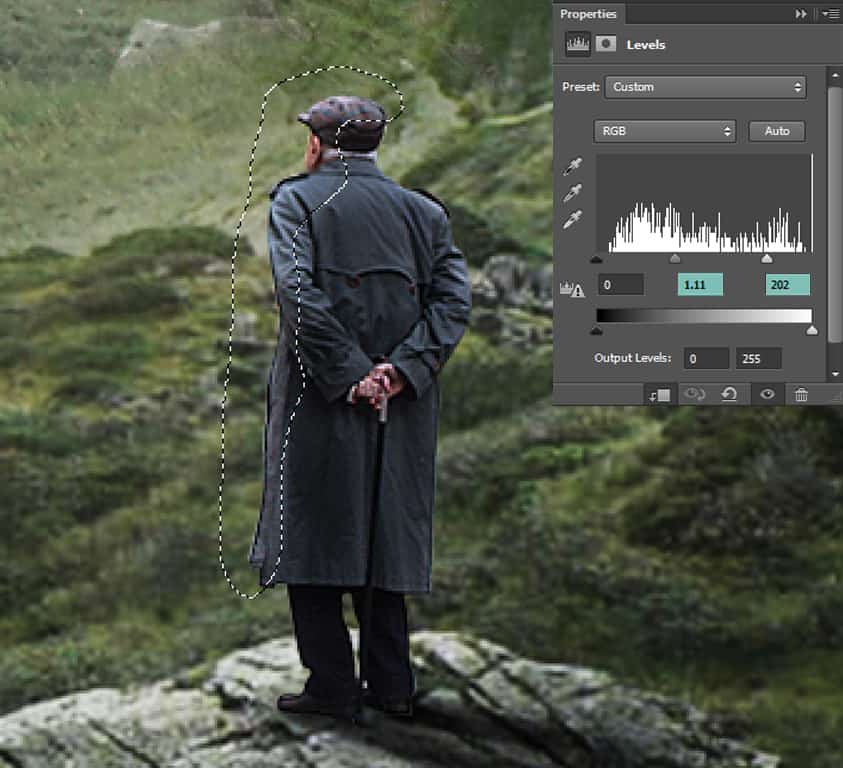
To brighten the front part of the man even more, I created a Levels Adjustment Layer in clipping mask with the following values as shown below:
Step 22
Let’s add some more details in the scene.
Open the ‘River’ stock. Then using a rectangular Marquee Tool select the portion of the river as shown below and import it on to your main scene above the old man group and using a free transform tool, scale its size as needed.
Apply layer mask and using a soft brush of opacity about 34%, mask away the hard edges to blend it into the scene.
I wanted to brighten the river so as to blend it with the whole scene. So create a Levels adjustment layer in clipping mask and apply the following values shown below:


Step 23
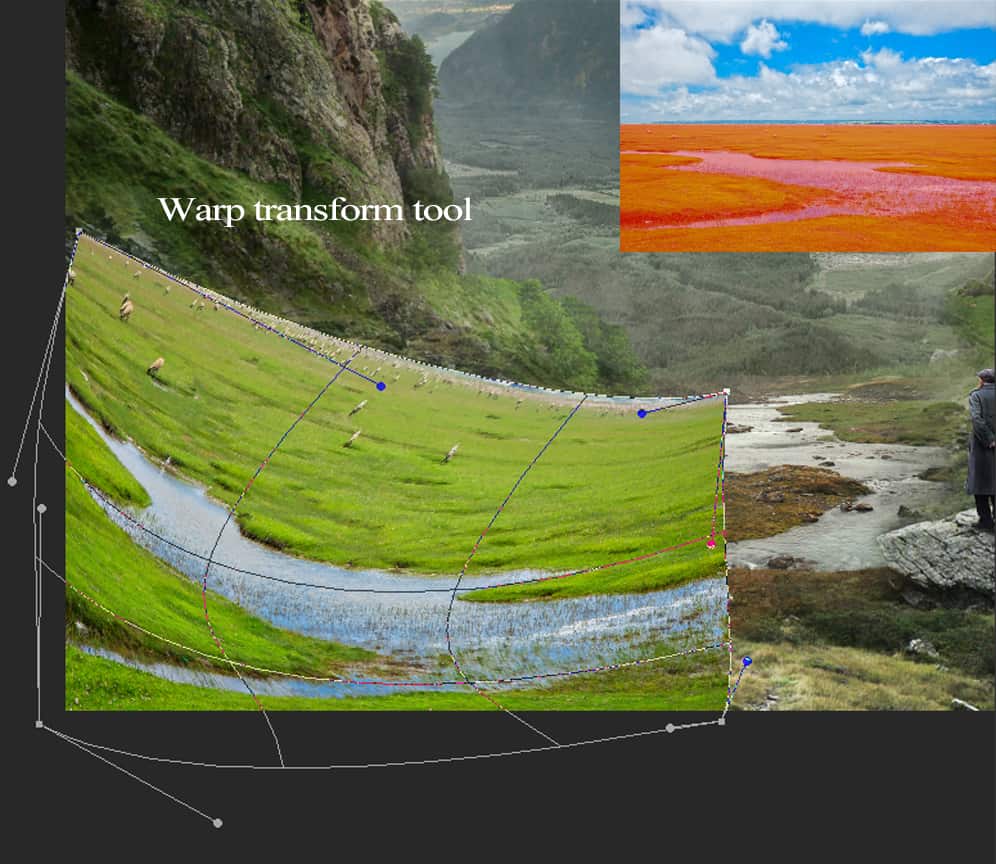
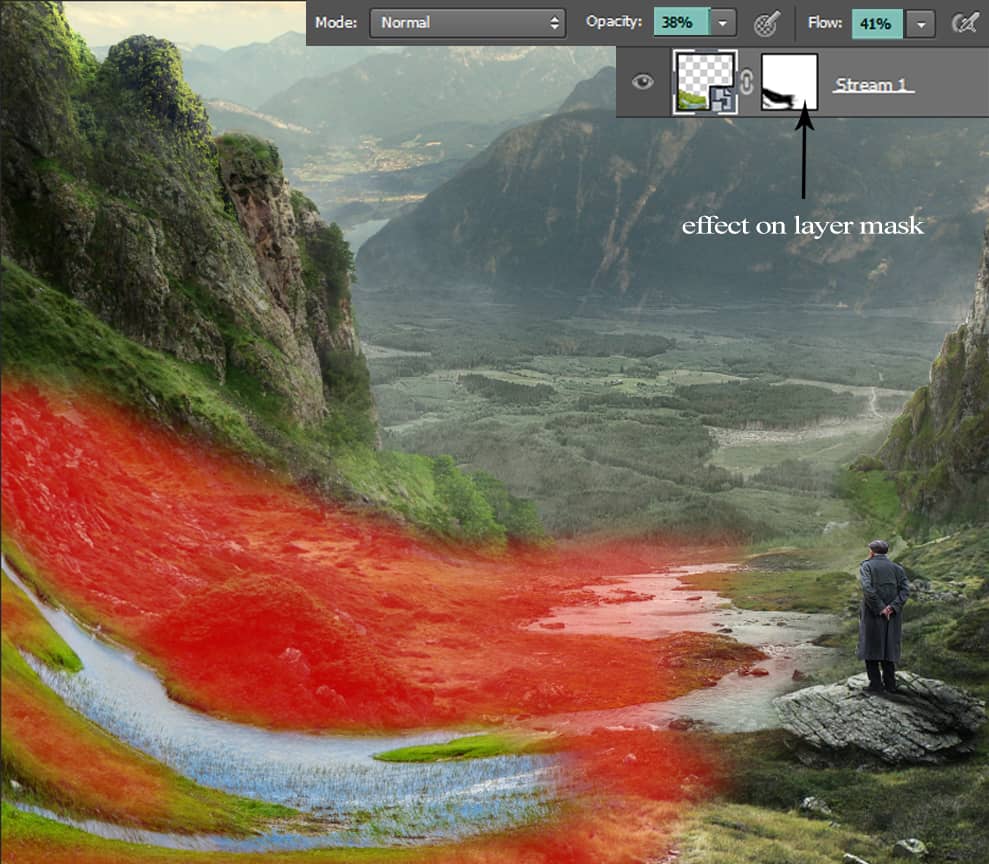
Next, open the Stream 1 stock and select the stream using a rectangular marquee tool. Copy (C) it on to your main scene. With the free transform tool, adjust its size. Then apply the Warp transform tool as shown in the preview below:
After this add a layer mask to it and using a soft, brush of opacity around 40-45%, mask away the hard edges to blend it with the whole scene as indicated by the red highlights.
The river is too bright according to the whole scene, so create a Hue/Saturation adjustment layer in clipping mask to desaturate it a bit. Adjust the Saturation to -59.

Step 24
Then open Stream 2 stock. Using the rectangular marquee tool select the stream only and import it into your main scene and using a Warp transform tool, tweak the stock as shown below:
Apply a layer mask to it, then pick the Brush tool (B) and with opacity around 50%, mask away the hard edges as we did with the previous stream layer:
17 responses to “Create a Surreal and Magical Dream Bottle Landscape”
-

I have to say, this may be long but it is the most complete tutorial I have ever seen and I have been looking at tutorials for 20 years. Thank you for the assets, your time and your expertise. It’s wonderful. Don’t worry about people with short attention spans! XOX
-
I try but as a French speaker, it is realy hard and I couldn’t find some translation…
Thanks anyway.
Regards.
Françoise Labio -
really long, really tireing, but good tutorial, but its really really long
-
Really love it but i think a video Tut is better :D
-
its very long please make it short :(
-
Awesome tutorial. I always wonder how much patience these guys have to write such a long and detailed article.
-
It means that the .exe file is missing. Sometimes it happens because you have had a previous version of it and accidentally deleted it. But maybe you are installing it from a CD-ROM and it doesn’t have the file or it is located in another folder. Try to open the folder ahead i.e.: C:users-AppDataLocalAdobeOOBEPDAppDECore and see if there is any exe file. Another reason could be the path’s name.
-
???
-
Cool post this is really good
-
Hell yeah!
-
Yeah!:D
-
wonderful
-
Awesome tutorial. I like the way these tutorials explain the things… specially the screenshots.
-
Thank you for sharing this I have learned a lot and will use some of it in my own compositions.
-
Osm
-
yep:)
-
-
Excelente
Leave a Reply