
Step 45
Let’s darken the scene to make look more mysterious. Create a Curves Adjustment Layer with the settings shown below. Paint with black in the layer mask over the island and the squid’s head.
Step 46
Create a new layer with the blending mode Overlay. Paint with a soft white brush at 20% opacity over the darker waves to boost their contrast.
Step 47
We need more attention for the action happening on the water so let’s darken the sky. Create a new Curves Adjustment Layer and drag the curve down to darken. Fill the layer mask with black and paint over the sky with white to reveal the curves effect.
Step 48
Let’s make the shark and the squid more bright. Create a new layer and change the blending mode to Overlay. With a white soft brush at 20% Opacity paint over the squid and the shark.
Step 49
Create a new layer and set the blending mode to Color Dodge. Paint with white a loose border around the shark and the squid.
Step 50
Import the Cloud brush. Create a new layer (or more layers) and paint some white clouds over the moon and over the island.
Step 51
On a new layer paint with white some mist over the island trees.
Step 52
Open the file “Nebula2”. Select all and copy/paste in our scene. Place the nebula as shown below.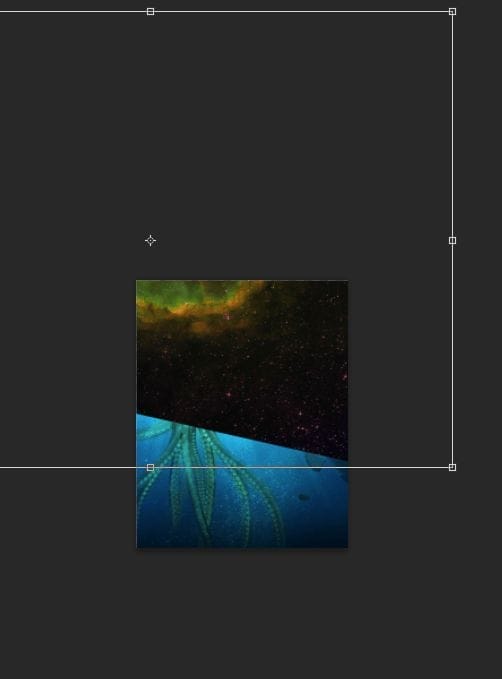
Step 53
Change the blending mode of the nebula layer to Soft Light and lower the Opacity to 41%. Use the layer mask to hide the hard edges.
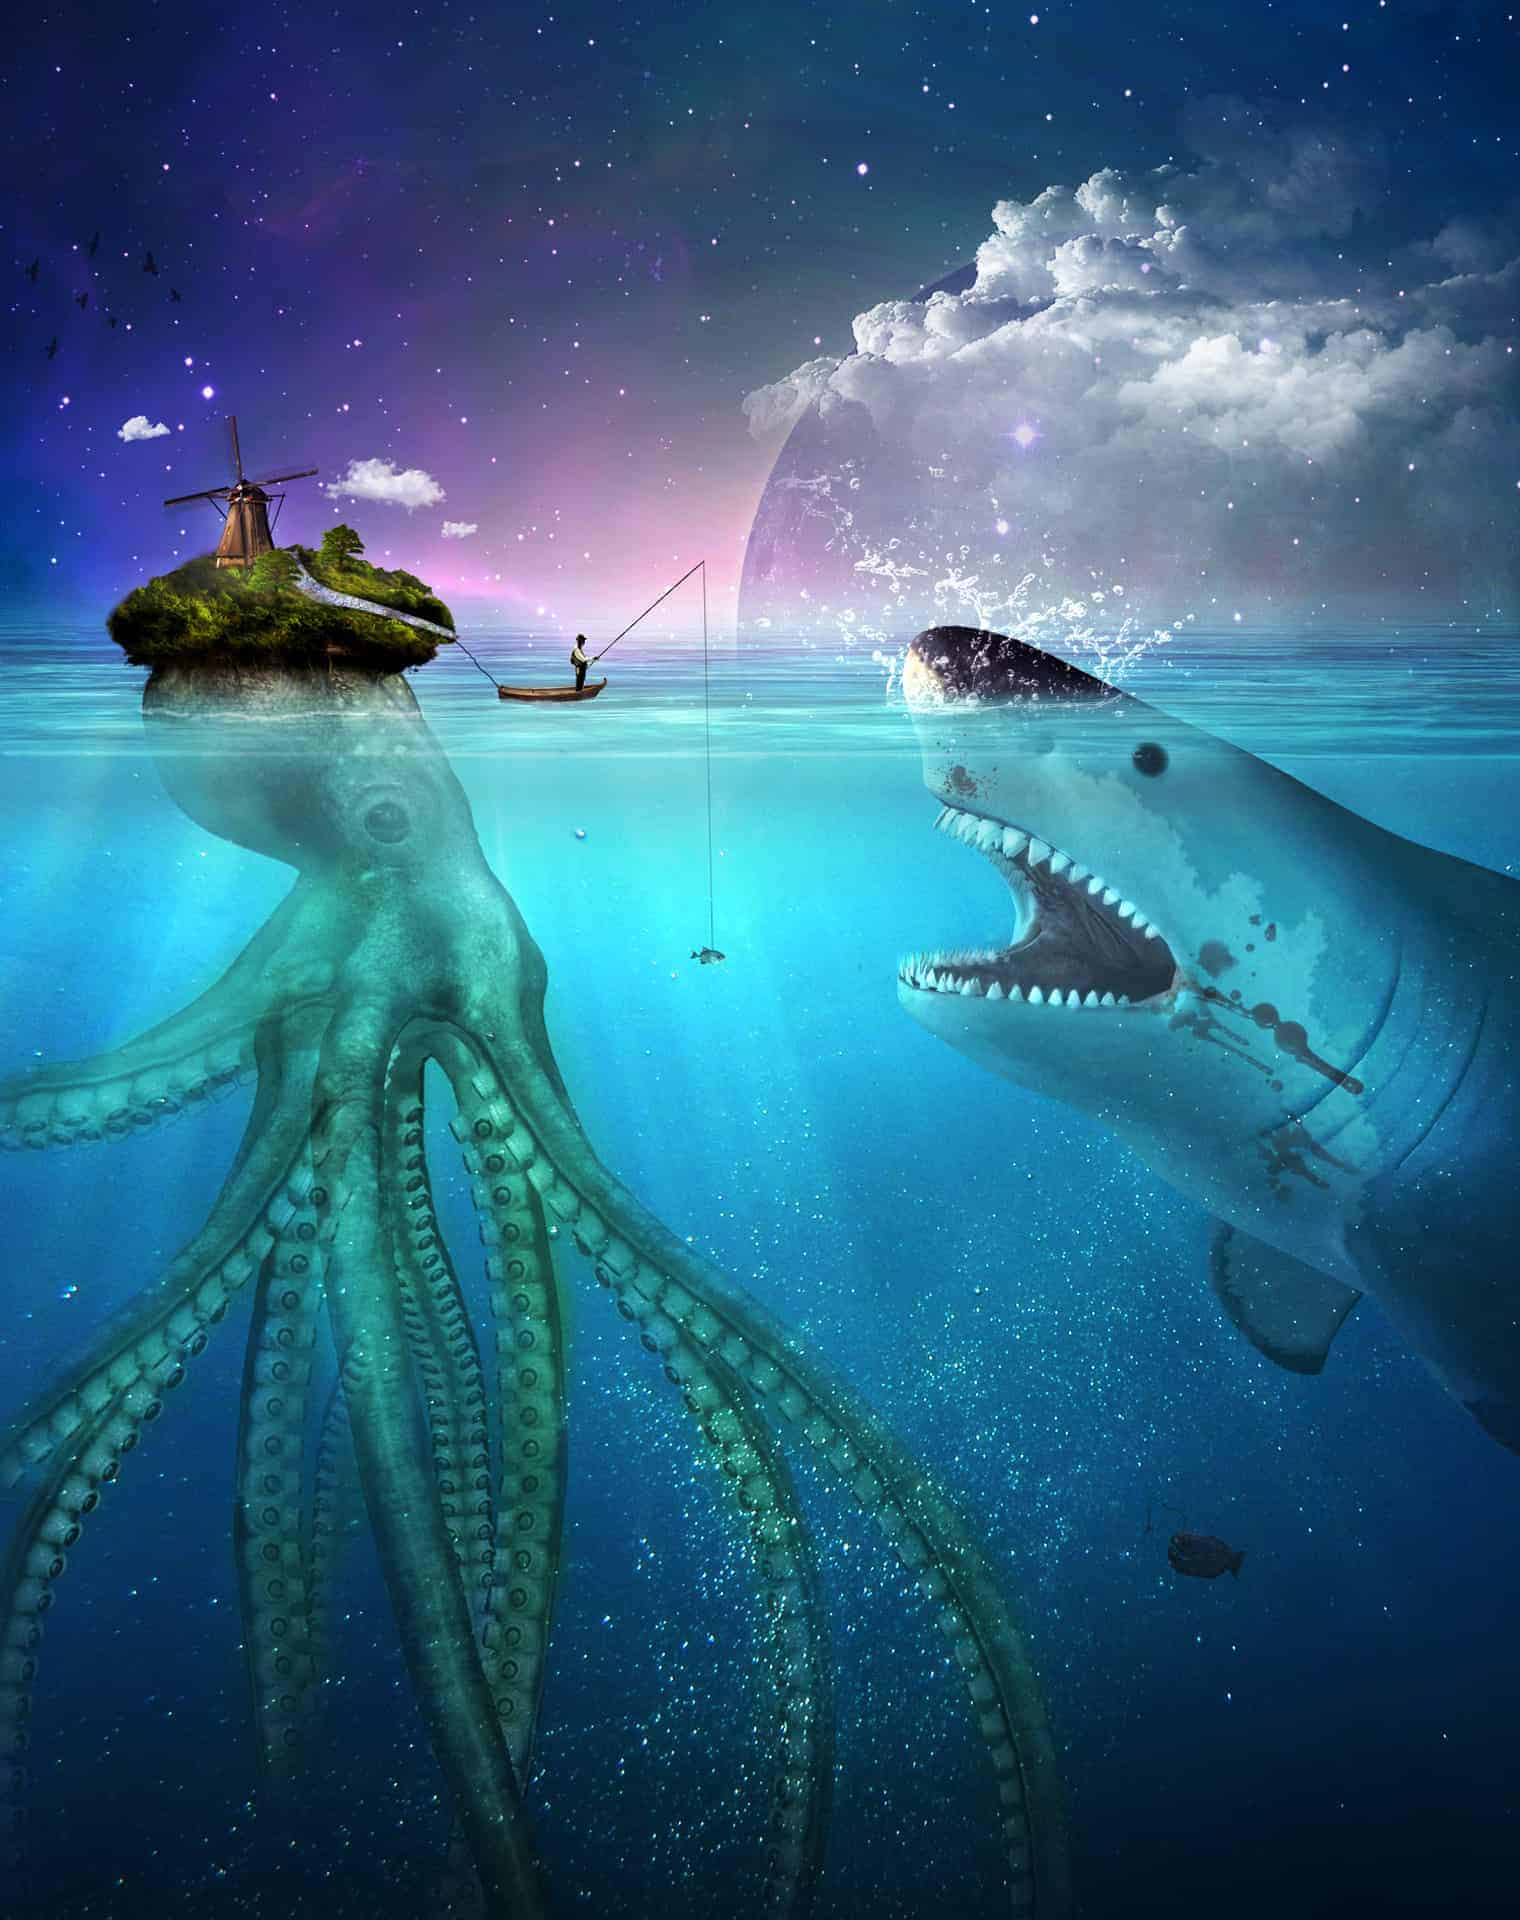
Final Results
Download the PSD
Unlucky Fisherman.zip| 102 MBTutorial by Johan Sandu

7 responses to “Create This Symbolic Underwater Scene of an Unlucky Fisherman and a Hungry Shark in Photoshop”
-

yhyh come on
-
ne
-
Bastante largo, pero me encantó! Intentaré hacerlo poco a poco! Gracias!
-
Very well explained tutorial.
Thanks
-
I didn’t find the Nebula2 in the resources. It’s not perfect, but I got this: http://s1.postimg.org/855ny4hfj/Unlucky_Fisherman.jpg
With this tutorial, I got to know more about how to use the curves, especially custom-made. Thanks. -
awesome tutorial man
-
Nice Tutorial..!!!
Leave a Reply