

Step 7
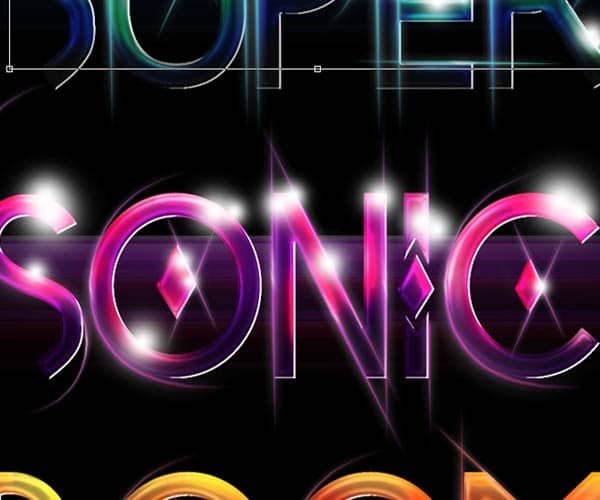
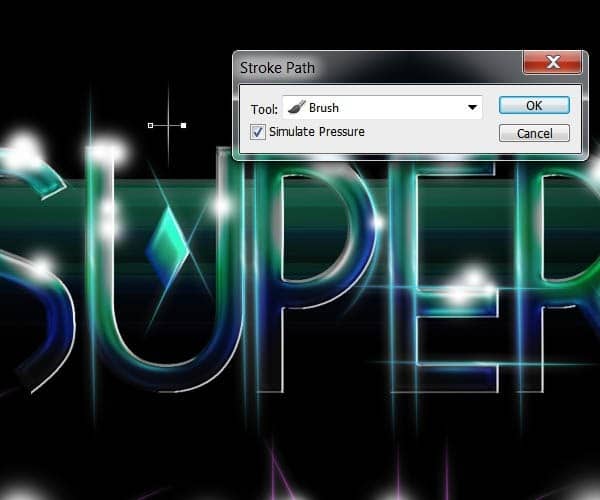
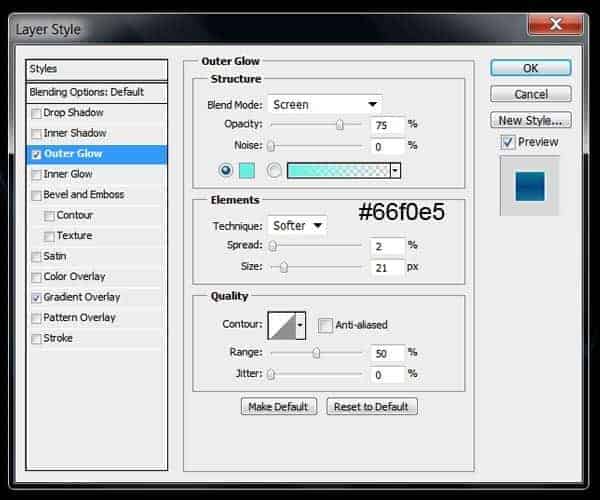
To enhance the glows now create some light crosses using the pen tool. Set the brush tool first to 100% hardness and a size of 4px with the pen pressure option selected and draw a cross using the pen tool and stroking the paths.


Step 8
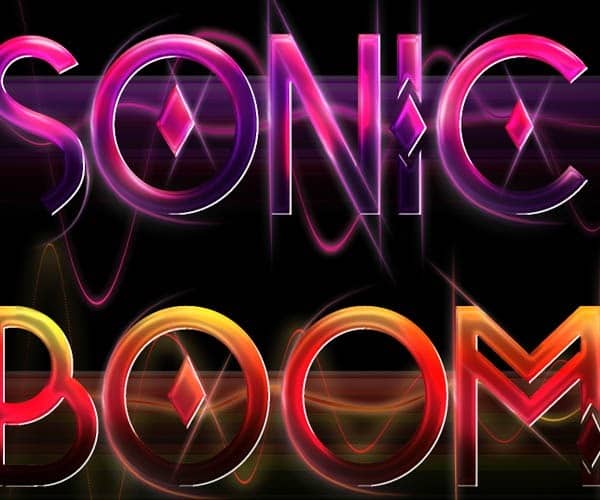
For the glowing waves details behind the type,first start off creating a new layer and setting your brush tool with 100% hardness and a size of about 9px. Whit the pen tool stroke a large horizontal line and then go to Filter>Distort>Wave. Use the next parameters for the first wave:


Step 9
In this step we are going to add some bokeh stock images to finish up the composition and effects of the type. From the Sparklestock bokeh images select one you see fit for your illustration. Set the layer blending mode to “Screen” and lower the layer opacity to 30%:4 responses to “Create a Tetris Tile Text Effect in Photoshop”
-
Nice nice
-
Nice nice
-
Nice
-
Thank you! I had finished your this tutorial. Beautiful :)


Leave a Reply