

Step 7
Create a new layer (Ctrl + Shift + Alt + N) and fill it with black (Shift + F5). Add some Gaussian noise (Filter > Noise > Add Noise).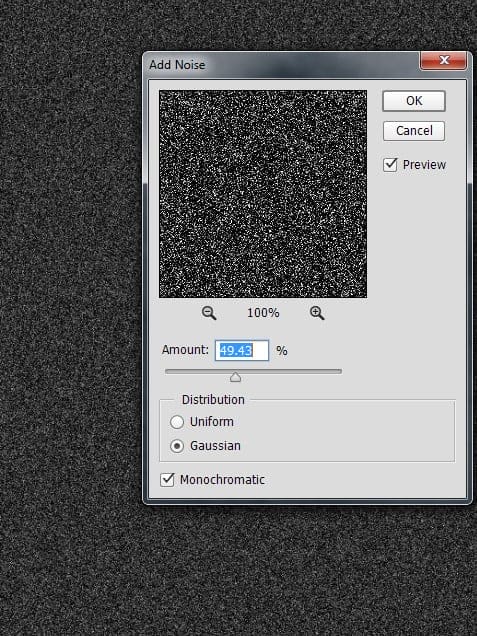
Step 8
Add some 2px of Gaussian blur to the noise layer.
Step 9
Apply a curves adjustment to the noise layer and use the settings shown below to create a dark background with specks of white.
Step 10
Change the blending mode of the noise layer to Color Dodge and lower the Opacity to 52%. As you can see only the specks of light are visible now (the dark color has disappeared thanks to the magic of the blending modes)
Step 11
Add a layer mask to the noise layer (Layer > New Layer Mask > Reveal All). Select the standard round soft brush and paint with black in the layer mask on the lower regions of our scene to hide them. As you (should) know in a layer mask black hides everything while white reveals. Name this layer “Stars”.
Step 12
Duplicate the “Stars” layer (Ctrl + J) and name it “Debris”. Fill the layer mask with black (click on the layer mask and press Shift + F5). Select the standard round soft brush and paint with white (in the layer mask) on the underwater regions of our scene to reveal the specks of white. Change the blending mode of this layer to Screen.
Step 13
When taking a picture underwater there are blurred particles that appear in front of the camera. Let’s replicate that effect. Duplicate the “Debris” layer and apply a 30px Gaussian blur to the layer, not the mask.
Step 14
As we go deeper underwater the light gets dimmer and dimmer. Create a new layer and change the blending mode to Overlay. With the round soft brush at 20% opacity paint with black on the bottom of our scene.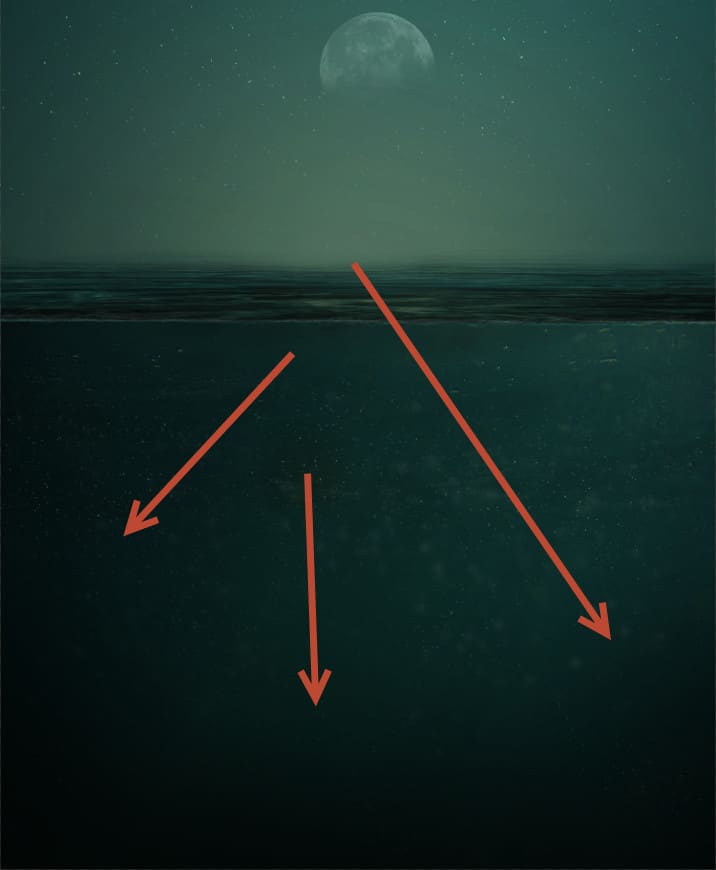
Step 15
Import the light brush (double click on the .abr file). Create a couple of new layers and set their blending modes to Overlay or Soft Light (a weaker version of Overlay). Choose some light brushes from the Brush Presets window (Window > Brush Presets) and create some light rays underwater. Lower the opacity of the layers to 30-40% and use layer masks to hide the light that is visible above the surface.13 responses to “Create a Troublesome Underwater Scene with a Big Green Monster in Photoshop”
-

Please check, no image. Thanks
-
Uhhm Im tryin’ to figured it out the steps that has no images. Kindly check it? :3 Thaaanks.
-
http://postimg.org/image/vrrpleroz/ I have tried it xd I liked that tut, thanks..
-
It is very good. Easy to follow the steps. Thank you for sharing. Just a shame that the download link does’nt work
-
Wawwww
Nice -
i can’t see some of the images. Can you plz check them again?
Thanks :)
-
Some of the images are not loading. You may want to check the paths
-
Moataz Malinky
-
ITzz Arslan
-
Nice
-
I’m Photoshop beginner :) but I’m gonna try :)
-
u’ll do it :like:
-
i have done :)
-
Leave a Reply