Step 10
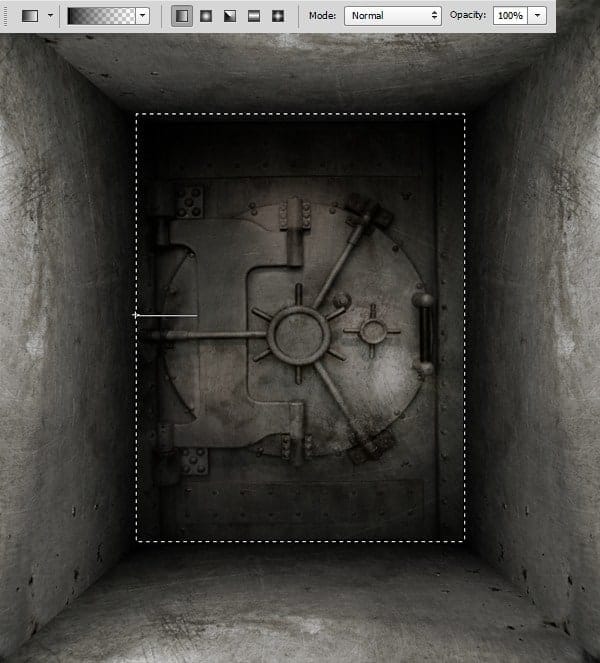
Continue adding shadows, but this time on the Wall. The technique is more or less the same as the previous step. We can also use the Burn Tool (O) to darken some parts of the area. Choose Highlights from the dropdown menu in the Option bar to darken the lightest area, and choose Midtone to darken the middle tones area. Try to use soft-edged brush with low opacity when you paint.

Step 11
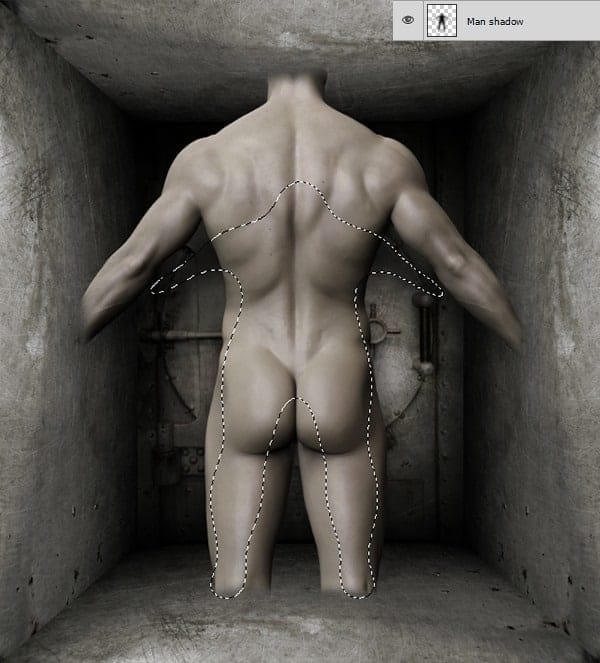
Next, we need to create a shadow of a Man on the Vault. Load the selection of the Man layer (Ctrl+click), then add a layer right below it and fill with solid black. Go to > Edit > Transform > Distort and start pulling two upper corner like the 2nd image below. Now Go to > Filter > Blur > Gaussian Blur and set the Radius around 86-92 Pixels, also change the Blending Mode to Multiply.

Step 12
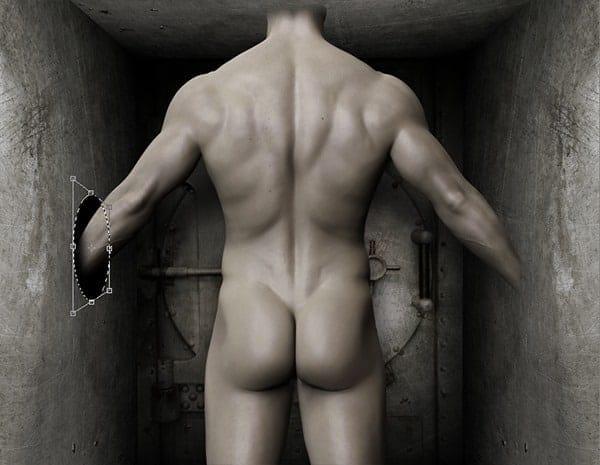
Now we are going to create hole for the wall, ceiling and the floor. Grab the Elliptical Marquee Tool (M) from Tool panel and draw an ellipse in the wall. Fill the selection with solid black and rename this layer as “Ellipse”. Press the Ctrl+T, right click in selected area and choose Distort from the menu. Then simply drag a corner handle on the bounding box to make a perspective look. You can turn off the Snap option if you find it annoying.

Step 13
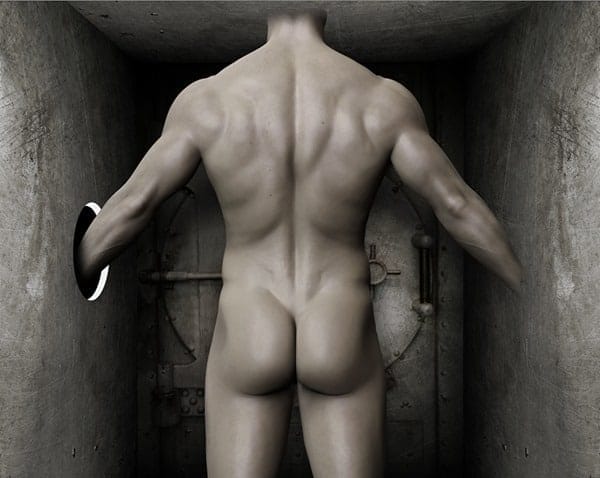
When you are done with it, copy the layer and move it slightly to the left several pixels then scale it down a little bit. You can also use the keyboard arrow to move the object within 10 pixels by hold down Shift as you press the arrow keys. Click on the Ellipse layer and load it as a selection. Now press Shift+Alt from your keyboard and click on the ellipse copy layer on the Layers panel, it will subtract the selection from an existing one. Then create a new layer on top of it and fill with solid white. Rename this layer as “Ellipse shape”.

Step 14
Now we are going to add a texture to it. Create a new layer again, draw a rectangle with Rectangular Marquee Tool (M) on top of the Ellipse shape and fill it with color. Make sure the size of the rectangle large enough to cover the Ellipse shape.Go to > Filter > Noise > Add Noise. Set the Amount to 275% or so, the Amount you specify will determine how visible the texture grain will be, and make sure the Monochromatic is checked. Then Go to > Filter > Blur > Motion Blur. Set the Angle to 0, and Distance around 36 Pixels. Now press down Ctrl+Alt+G all at the same time. This will create a clipping mask, and our texture should now be clipped to the Ellipse shape below it.We can use the Brightness/Contrast to darken it a bit, but instead, I copy the part of Metal Texture and create another clipping mask above the Noise layer, then set the Blending Mode to Overlay and Opacity to 49%. See the image shown below. This will help to darken while maintaining the texture consistency.
8 responses to “Create an Unnerving Surreal 3D Room Scene in Photoshop”
-
mas ariga yada. akun sosmed nya apa??? please reply.
i am your fans.
-
censored
-
He thick!!!!
-
Thank you for the creative lesson. I was interested in joining the parts. to get the camera with the robot, and proved very useful both to make the holes. I do not know how to .thank you. It’s my pic http://j-p-g.net/if/2015/09/17/0842755001442497686.jpg
-
Awesome work. Only drawback is, I don’t have Shutterstock, so I couldn’t get the body.
-
parece del Siglo 22 en una Gran tribulacón
-
Que foto tan Cruel
-
This is CRAZY. Thank you!


Leave a Reply