Step 20
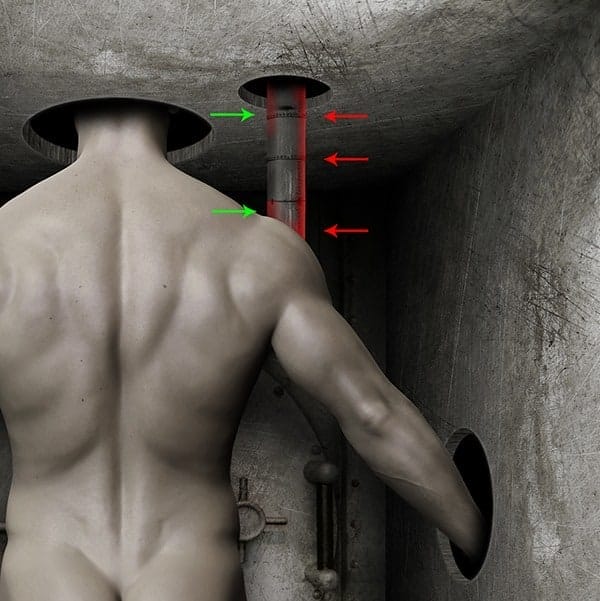
Open the Steam stock image. We are going to use the part of this image to create pipe behind the Man’s shoulder. Use the Polygonal Lasso Tool (L) to cut out the chimney part, then copy and paste it to our canvas. Rename this layer as “Pipe”. Copy the layer and flip it vertically to extend the pipe.

Step 21
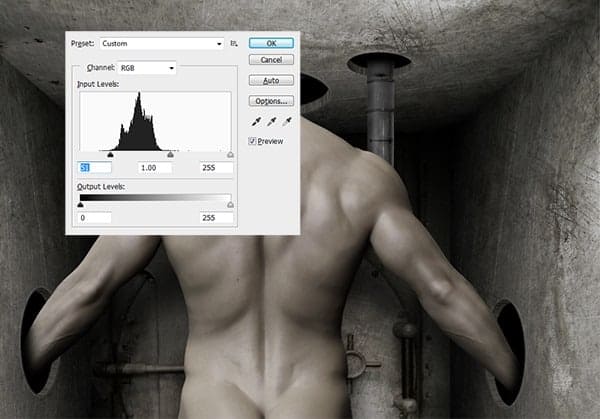
Use the same technique as the previous step to create depth and shadow to it. First, Go to > Image > Adjustment > Desaturate to eliminate the color. Then press Ctrl+L to call up the Levels window and set the settings as below.In the Layers panel, right click the Sci-Fi Prop layer and select Copy Layer Style. Then right click the Pipe layer and select Paste Layer Style. This should apply the same Prop’s Color Overlay effect to the Pipe layer. Next, copy the layer and set the Blending Mode to Multiply. Leave the darken area and erase the midtones and highlights.


Step 22
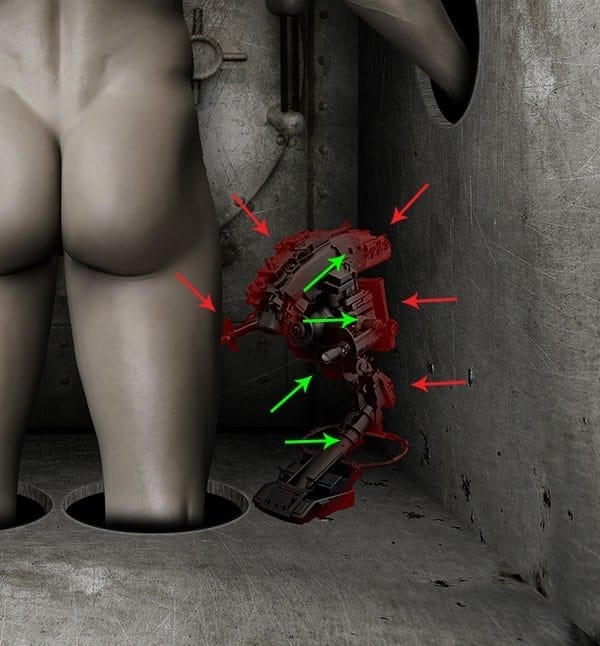
We are going to add more shadows. Add a new layer behind the Sci-Fi Prop layer. Then, hold the Ctrl key and click on the Sci-Fi Prop layer’s thumbnail to call the selection. While having this selection active, Go to > Edit > Fill and choose Black from the Contents drop down menu, and set the Blending to Multiply.Select Distort from the Edit > Transform menu and drag the top corner of the handles to skew it a bit. Now Go to > Filter > Blur > Gaussian Blur and set the Radius to 36 Pixels. Grab an Eraser Tool (E) and with soft brush preset, remove unwanted parts of the shadow.

Step 23
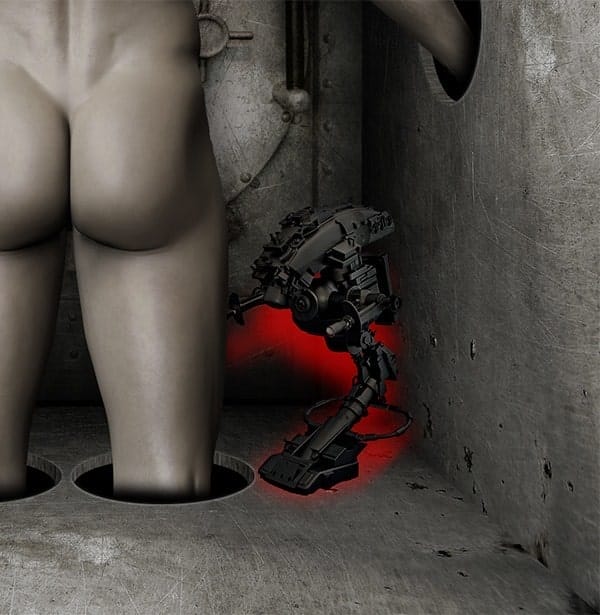
Pay attention to the bottom of Prop, which is the closest object to the ground. The object stick to the surface, means they need strong shadow around them. The theory is simple – the closer the object is to the surface, the stronger and the sharper is its shadow. The further the object is, the softer the shadow.So now, add a new layer behind the Sci-Fi Prop layer and grab a Brush Tool (B). Carefully paint another shadow under the Sci-Fi Prop object with soft brush and reduce the Opacity of the layer to 76%. Do the same process with the other Sci-Fi Prop object. Also add some shadows and fix some parts as shown below.
8 responses to “Create an Unnerving Surreal 3D Room Scene in Photoshop”
-
mas ariga yada. akun sosmed nya apa??? please reply.
i am your fans.
-
censored
-
He thick!!!!
-
Thank you for the creative lesson. I was interested in joining the parts. to get the camera with the robot, and proved very useful both to make the holes. I do not know how to .thank you. It’s my pic http://j-p-g.net/if/2015/09/17/0842755001442497686.jpg
-
Awesome work. Only drawback is, I don’t have Shutterstock, so I couldn’t get the body.
-
parece del Siglo 22 en una Gran tribulacón
-
Que foto tan Cruel
-
This is CRAZY. Thank you!


Leave a Reply