
Step 24
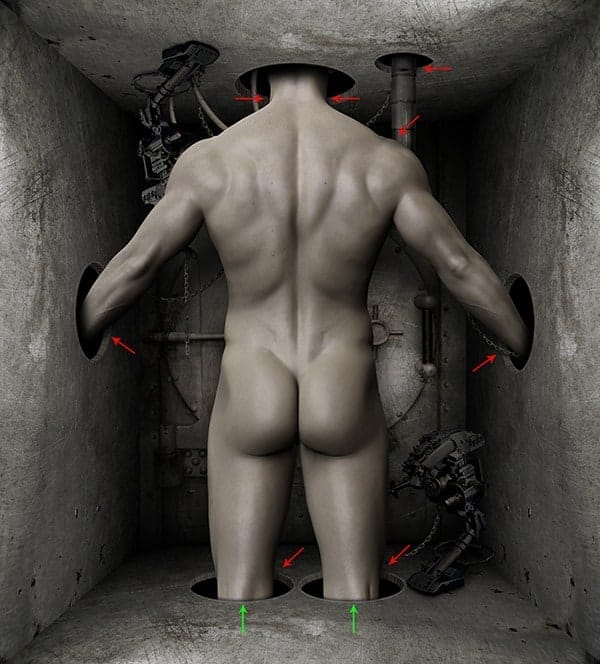
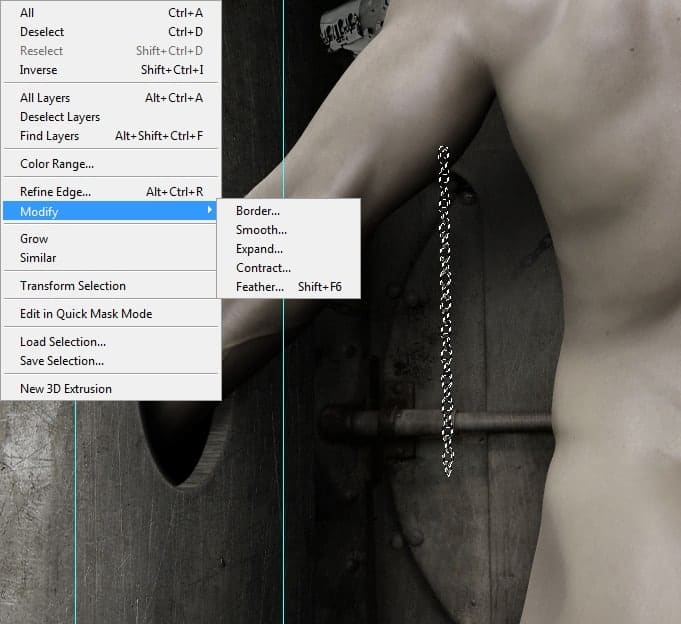
Let’s move to the other part of this tutorial – Detailing. This time we are going to add some chains to our scene. Open the Chain file, select one of the layers, then drag it to our canvas. In the Layers panel, place the layer below the Man layer, and put the Chain underneath the arm of a Man. You might notice the white halo around the Chain in the darker area. To get rid of that, load the layer as a selection, then Go to > Select > Modify > Contract, and enter the value to 1 pixel. Now Go to > Select > Inverse (Shift+Ctrl+I) to inverse the selection, then press Delete.

Step 25
Load the selection of the Chain once again. While the selection still active, grab the Gradient Tool (G). In the Option bar, select the Foreground to Transparent from the Gradient picker. Set the Gradient to Linear, and Mode to Multiply. Before we do anything, let’s make sure our Foreground and Background colors are set to their defaults. The default color for the foreground is black, and the background is white. If they’re set to other colors, click the small icon labeled or simply press the D key to return the colors to the defaults. Now hold down the Shift key, then click and drag vertically from the top of the selection to about 100-120 pixels below.

Step 26
Again, open the Chain file and drag one of the layers to our canvas. You can use the technique in the previous step to remove the white halo around the object. Now Go to > Edit > Puppet Warp. This is a nice feature that can be very useful to twist and bend an object with ease. Click on the mesh to add pins at the points where we want the element to bend around. In this case, we need to add 5 pins – at the very top, the middle, the very bottom of the Chain, and those in between them. These pins act like joints. Moving one pin moves the pixels around it in relation to the other.Once all the pins have been placed, grab the middle pin and drag it up. See the image below. Now that you know the technique, try it with the other chains.

Step 27
Just like the previous step, load the selection of the Chain. With the linear Gradient Tool (G), click and drag on the edge of the Chain to create a shadow. Repeat this step on each chain that overlaps with other objects.
8 responses to “Create an Unnerving Surreal 3D Room Scene in Photoshop”
-
mas ariga yada. akun sosmed nya apa??? please reply.
i am your fans.
-
censored
-
He thick!!!!
-
Thank you for the creative lesson. I was interested in joining the parts. to get the camera with the robot, and proved very useful both to make the holes. I do not know how to .thank you. It’s my pic http://j-p-g.net/if/2015/09/17/0842755001442497686.jpg
-
Awesome work. Only drawback is, I don’t have Shutterstock, so I couldn’t get the body.
-
parece del Siglo 22 en una Gran tribulacón
-
Que foto tan Cruel
-
This is CRAZY. Thank you!


Leave a Reply