
Step 33
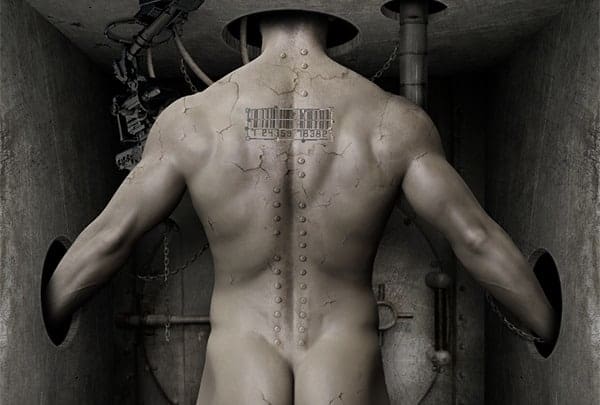
We have reached the last step of this tutorial. If your result is pretty similar to mine then you are doing great job so far. Let’s add a Barcode image and put the layer beneath the Metal Texture 2 image, then set the Blending Mode to Multiply. With Rectangular Marquee Tool (M), delete the upper part of the Barcode. Lower the Opacity down to 51% and apply the Warp Tool we have learned earlier to follow the contour of the body.

Step 34
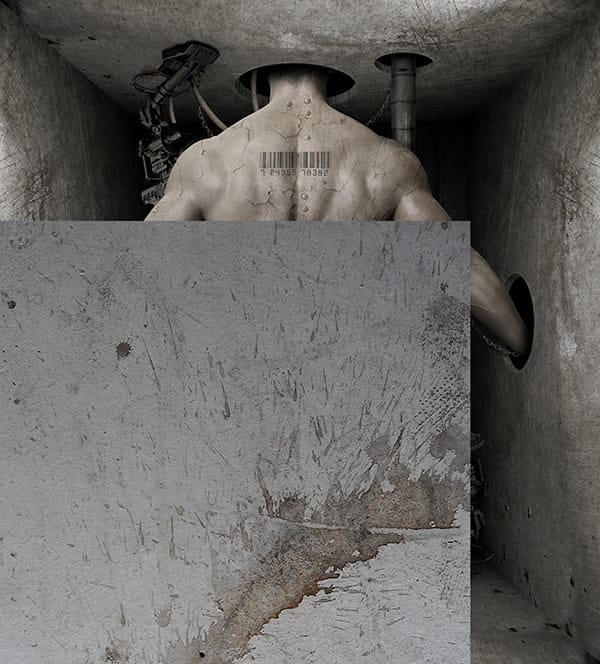
Next, we will add another texture to our scene in order to bind the image together and give a bit more grunge-look to it. Import the Stain Texture image to our canvas (File > Place), then press Shift+Ctrl+] to bring the layer to the very top of all the layers. Set the Blending Mode to Soft Light and lower the Opacity to 66%. Again, copy the layer and place the texture to the bottom part of the scene. Erase the part of it everywhere you don’t like it with the layer mask.Lastly, Go to > Layer > Flatten Image. For the last adjustment, add Curve from adjustment layers and set the setting as shown below. Then crop the image and sharpen your merged piece using Filter > Sharpen > Unsharp Mask. We are done!


Final Results
![final[1] final[1]](https://cdn.photoshoptutorials.ws/wp-content/uploads/2014/10/final1.jpg?strip=all&lossy=1&webp=82&avif=82&w=1920&ssl=1)
Download the PSD
Tutorial by Ariga Yada
8 responses to “Create an Unnerving Surreal 3D Room Scene in Photoshop”
-
mas ariga yada. akun sosmed nya apa??? please reply.
i am your fans.
-
censored
-
He thick!!!!
-
Thank you for the creative lesson. I was interested in joining the parts. to get the camera with the robot, and proved very useful both to make the holes. I do not know how to .thank you. It’s my pic http://j-p-g.net/if/2015/09/17/0842755001442497686.jpg
-
Awesome work. Only drawback is, I don’t have Shutterstock, so I couldn’t get the body.
-
parece del Siglo 22 en una Gran tribulacón
-
Que foto tan Cruel
-
This is CRAZY. Thank you!


Leave a Reply