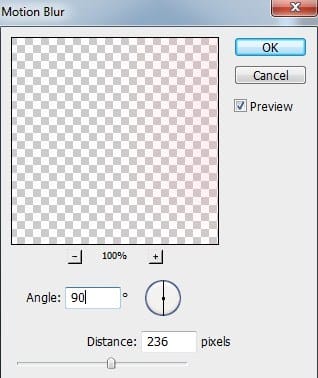
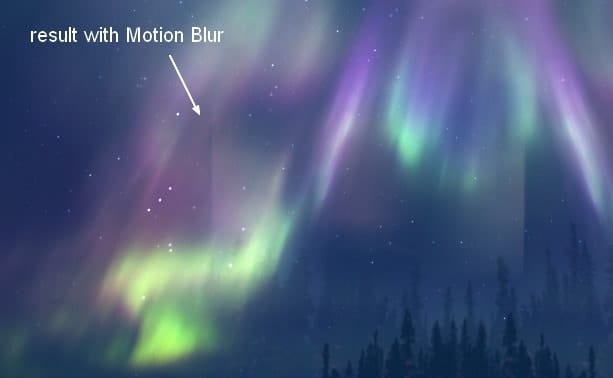
Use Cmd/Ctrl+T to rotate and enlarge this part:

Step 8
Use layer mask to blur some parts on the top of this effect:

Change the mode to Hard Light 100% and name this layer “sky light” or whatever you want:

Step 9
Extract left mountain and place it at the left of our picture (you can use your own photo).

Step 10
I use some adjustment layers (Clipping Mask) to darken and change color of this mountain:

On second Curves layer I use soft black brush to erase the left side as I want it to be darker than the rest:

Step 11
I want the contour of this mountain a bit brighter (near the sky) so I make a new layer (Clipping Mask) and use soft brush with color #acbbc5, opacity and flow about 50-55% to paint along the contour:


Step 12
Cut out the right mountain and position it at the right:

Step 13
I use Curves and Color Balance to change color and darken it:

On the second Curves layer mask use soft brush to reduce lightness on the right side of this mountain:

Step 14
In this step we’ll be brightening the right mountain more. Make a new layer (Clipping Mask), change the mode to Overlay 100% and fill with 50% gray:

Use Dodge Tool with Midtones Range and Exposure about 20% to brighten the edge of the mountain. You can see how I applied this tool with Normal mode and result with Overlay mode:


Step 15
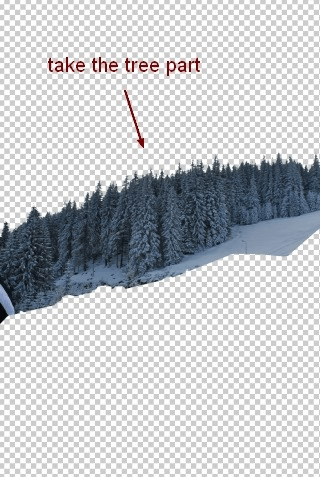
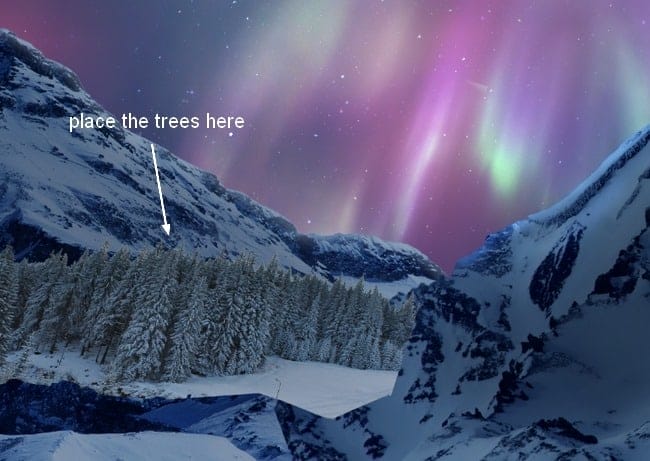
Isolate the trees from its background and place it at the left side of our picture, remember to convert it to Smart Object before resizing:
Step 16
Duplicate this layer and flip it horizontally. Move it to the right side and enlarge it .

Use layer mask to remove some hard edges and blend it with background:

Step 17
Make group for the trees layer as done with aurora ones but change the mode to Normal 100%. I name these layer “1” and “2”. Create some adjustment layers within this group to change color and darken them:

On Curves layer mask I use black brush with opacity about 20% to erase the top of the trees as they should be brighter than the rest:

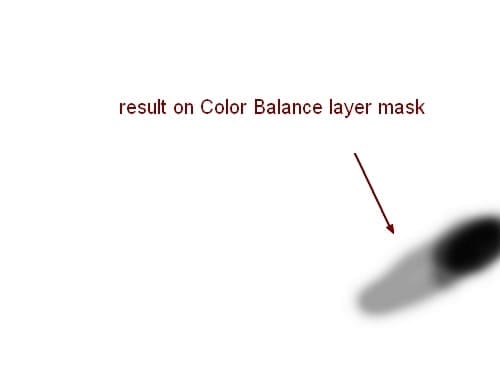
On Color Balance layer mask I erase the bottom right of the trees:
On Levels layer mask I erase the top of the trees and the bottom right of them:
11 responses to “Create a Vivid Winter Aurora Landscape”
-
Nice article for those people who wants to learn more about photoshop…
-
nice….
-
nice tutorial … thanks
-
good…….****
-
photoshop is amazing =)
-
just awesome thanks for nice tut.
-
-
I did it here: http://anne-wipf.deviantart.com/#/art/Winter-Aurora-426736776?hf=1 Thank you! *hugs*
-
I agree with Chaser
-
OMG!! What a humongous polar bear!
Not bad for a tut but you need to learn perspective… unless you intentionally decided to make a dinosaur-sized polar bear.
-
It’s intentional… ?
A polar bear in that distance will be a 1 pixel dot.
-


Leave a Reply