Step 50
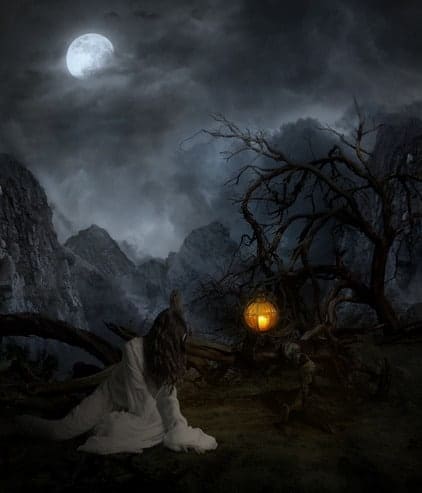
Now create a new layer and name this layer light of lamp. Pick soft round brush and set the opacity to 50% and choose the same color in previous step. Paint more lights on the ground and set the blend mode to linear dodge then reduce the opacity to 23%. Group all the lamp layers and name it lamp.
Step 51
Now, extract the model and place it as shown in the image. Then create a new layer below the model layer and paint the shadows with soft round black brush.
Step 52
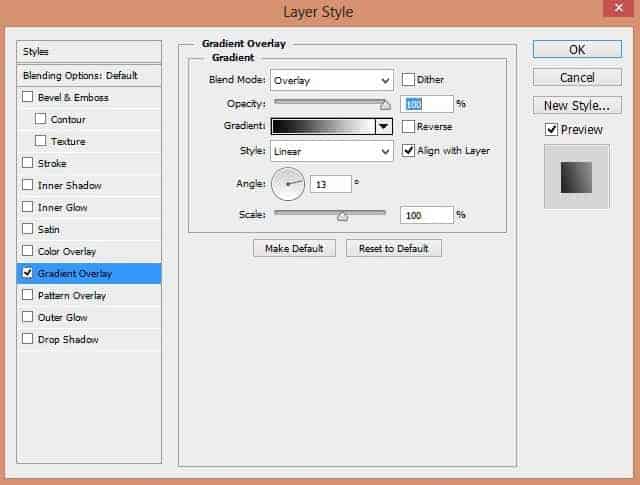
I applied a layer style effect to model. Right click on model layer and choose blending options. Choose gradient overlay and set the setting as shown in the image.

Step 54
I added Hue/Saturation and gradient map adjustment layer to blend the model to the scene. Clip both adjustment layer to model. On Gradient map adjustment layer choose color #000000 for shadows and #ff9600 for highlights and set the blend mode of gradient map to color dodge then reduce the opacity to 66%.

Step 55
I added two more adjustment layer Photo filter and Brightness/Contrast. Set the blend of photo filter to soft light. Clip both layer to the model.

Step 56
Create a new layer then go to edit>fill and fill the layer with 50% gray. Set the blend mode of this layer to overlay.
Step 57
Select dodge and burn tool by pressing (O) on keyboard. Set the range to midtones and exposure to 9%. Then start dodge and burning as shown in the image.
Step 58
Create a new layer and choose soft round brush with color #874b1d. Then paint light on model hair, face and hands or you can follow the arrows to create light. Now select all the model layer and group them. Name this group model.

Step 59
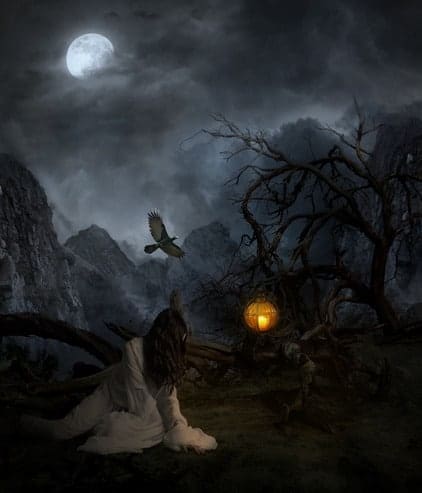
Open raven and crow PSD and choose a raven. place it out main canvas.
Step 60
Add a Hue/Saturation adjustment layer to raven and clip it then set the set the hue to 0, saturation to -18 and lightness to -56 as shown in the image.
Step 61
Create a new layer and load the birds brush then paint birds. Choose 2500 pixels brush or choose whatever you like.13 responses to “Creepy Lady on a Dark Mountain – Learn How to Create This Composite in Photoshop”
-
Nice work. Thanks for sharing.
-
Awesome post I love it
-
as always, superb tutorial. Thanks!
-
as always, superb tutorial. Thanks!
-
as always, superb tutorial. thanks a lot
-
Nice Tutorial. I always get the best photo manipulation tutorials here… Great going
-
入木三分
-
спасибо за урок!
-
That’s really stunning, Bunty. Great work!
-
hoo
-
Super fotomanipulacja
-
molto interessante impegnativo ma chiaro


Leave a Reply