

Step 24
Add Adjustment Layer “Curves”

Step 25
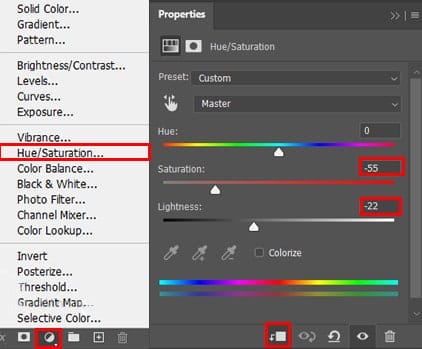
Add Adjustment Layer “Hue/Saturation”

Step 26
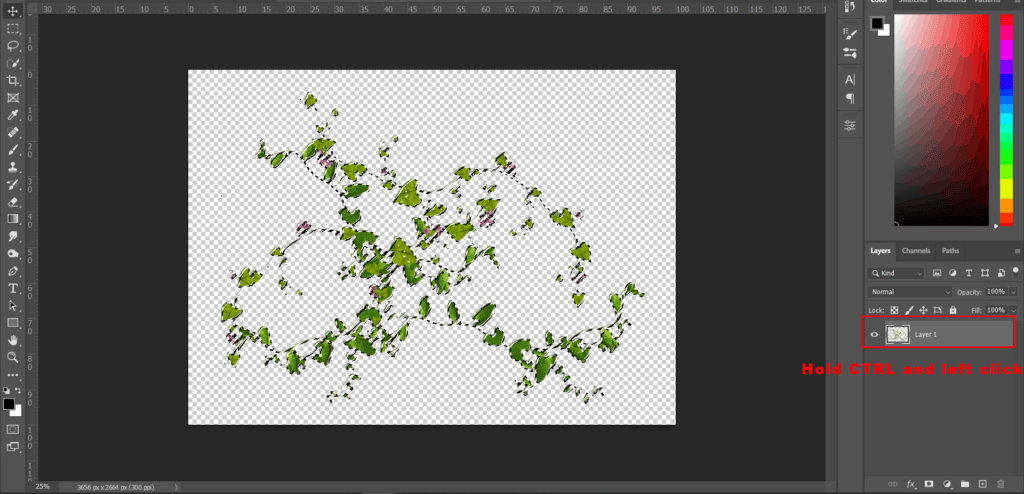
Last Ivy open , go to File > Open and select Ivy 4 then use Lasso Tool(L) and select Ivy, after the selection area has been created, simply copy (Ctrl / Cmd + C) and Paste (Ctrl / Cmd + V) it to our work canvas. Then position the image with the transform tool (Ctrl / Cmd + T). Hold Alt + Shift and resterize like image below. In Photoshop CC only hold Alt to resterize al sides together. Now add some blur, go to Filter > Blur > Gaussian Blur and set Radius to 8px.


Step 27
Add Adjustment Layer “Hue/Saturation”
Step 28
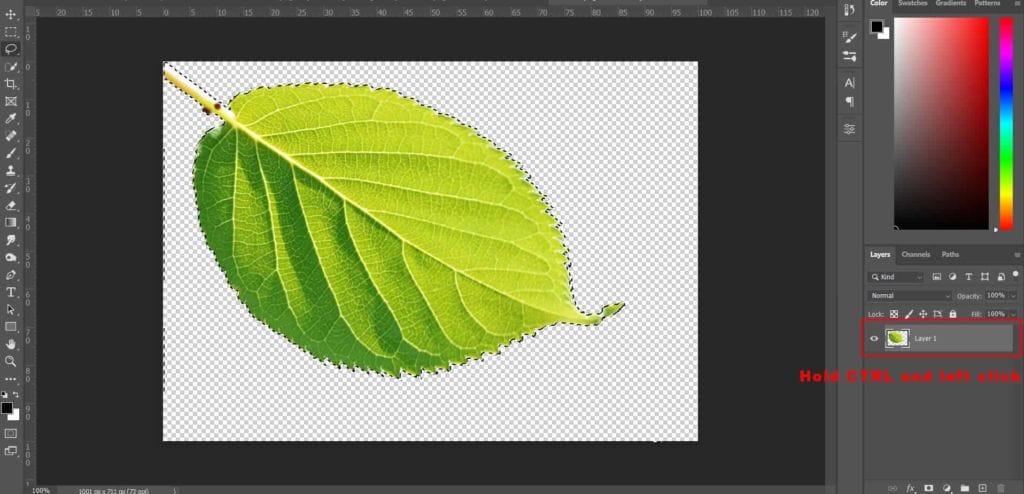
Now openLeaf and hold Ctrl/Cmd and click on layer and after the selection area has been created, simply copy (Ctrl / Cmd + C) and Paste (Ctrl / Cmd + V) it to our work canvas. Then position the image with the transform tool (Ctrl / Cmd + T). Hold Alt + Shift and resterize like image below. In Photoshop CC only hold Alt to resterize al sides together. Now create a blur effect, go to Filter > Blur > Gaussian Blur and set Radius to 100px.


Step 29
Add Adjustment Layer “Hue/Saturation”

Step 30
Duplicate the Leaf layer (Press Ctrl/Cmd + J) and set Opacity to 36%.

Step 31
Add Adjustment Layer “Hue/Saturation”

Step 32
Next, add some lightness to eye. Create a new Layer and change Blend mode to Color Dodge with Opacity 70% and use Brush Tool(B) Soft Round with Foreground color Gray #808080 and paint eye.


Step 33
Now, create more lights. Create a new layer and go to Edit > Fill and Contenst: 50% Gray and press Ok. Blend mode change to Overlay with Opacity 20%.

Now use Brush Tool(B) Soft Round with foreground color white and Brush Opacity set to 10-20% then start painting. Take a look at the example in the picture below how much you need to paint, With Black Brush paint on dark area and on light area paint with White Brush.


Step 34
Add Adjustment Layer “Curves” and press Ctrl/Cmd + I to invert and use Brush Tool(B) Soft Round with foreground color white and paint to the left corner. Opacity reduce to 60%.


Step 35
Add Adjustment Layer “Gradient Map” Blend mode change to Soft Light with Opacity to 10%.
One response to “Create a nature scene of Parrots Photo Manipulation Tutorial”
-

This is beautiful! Thank you!
Leave a Reply