


Step 32
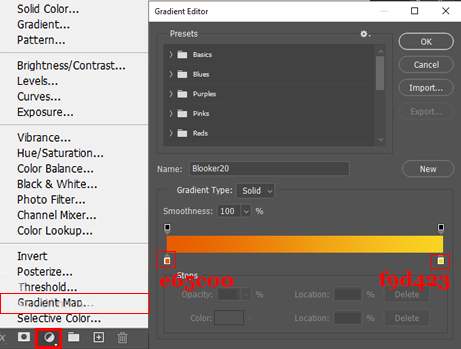
Add Adjustment Layer “Gradient Map” Blend mode change to Hue with Opacity of 50%.
Step 33
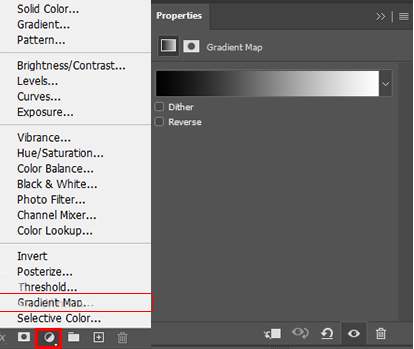
Add Adjustment Layer “Gradient Map” Soft Light / Opacity 40%
Step 34
When we finished all this, now merge all layers into one. Select the last layer and hold CTRL/CMD + SHIFT + ALT + E. Now we have a final layer, right-click on mouse and select Convert to Smart Object. Then go to Filter > Camera RAW Filter. At its most basic, the Photoshop Camera Raw filter allows you to use the functions of the ACR interface at any time within Photoshop.

Step 35
Now in Camera Raw Filter, set the Value: Basic
- Temp: +1
- Exposure: +0.10
- Highlights: +20
- Shadows: -10
- Whites: +5
- Blacks: -2
- Texture: +15
- Clarity: +15
- Vibrance: +20
- Saturation: -8

Curve
- Highlights: +16
- Lights: +5

Detail
- Sharpening: +10

Color Mixer Hue
- Yellows: -5
Saturation
- Yellows: +5
Luminance
- Oranges: +4
- Yellows: +36

Radial Filter
- Highlights: +10

And finally, everything should look like this.

Final Results

Download PSD
One response to “Create a Desert City Photo Manipulation”
-

The original desert photo’s lines on the road make the image look funny. I would have lessened the intensity of the right yellow line and the white middle lines to make a more complete photo. Also the person is tiny compared to the road and there’s no sand/dust in the foreground making the image look more fake. I understand the image has to be as raw as possible for the article but if you put a polished final with the little details people would appreciate that more. Because that’s the artistic touch that kind of needs to be taught. What separates a B+ and an A+.
Leave a Reply