
Step 6
Add Adjustment Layer “Hue/Saturation”
Step 7
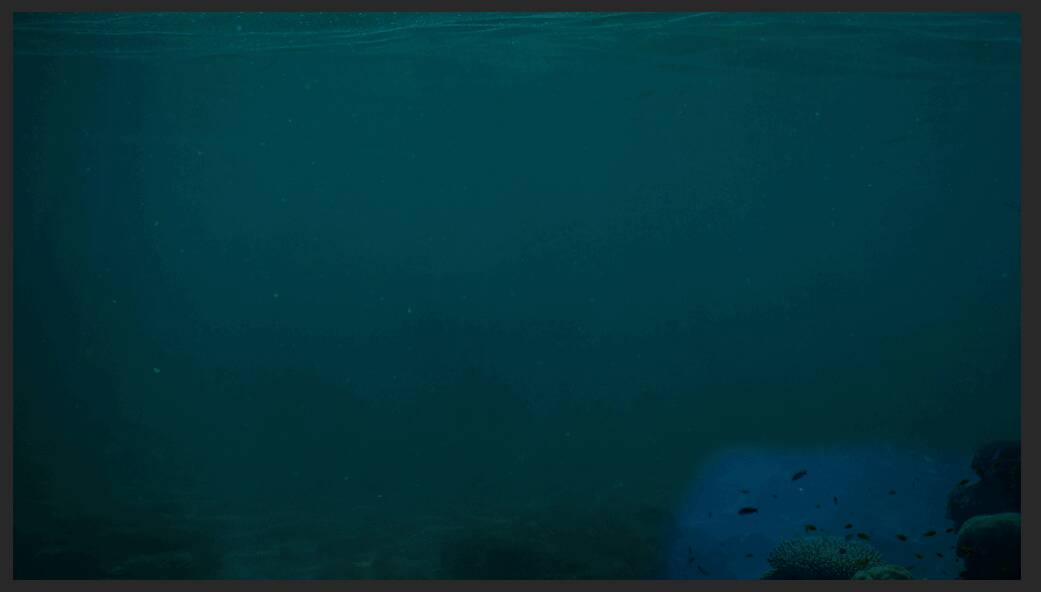
Now select Coral Reef layer and duplicate it (Ctrl/Cmd + J). Use Transform Tool (Ctrl/Cmd + T) then position the image.
Step 8
Add Adjustment Layer “Hie/Saturation”
Step 9
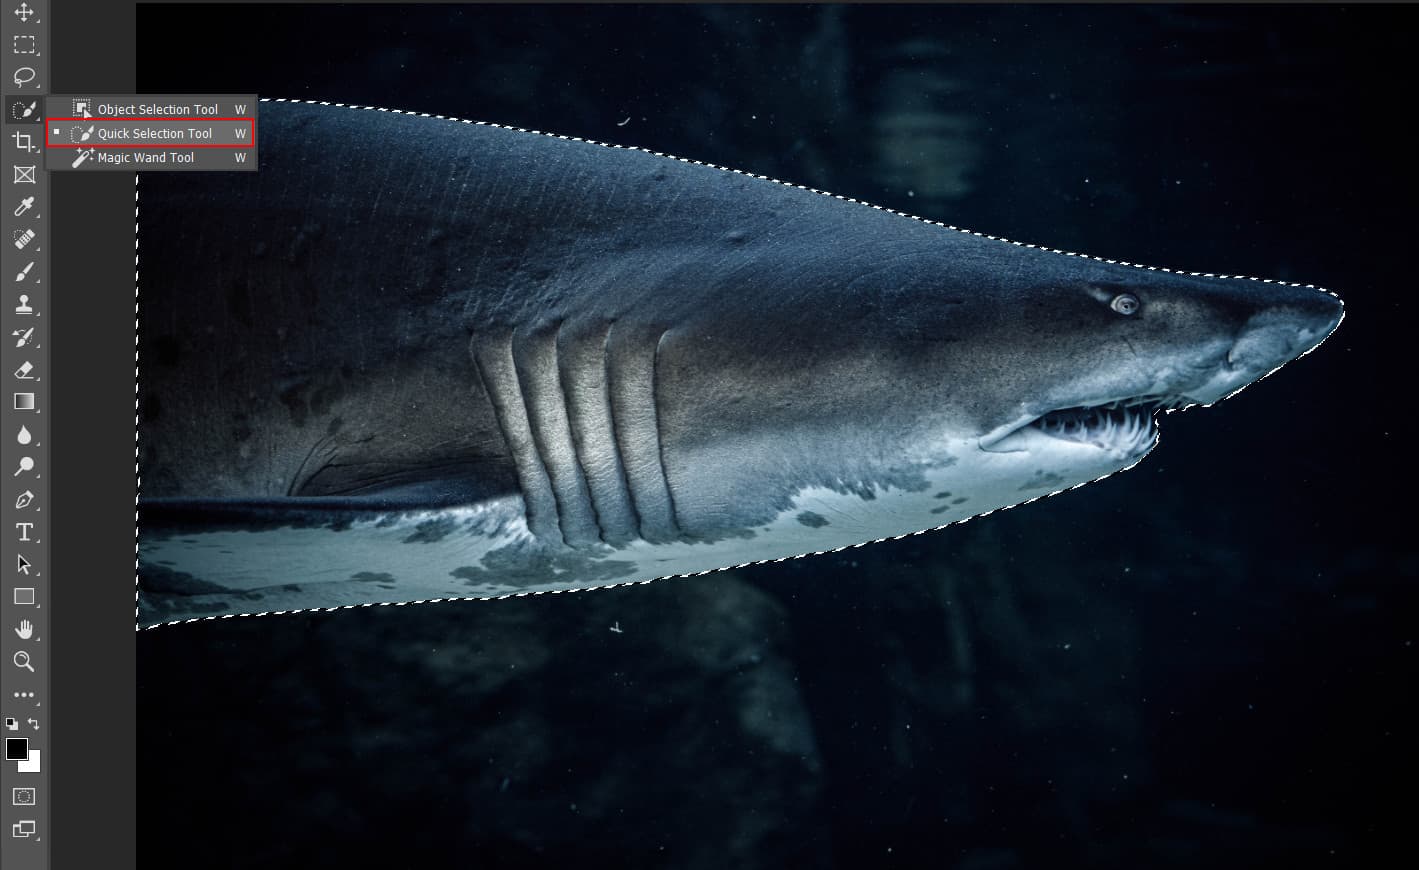
Next we will openShark. After you open the image, use Quick Selection Tool(W) and start selecting the animal. After the selection area has been created, simply copy (Ctrl / Cmd + C) and Paste (Ctrl / Cmd + V) it to our work canvas. Then position the image with the transform tool (Ctrl / Cmd + T). Hold Alt + Shift and resterize like image below. In Photoshop CC only hold Alt to resterize al sides together. Blend mode change to Soft Light.


Step 10
Add Adjustment Layer “Color Balance”
Step 11
Add Adjustment Layer “Levels”
Step 12
Add Adjustment Layer “Hue/Saturation”
Step 13
Add Adjustment Layer “Hue/Saturation” and press Ctrl/Cmd + I to invert. Then use Brush Tool(B) Soft Round with foreground color white and paint on edges. Opacity set to 75%.

Step 14
Add Adjustment Layer “Curves” and press Ctrl/Cmd + I to invert. Then use Brush Tool(B) Soft Round with foreground color white and paint on dark parts.

Step 15
Add Adjustment Layer “Curves” and press Ctrl/Cmd + I to invert. Then use Brush Tool(B) Soft Round with foreground color white and paint on Highlight parts.

Step 16
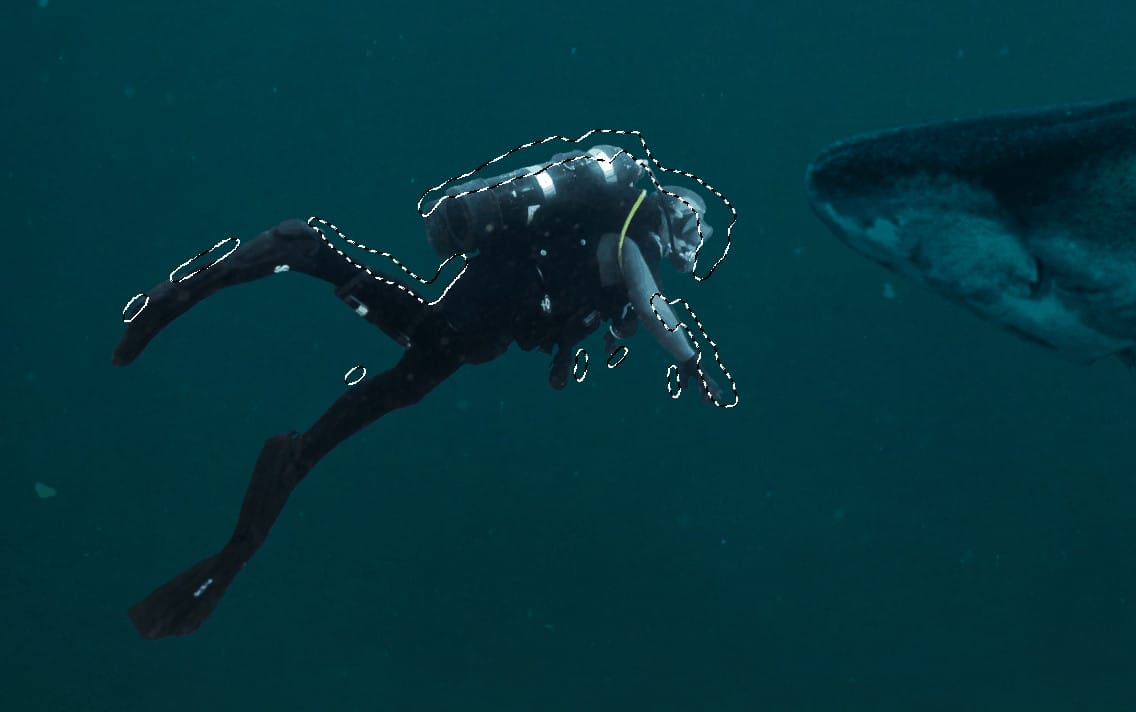
Now, go to File > Open and select Diver. Then use a Pen Tool(P) and start selecting the. When we finish the selection press right click on mouse and “Make Selection” then create layer mask..The simplest path you can draw with the standard Pen tool is a straight line, made by clicking the Pen tool to create two anchor points. By continuing to click, you create a path made of straight line segments connected by corner points.- Select the Pen tool.
- Position the Pen tool where you want the straight segment to begin, and click to define the first anchor point (do not drag).
- Click again where you want the segment to end
- Continue clicking to set anchor points for additional straight segments.
- The last anchor point you add always appears as a solid square, indicating that it is selected. Previously defined anchor points become hollow, and deselected, as you add more anchor points
- Complete the path by doing one of the following:
- To close the path, position the Pen tool over the first (hollow) anchor point. A small circle appears next to the Pen tool pointer
 when it is positioned correctly. Click or drag to close the path.
 - To leave the path open, Ctrl-click (Windows) or Command-click (Mac OS) anywhere away from all objects. To leave the path open, you can also select a different tool.


Step 17
Add Adjustment Layer “Curves” and press Ctrl/Cmd + I to invert. Then use Brush Tool(B) Soft Round with foreground color white and paint on Highlight parts.

Step 18
Add Adjustment Layer “Curves” and press Ctrl/Cmd + I to invert. Then use Brush Tool(B) Soft Round with foreground color white and paint on dark parts.3 responses to “Create a Photomanipulation of a Shark and a Diver”
-
Applying human thought/morals to a shark biting a human while swimming in the ocean as trespassing. I guess we can go further and ask the shark why it bit the human if the human is just harmlessly swimming. It’s not like the shark owns that part of the ocean since the shark didn’t pay/purchase it. Who’s to say the shark wasn’t the one trespassing on another fish’s property?
-
I was getting ready to start the tutorial but found that the diver file come back as an error 404. Is there another diver file available?…thanks.
-
The Diver picture requires creating an account on the Pixabay website. But you can find alternatives that don’t require an account here: https://pixabay.com/images/search/diver/
-


Leave a Reply