

Step 19
Add Adjustment Layer “Levels” and press Ctrl/Cmd + I to invert. Then use Brush Tool(B) Soft Round with foreground color white and paint on dark parts.

Step 20
Next, Go to File > Place and open Bubbles stock photo. Place it and position the image with the transform tool (Ctrl / Cmd + T). Hold Alt + Shift and resterize like image below. Create layer mask and use Brush Tool(B) Soft Round with foreground color black and start painting left corner like as image below. Blend mode change to Lighten.

Step 21
Now add Adjustment Layer “Levels” to make visible only bubbles.

Step 22
Place another Bubbles, Go to File > Place and open Bubbles stock photo. Place it and position the image with the transform tool (Ctrl / Cmd + T). Hold Alt + Shift and resterize like image below. Create layer mask and use Brush Tool(B) Soft Round with foreground color black and start painting like as image below. Blend mode change to Lighten.


Step 23
Add Adjustment Layer “Curves”

Step 24
Next, Go to File > Place and open Underwater1 stock photo and place it to our work canvas. Blend mode change from Normal to Multiply with Opacity 25%.
Step 25
Add Adjustment Layer “Gradient Map” and blend mode change to Soft Light with Opacity 65%.
Step 26
Add Adjustment Layer “Color Lookup” and for 3DLUT File select Kodak 5218 Kodak 2383. Opacity reduce to 50%.
Step 27
Create a new layer and change Blend mode to Soft Light then use a Brush Tool(B) Soft Round with foreground color white and Size to 3000px. Then paint to the top of the image.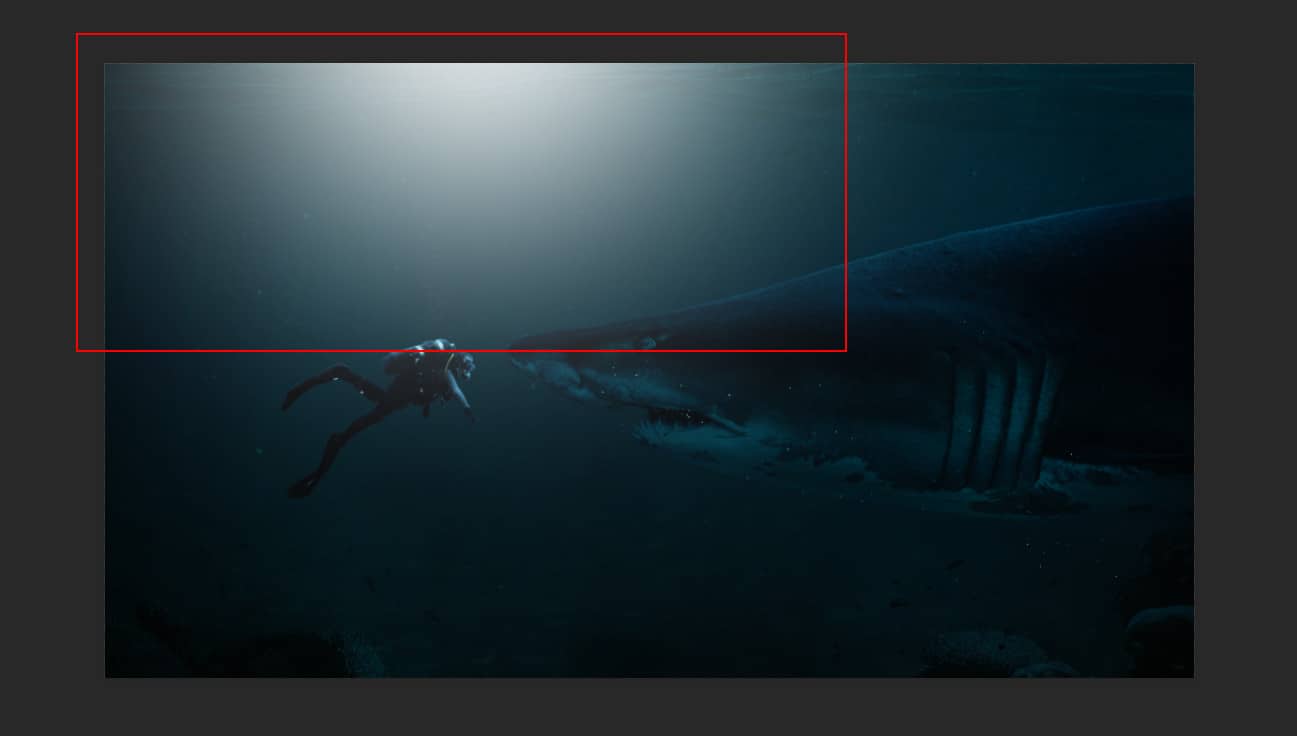
Step 28
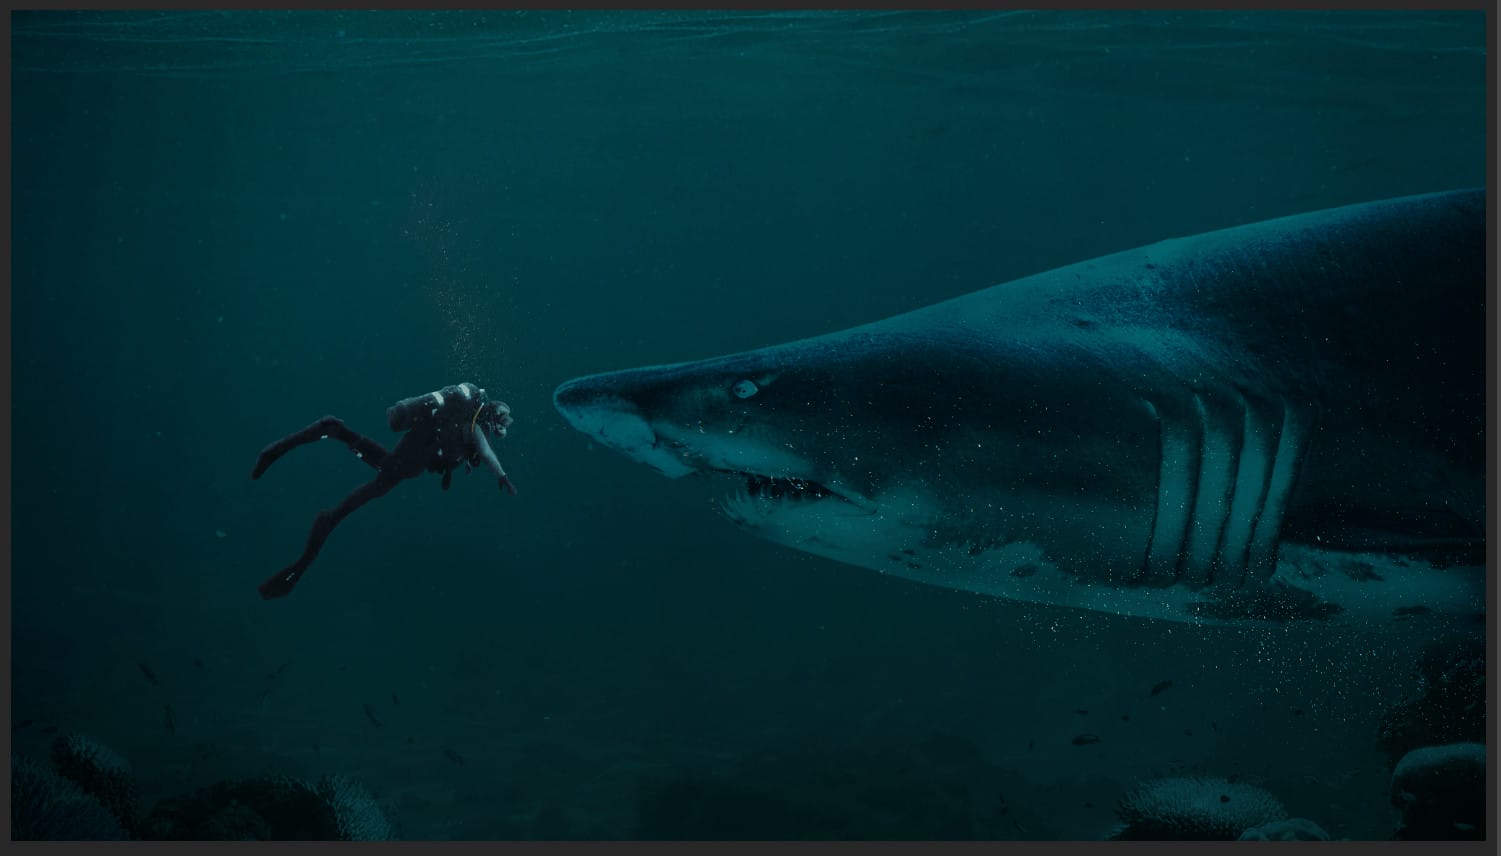
Now repeat the same process from the last step but only blend mode is Normal and Opacity is 18%. See the picture below…

Step 29
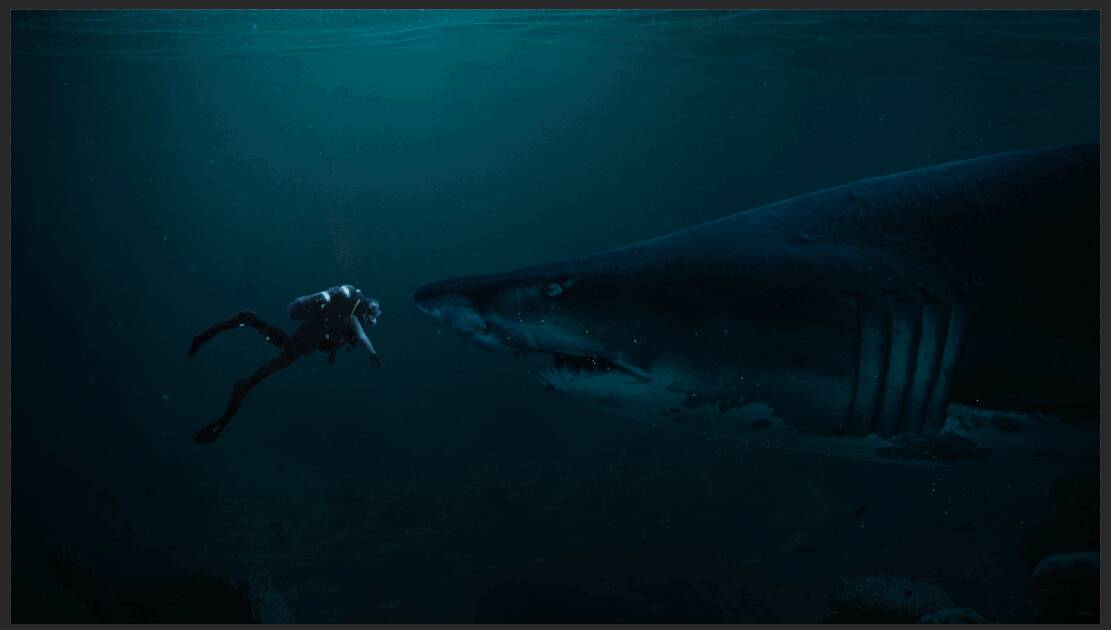
When we finished all this, now merge all layers to one. Slecet the last layer and hold CTRL/CMD + SHIFT + ALT + E. Now we have a final layer, right click on mouse and select Convert to Smart Object. Then go to Filter > Camera RAW Filter. At its most basic, the Photoshop Camera Raw filter allows you to use the functions of the ACR interface at any time within Photoshop. This allows you to make any adjustments within ACR at any time during your workflow instead of just limiting its usage to theraw processing stage.While it would be possible to import your working file into Lightroom to make the same sets of adjustments, doing this in Photoshop saves you from that cumbersome step. It allows you the use of these tools without any extra effort.3 responses to “Create a Photomanipulation of a Shark and a Diver”
-

Applying human thought/morals to a shark biting a human while swimming in the ocean as trespassing. I guess we can go further and ask the shark why it bit the human if the human is just harmlessly swimming. It’s not like the shark owns that part of the ocean since the shark didn’t pay/purchase it. Who’s to say the shark wasn’t the one trespassing on another fish’s property?
-
I was getting ready to start the tutorial but found that the diver file come back as an error 404. Is there another diver file available?…thanks.
-
The Diver picture requires creating an account on the Pixabay website. But you can find alternatives that don’t require an account here: https://pixabay.com/images/search/diver/
-
Leave a Reply