


In the Gradient Overlay setting, use following color in the gradient. To edit the gradient, click its preview to open Gradient Editor dialog box. Click below the bar to add color to the gradient.

This is the result we have.

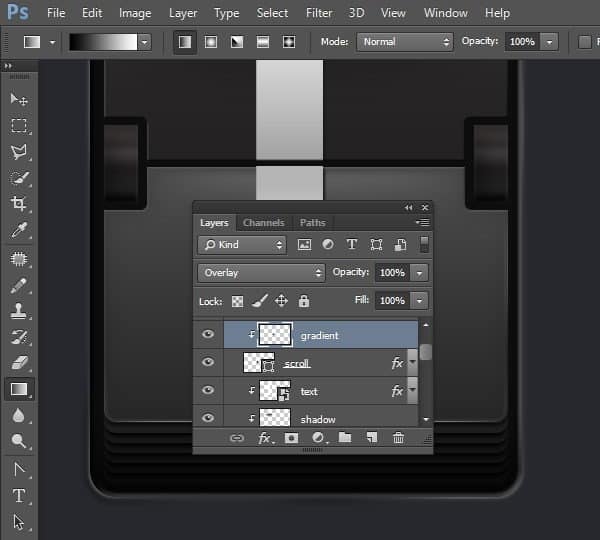
Step 54
Ctrl-click the rectangular shapes we have made earlier. Make new layer and then fill it with gradient from black to white as seen below.

Step 55
Change its blend mode layer to Overlay.
Step 56
Now, we want to add lines into the rectangular shapes. Make new layer and then draw a black line using Pencil tool. To produce a perfect straight line, drag while holding the Shift key

Step 57
Hit Ctrl + A then Shift + Alt + Down. This step will duplicate the line we have just made earlier.

Step 58
Without removing the selection, hit Ctrl + Shift + Alt + Down to keep on duplicating the line repeatedly.

Step 59
Convert the lines layer to Clipping Mask, nested to the rectangle shape layer.

This is the result we have.

Step 60
Ctrl-click the base of the displayed text to make new selection based their shapes. Click Edit > Stroke. Set width to 2 px with color white and location inside. Hit OK button.

Step 61
Soften the stroke by applying Gaussian Blur filter. Set its Radius to 2 px.

Step 62
Add layer mask into the mask and then fill it with black. Paint white using soft brush to reveal some parts of the stroke line.

Notice the subtle differences before and adding highlight on the text base edge.


Step 63
Select the text display group layer. Hit Ctrl + J to duplicate it. Move its position next to the original text.

Step 64
To help us keep track in the editing process, rename the new text display to Second Digit.

Step 65
Currently, both texts are identical. We don’t want this. We don’t each text to be individually unique. To do this, we will add custom highlight on each of the text display. The process is similar to adding highlight that we’ve done earlier. Start by adding new group layer on top, for its name use custom highlight.

Step 66
Ctrl-click the holes shape in both the text display to make new selection based on its shape.

Step 67
Make new layer and then fill it with gradient frm white to black.
6 responses to “Draw an Airport Mechanical Text Display From Scratch”
-

text
-
Just Wondering how this is used to create a Airport Signboard – Is it used like a font?
-
The DL link for .zip file is broken.
“Airport Mechanical Display.zip | 3.3 MB ”
F1
Any help?-
Sorry linked fixed :)
-
-
It is like HTC android UI
-
Leave a Reply