
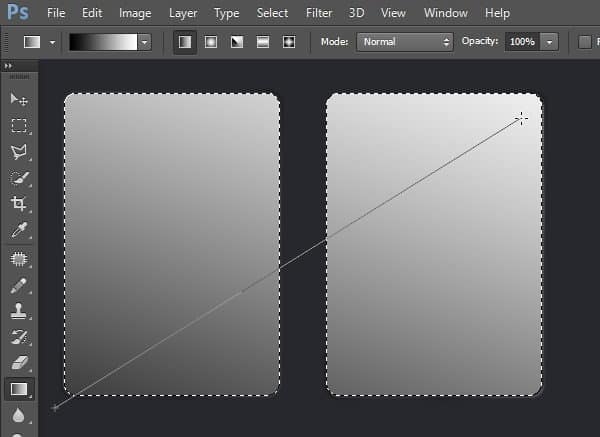
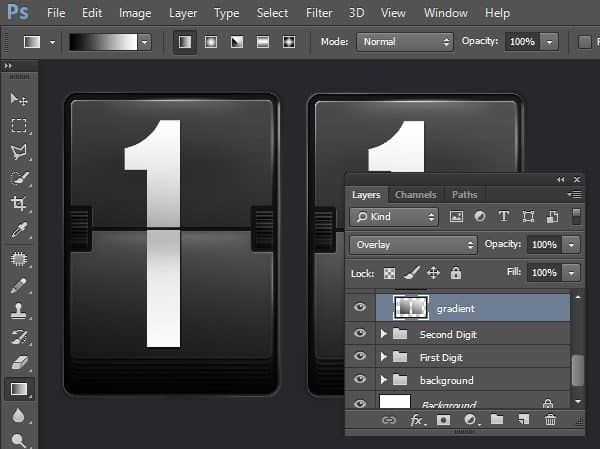
Step 68
Change its layer’s blend mode to Overlay. Right now, one of the text is darker than the other.

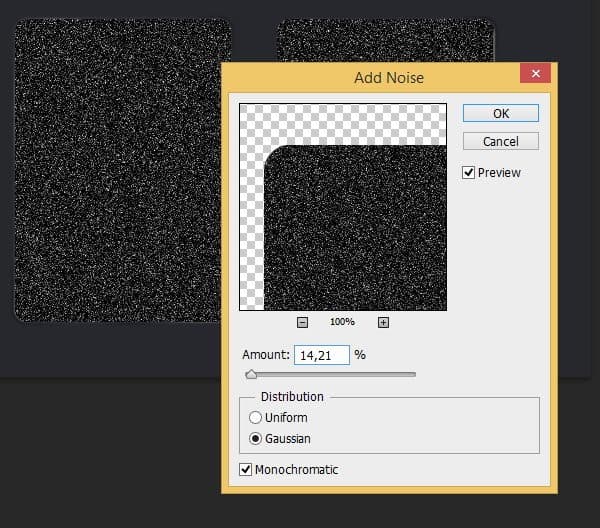
Step 69
Without removing the previous selection, make new layer and then fill it with black. Click Filter > Noise > Add Noise.
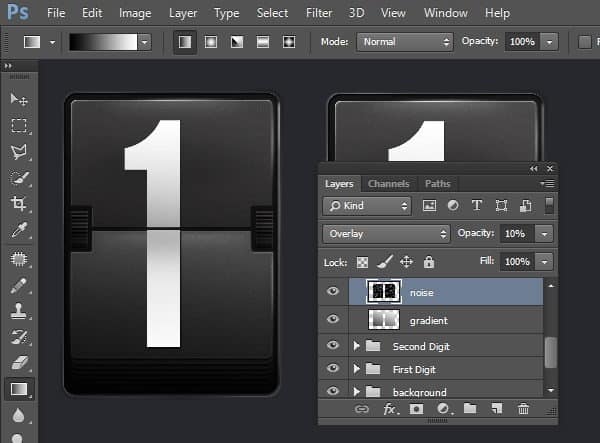
Step 70
Change layer’s blend mode to Overlay.
Step 71
Using earlier selection, apply Stroke command. Set its color to white with width 2 px.
Step 72
Soften it using Gaussian Blur. Add layer mask and then fill it with black. Paint some of the stroke line segment with white to reveal it back.
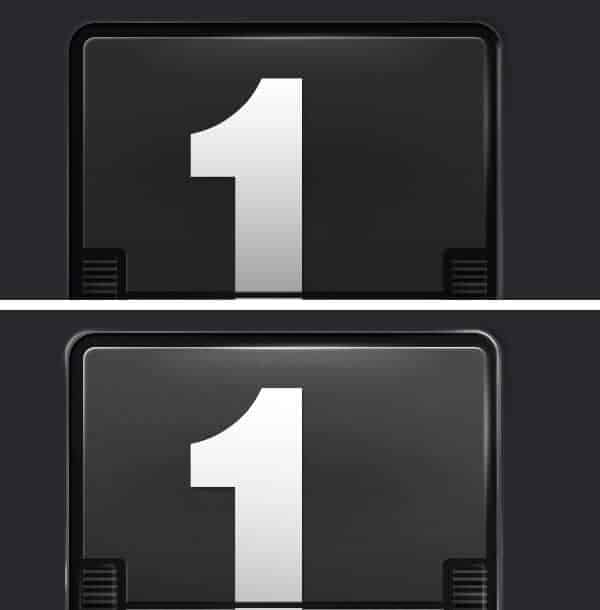
Step 73
Below, you can see the difference after before and after adding custom highlight.
Step 74: Fixing Text
Currently, both texts come from the same Smart Object. This means that if we edit of the text, the other will automatically updated too. Try this by double clicking one of the text to edit its content.
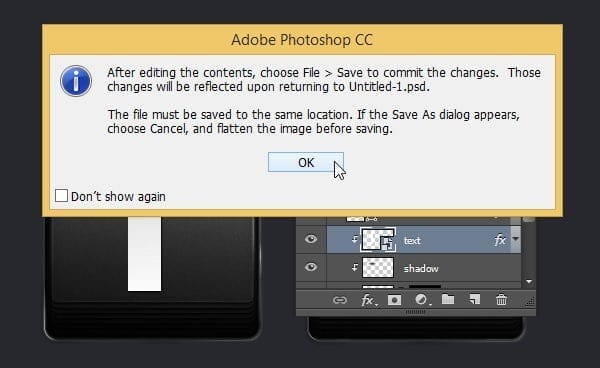
Step 75
You might find this dialog box, informing you to save to the same location. If you do find it, just click OK.
Step 76
The text will be opened in a separate file. Change the text and then hit Ctrl + S to save it. If the text doesn’t fit the canvas, click Image > Reveal All to resize the canvas automatically.

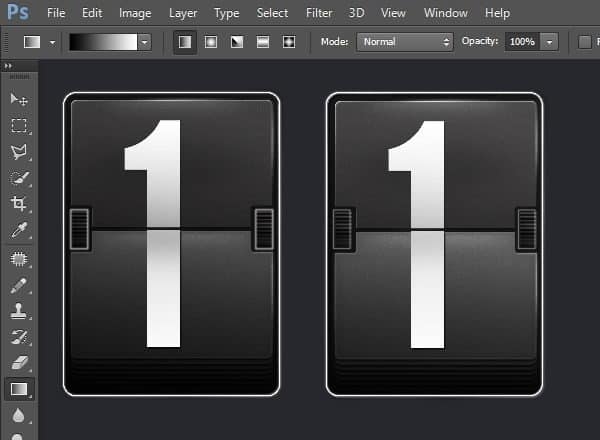
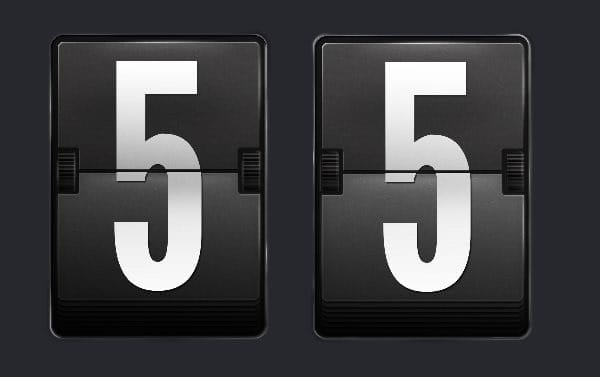
Step 77
As you can see in the screenshot, the text in both display is updated. Of course, we want each text to be unique.
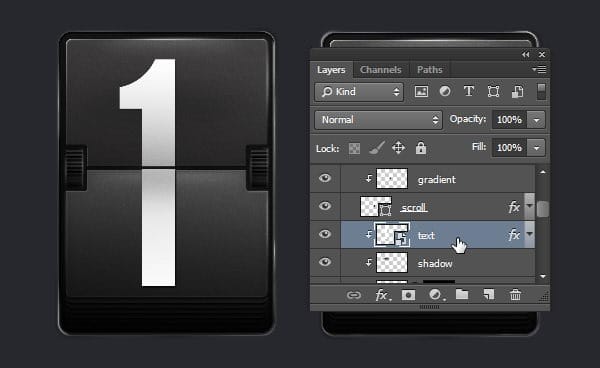
Step 78
Open up the First Digit group layer. Select its text layer and then duplicate it (Ctrl + J).
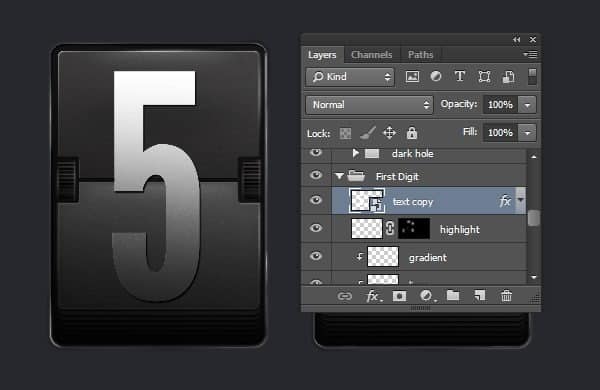
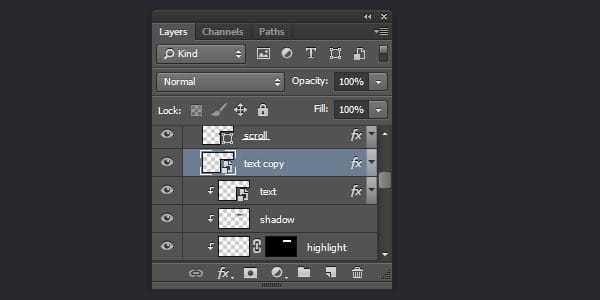
Step 79
Place it on top of the layer and click its eye icon to make it invisible. From now on, if we want to edit the text, all we have to do is just double click this text layer without going through inside the group layer.
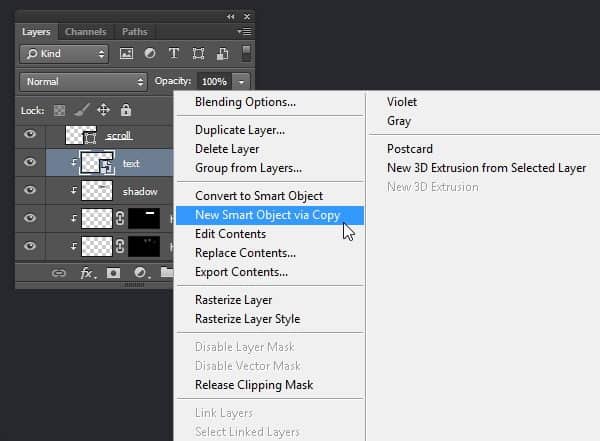
Step 80
Open up the group layer in Second Digit and search for its text Smart Object. Right click and then select New Smart Object via Copy. Photoshop will create new duplicated Smart Object but not related to the original one. Replace the original text Smart Object with the new one.
Step 81
We are now going to test the new Smart Object. Double clik the text we have just duplicated.
Step 82
The text Smart Object is opened in new file window. Edit its text. Save and close the file.

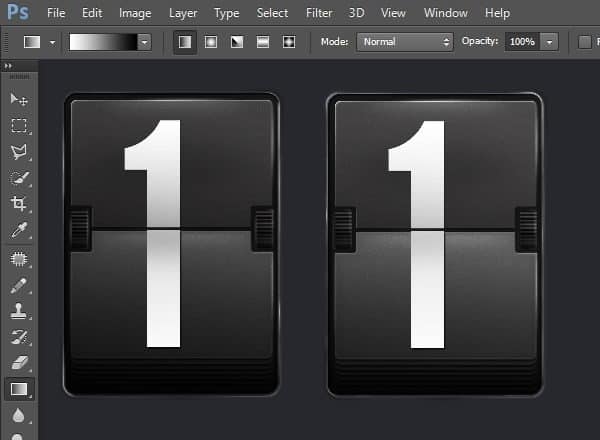
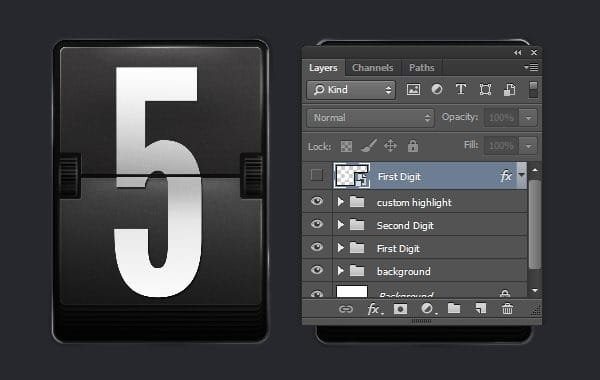
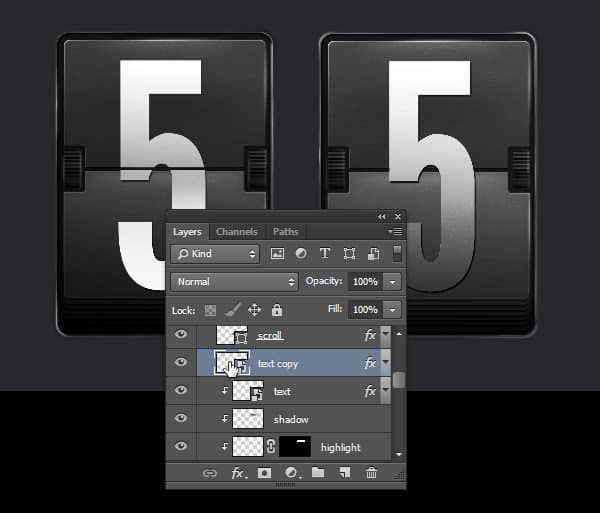
Step 83
As you can see here, the changes we made in this new Smart Object is independent from the first one.
6 responses to “Draw an Airport Mechanical Text Display From Scratch”
-

text
-
Just Wondering how this is used to create a Airport Signboard – Is it used like a font?
-
The DL link for .zip file is broken.
“Airport Mechanical Display.zip | 3.3 MB ”
F1
Any help?-
Sorry linked fixed :)
-
-
It is like HTC android UI
-
Leave a Reply