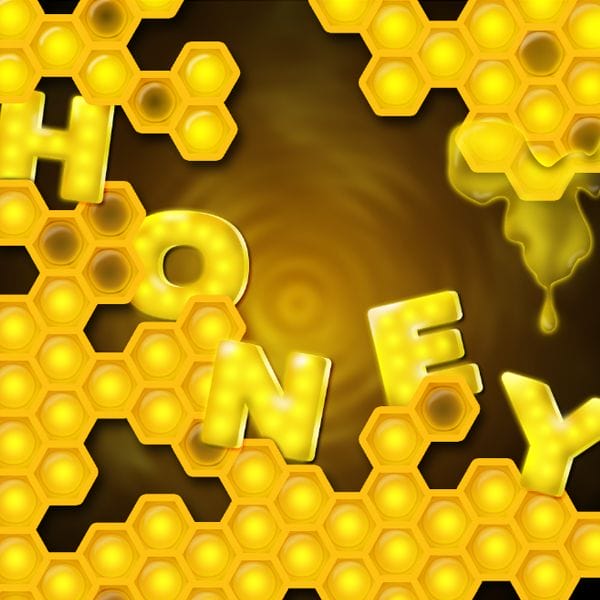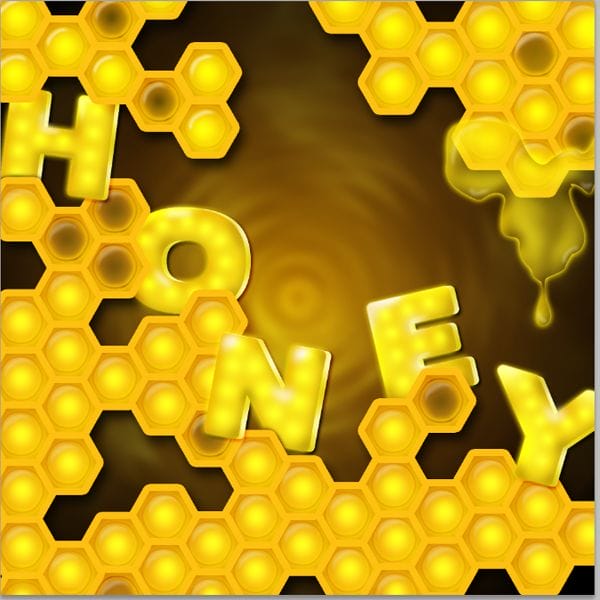
Step 58
Change this layer to Multiply with an Opacity of 22%

Step 59
Go on to your other drips and add these same settings.

Step 60 Honey Bee
Find yourself a free stock photo of a honeybee and add it to your image.

Step 61 Shadow
Create a New layer, now make sure that this layer is all the way at the top. Grab a soft round brush a fairly large size 236px and paint black #000000 around the edges

Step 62
Change this layer Opacity to 50%

Final Results
![final-results[1] final-results[1]](https://cdn.photoshoptutorials.ws/images/stories/fdc3afb775d1_D86/final-results1.png?strip=all&lossy=1&webp=82&avif=82&w=1920&ssl=1)
Authors Comment
One response to “Create a Honeycomb Artwork in Photoshop”
-
really awesome except for the honey drips which are a bit too lumpy for actual honey.


 I hope you enjoyed it.
Leave a Reply