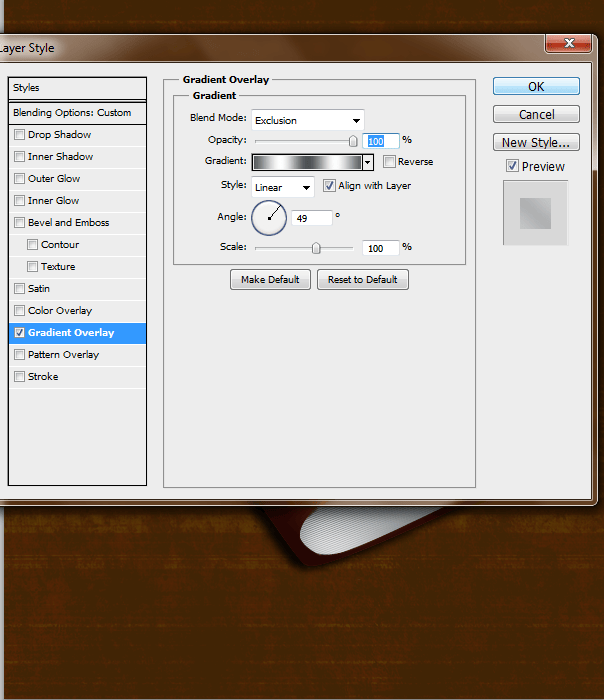
Step 20 Ribbon
Create a new layer and name it ‘ribbon’ and with your pen tool create the shape of a ribbon. Duplicate this layer
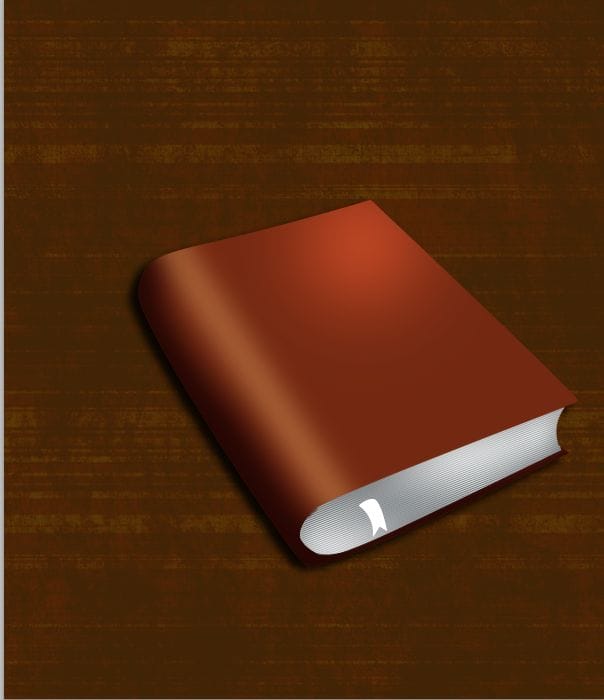
Step 21
Add these layer styles to the first layer


Step 22
On the second Ribbon layer beneath the first layer change the Opacity to 49% and change the Color Overlay

Step 23
Apply a Gaussian Blur
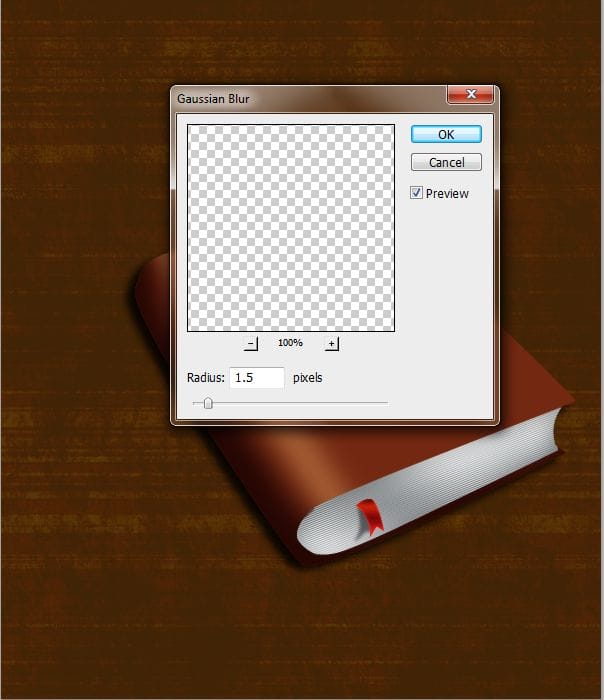
Step 24
Create a new layer and make a selection of your ‘page’ layer and apply a stroke
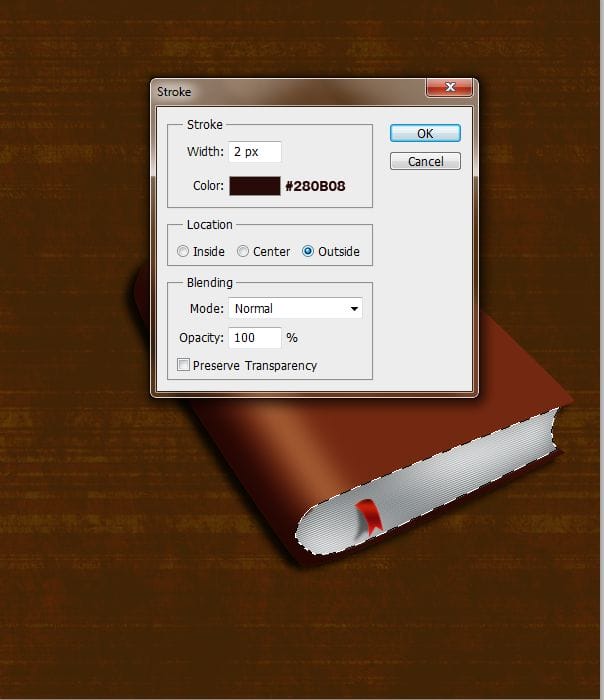
Step 25
Erase some parts of the line and apply a Gaussian Blur
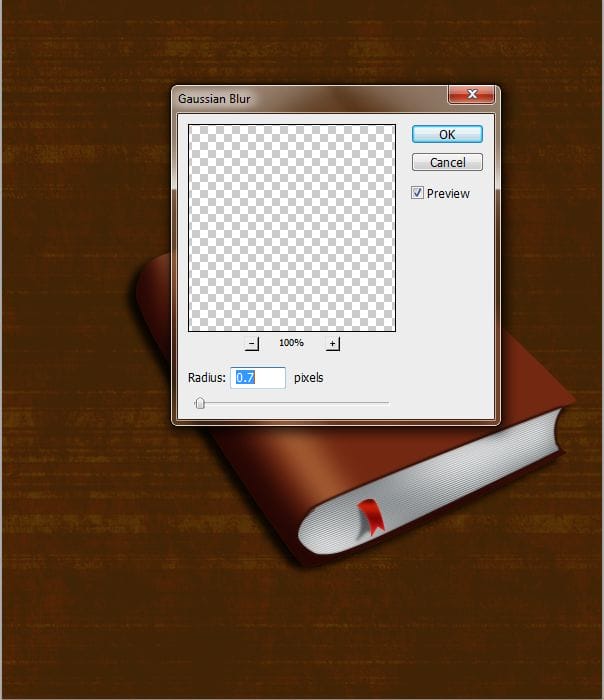
Step 26
Create another layer and apply another stroke. Make a selection from the ‘book’ layer
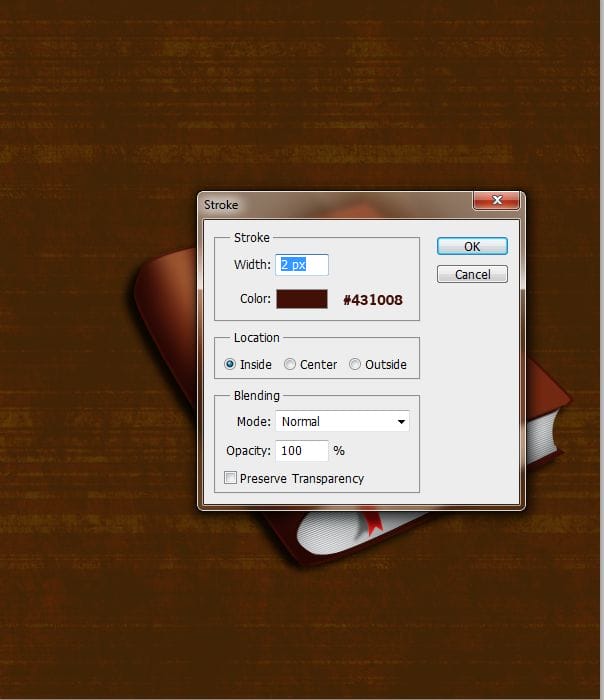
Step 27
Grab your pen tool and make sure that your paint brush tool is set to #ffffff 7px soft round brush and make markings on the spine of the book

Step 28
Change the Opacity of this layer to 9%
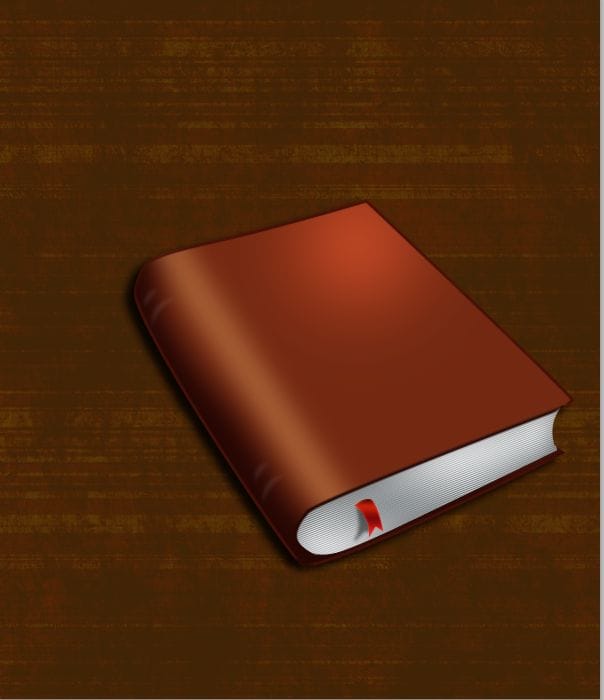
Step 29
Create a new layer and make some more markings but this time make sure your paint brush tool is set to 7px #421209

Step 30
Change this layer to Multiply with an Opacity of 76%
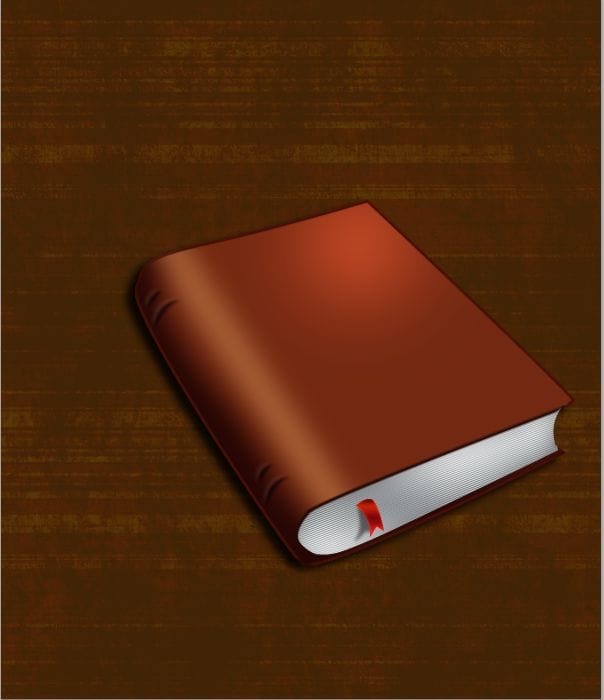
Step 31
Open up your texture and line up your texture, erase the outer parts
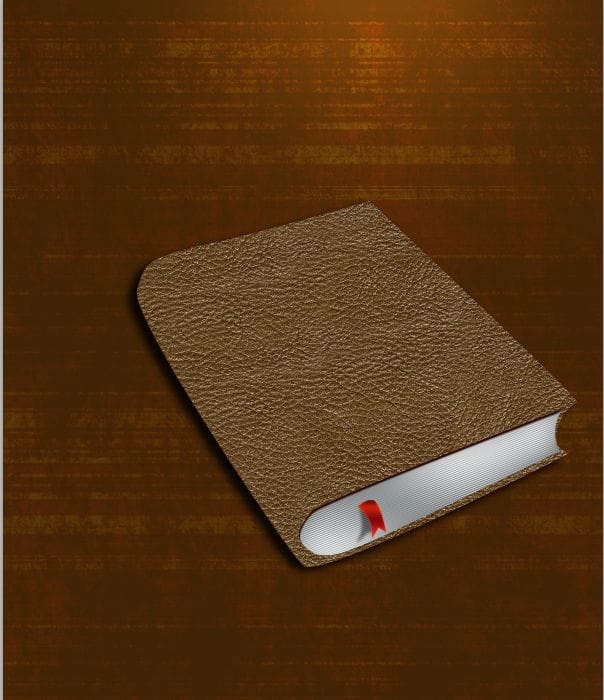
Step 32
Change this layer to Multiply

Step 33
Grab your Custom shape tool and make this shape
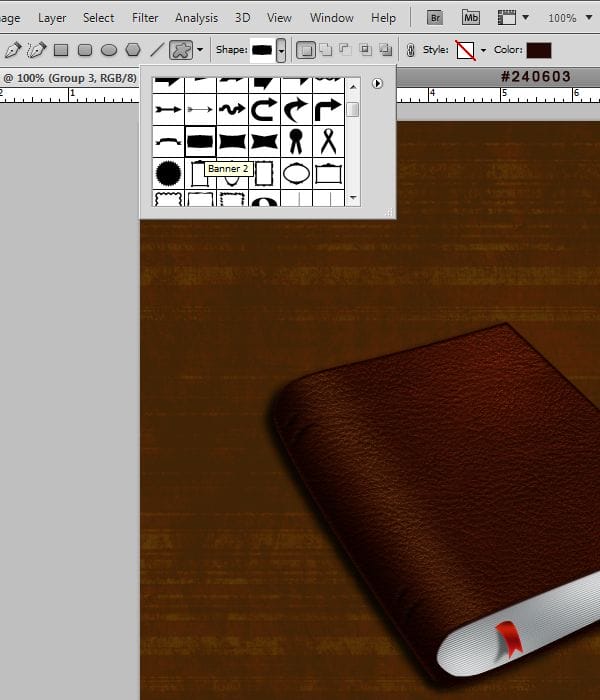
Step 34
Rotate it so that it lines up with the book. Change this layer to Soft Light with an Opacity of 64%
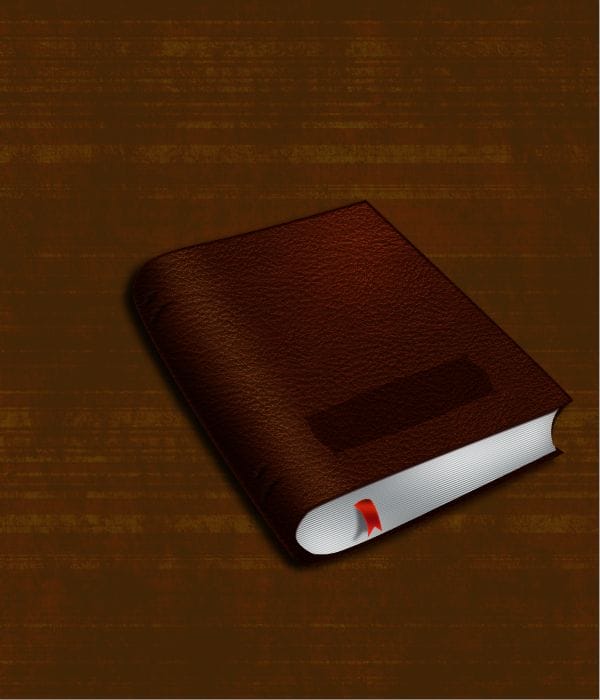
Step 35
Add these layer styles
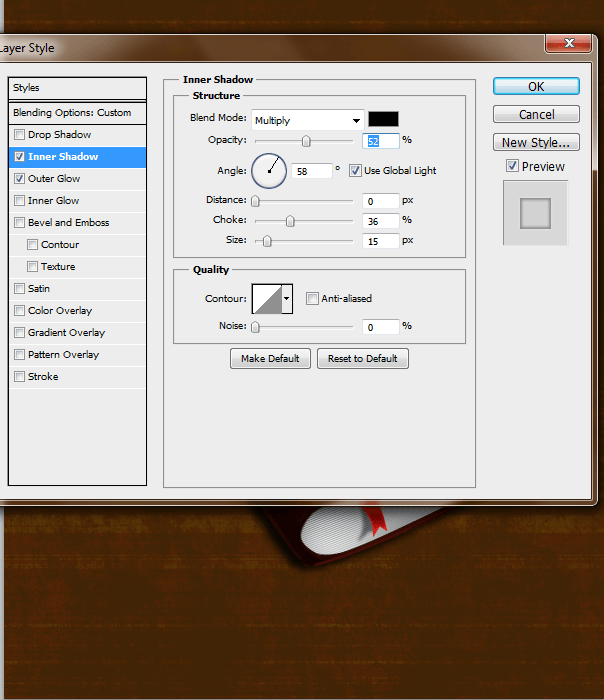

Step 36
Grab your pen tool and make the strap, the color I used to fill it is #732811
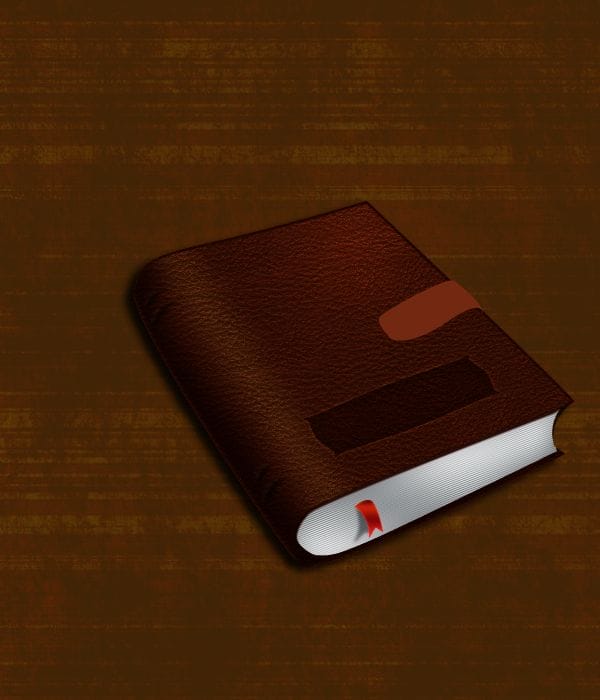
Step 37
Create a new layer and apply the leather texture again to this strap. Change the layer to Multiply
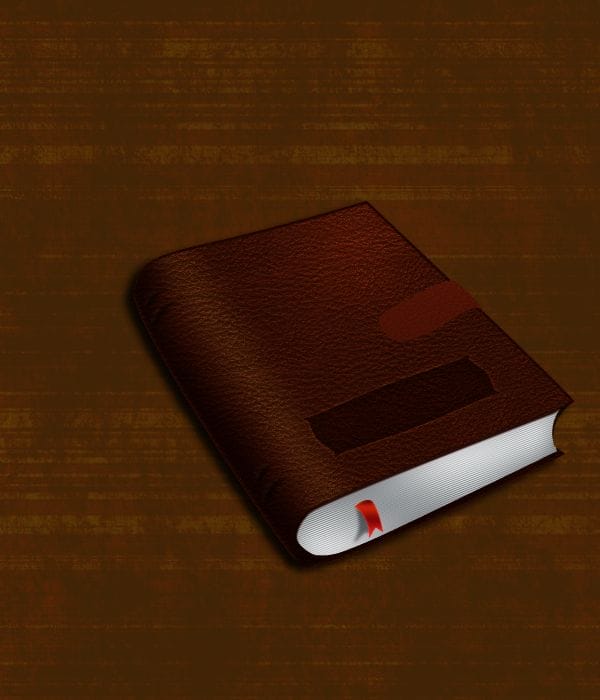
Step 38
Apply a Drop Shadow

Step 39
Duplicate this layer but make the Drop shadow invisible by clicking the ‘eye’ on the duplicated layer

Step 40
Grab a soft round brush #240603 and paint along the edges of the strap on a new layer
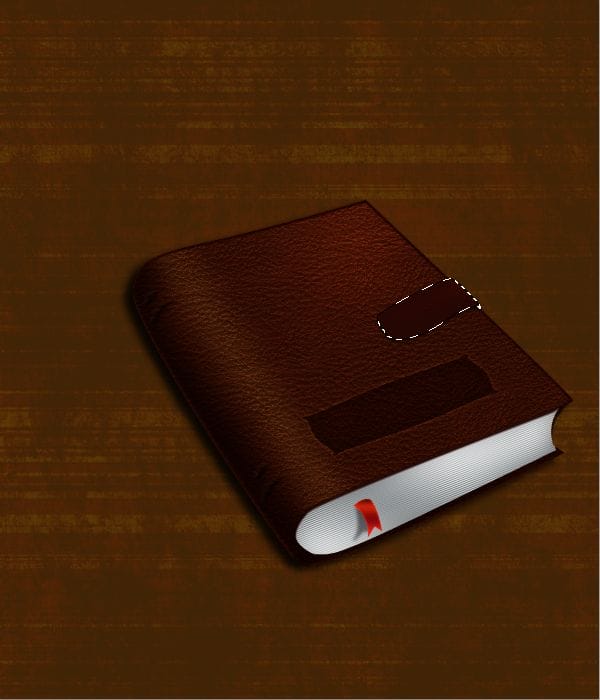
Step 41
Change this layer to Soft Light with an Opacity of 48%
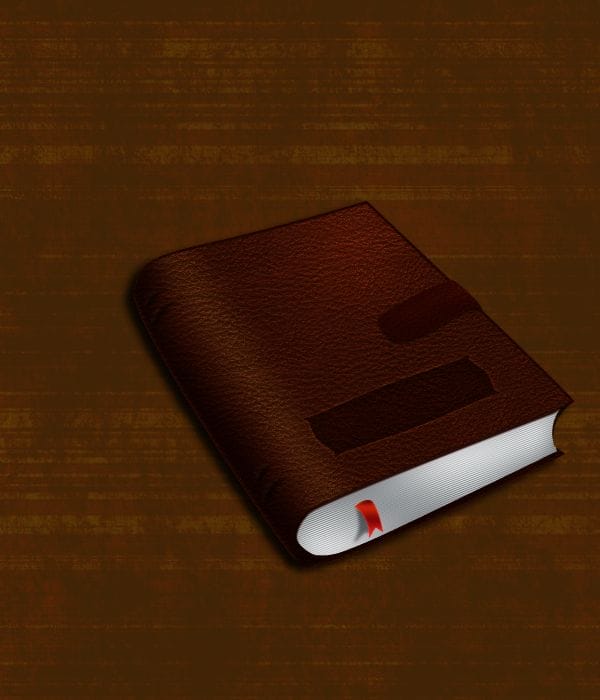
Step 42
Create a new layer and grab your pen tool and make a smaller strap
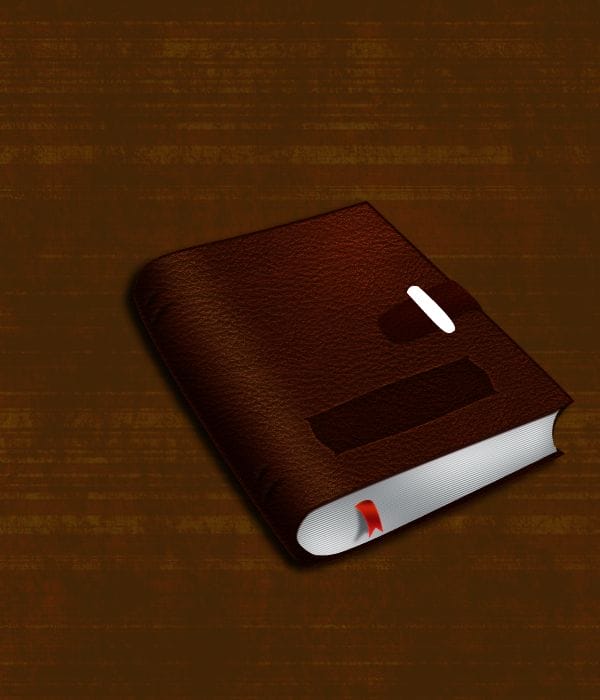
Step 43
Add these layer styles


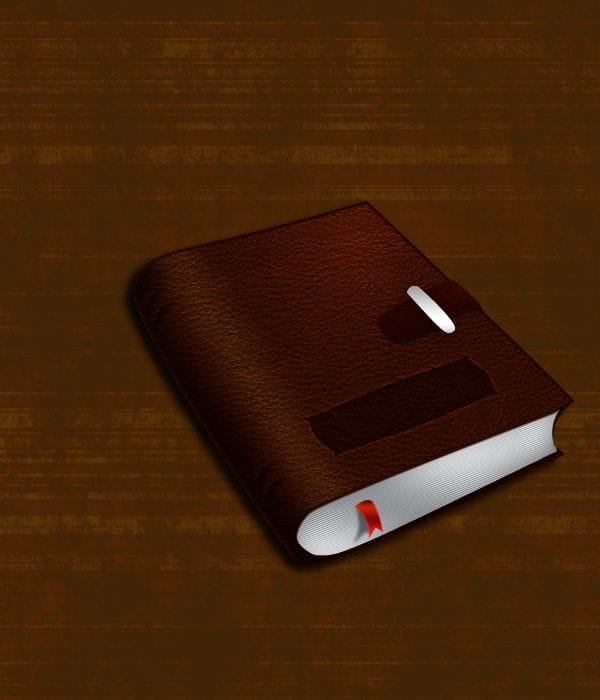
Step 44
Create a new layer and add the leather texture and change it to Linear Burn
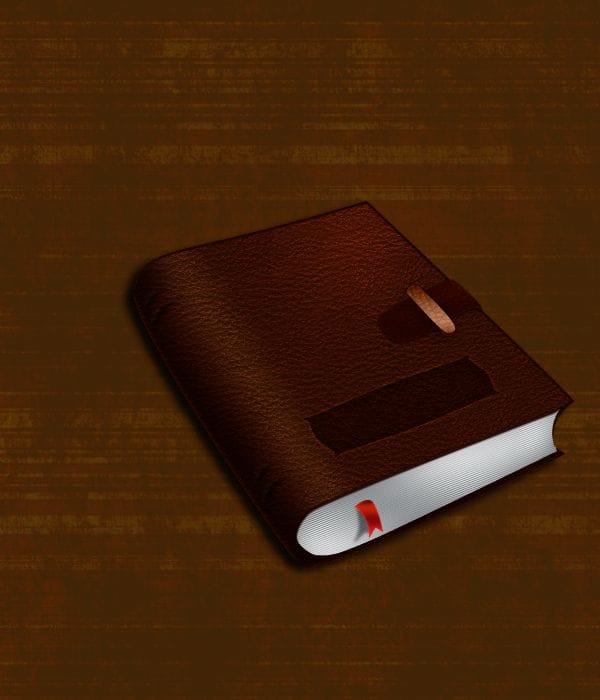
Step 45
Grab your paint brush tool and add some shadow around the smaller strap #a16a49. Change this layer to Multiply
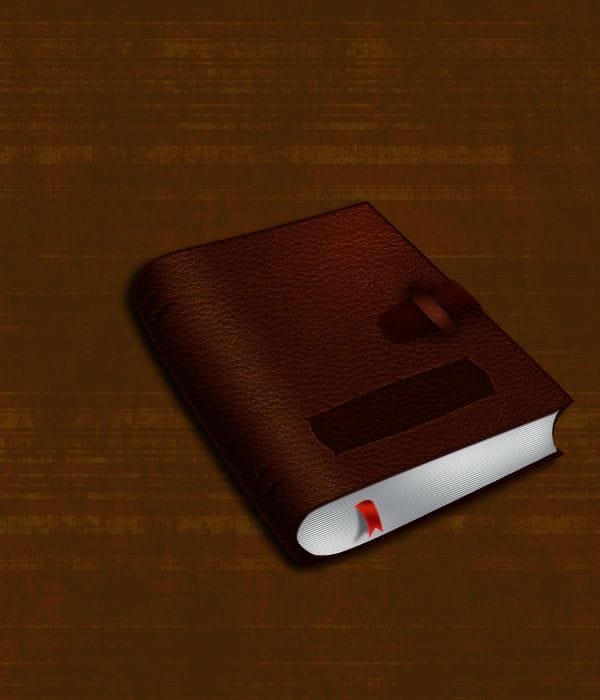
Step 46
Create a new layer and with a 23 px soft round brush make another line. I’m using the color #2c0d05
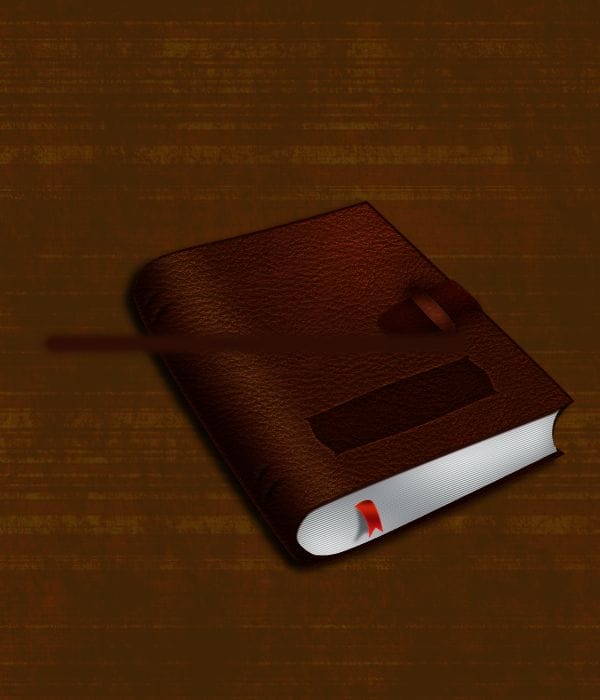
Step 47
Edit>Free Transform and align it along the spine of the book and change this layer to Soft Light. Erase any parts that are not needed.
4 responses to “Create a Leatherback Book Icon in Photoshop”
-
After I complete a step 16 I can’t delete unescesary areas, they just fade out, but don’t delete, HELP!
-
Not a fan of the final results but learned a lot thanks
-
Step 5 How to make it stand up vertically instead at angle.
-
So detailed. Like it very much! Thanks!


Leave a Reply