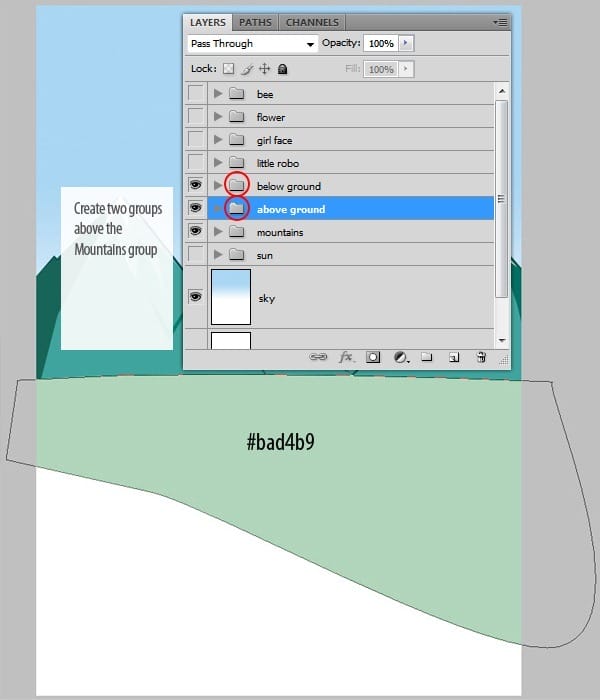
Draw another ground shape in the “Below ground” group.

Apply gradient to the ground. Use the following values.

Add stroke using Pen Tool .

Step 11 : Drawing plants.
Create a new group called “Plants” and place it above the ground layers. Let’s start by creating cactus. Follow the steps.
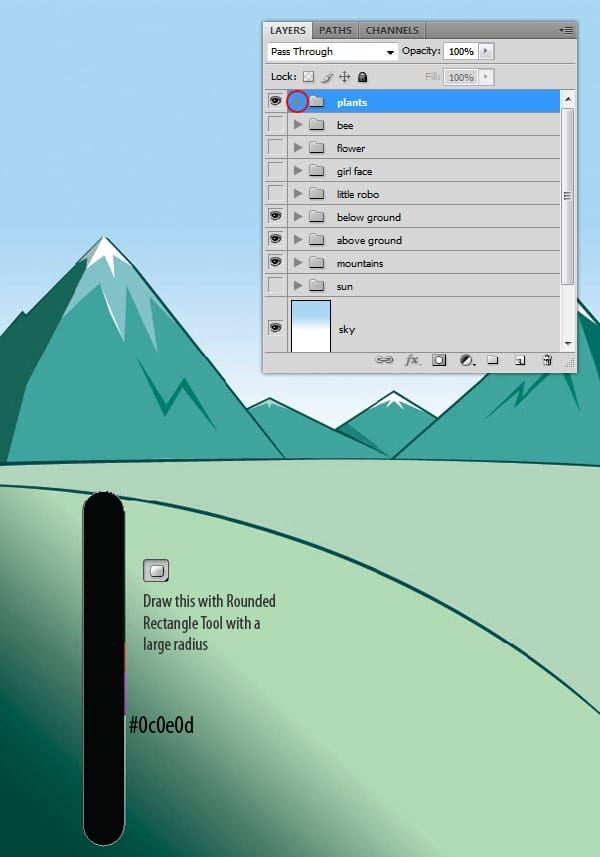
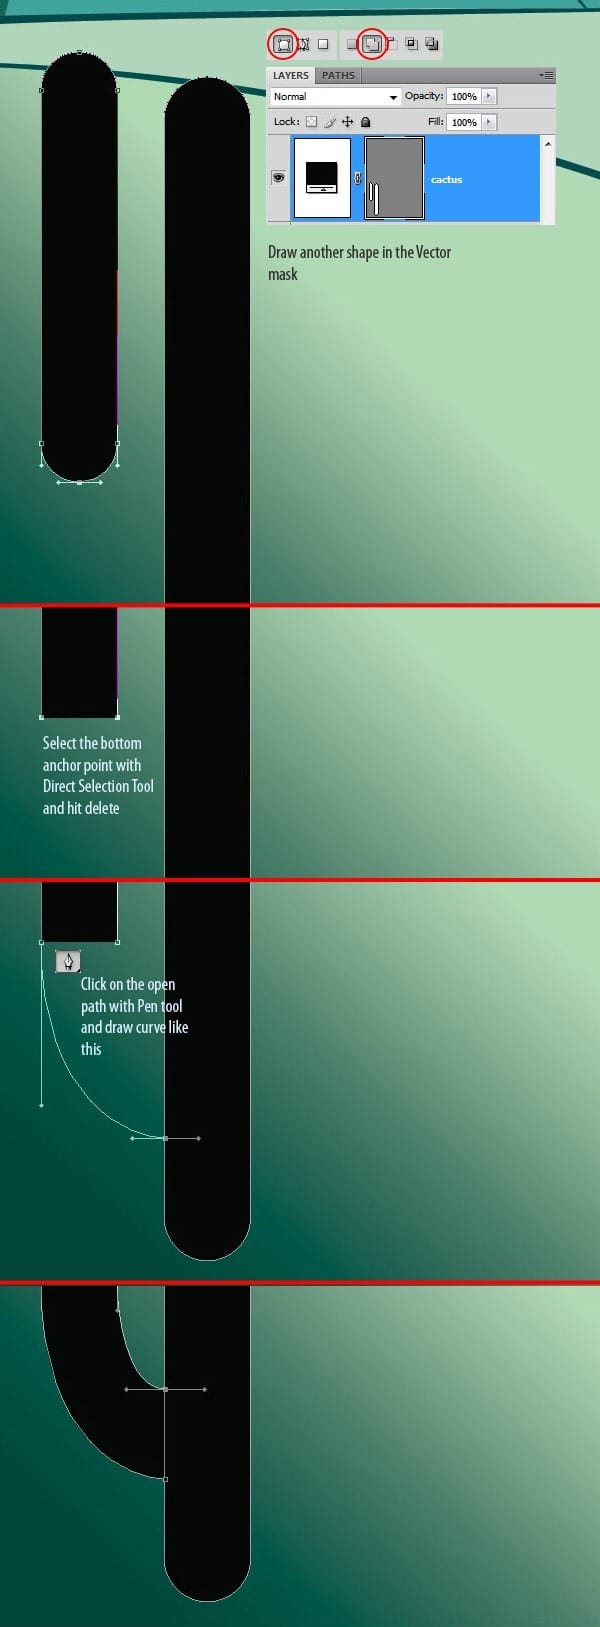
Draw the other side.
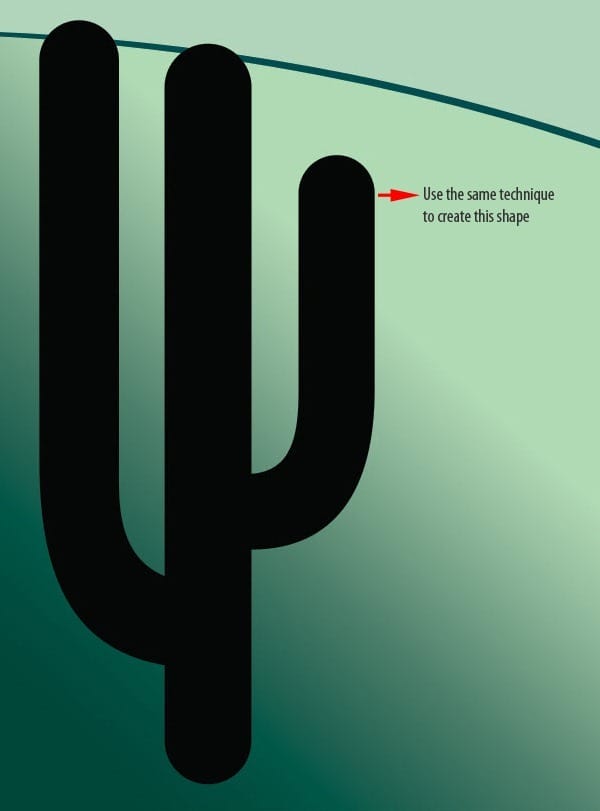
Ctrl+click on the Vector mask. Contract the selection by 10 pixels. Go to Select > Modify > Contract. Create a new layer and fill the selection with #162116.

Create bush. Pick the Pen Tool, start with one simple curve then create more by drawing in the vector mask.
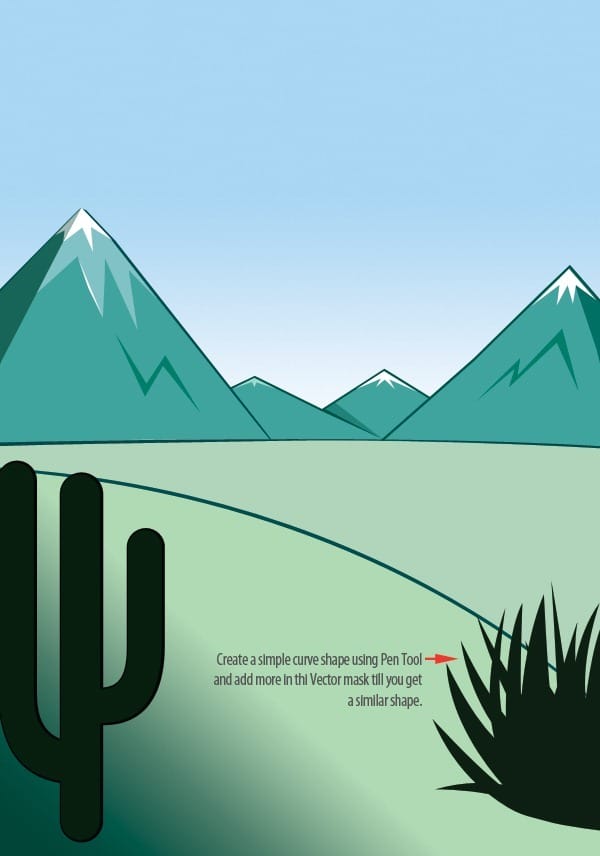
Step 12 : Create another plant
Draw another plant. Create a new group called “Bushy Plant”. Select the Pen Tool and draw the outline of the plant. Place the group between the two ground layer groups.
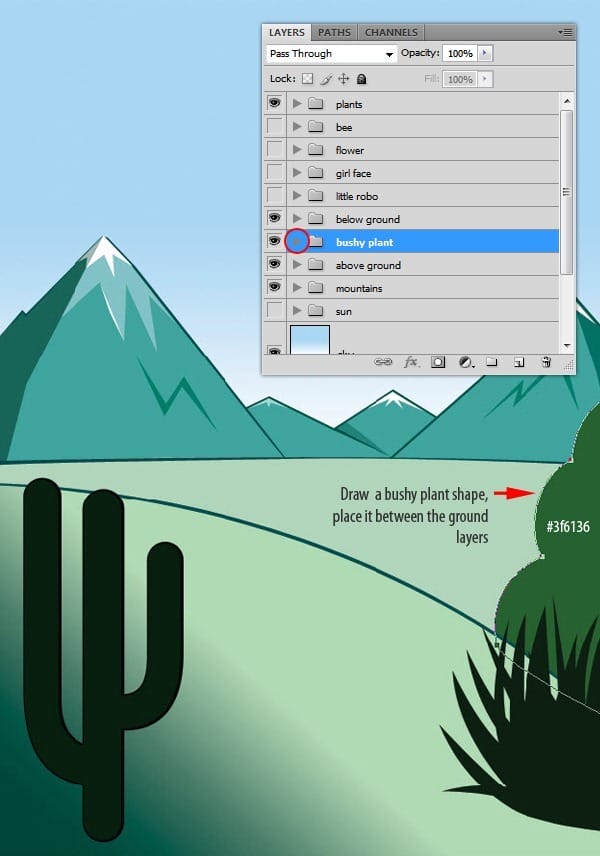
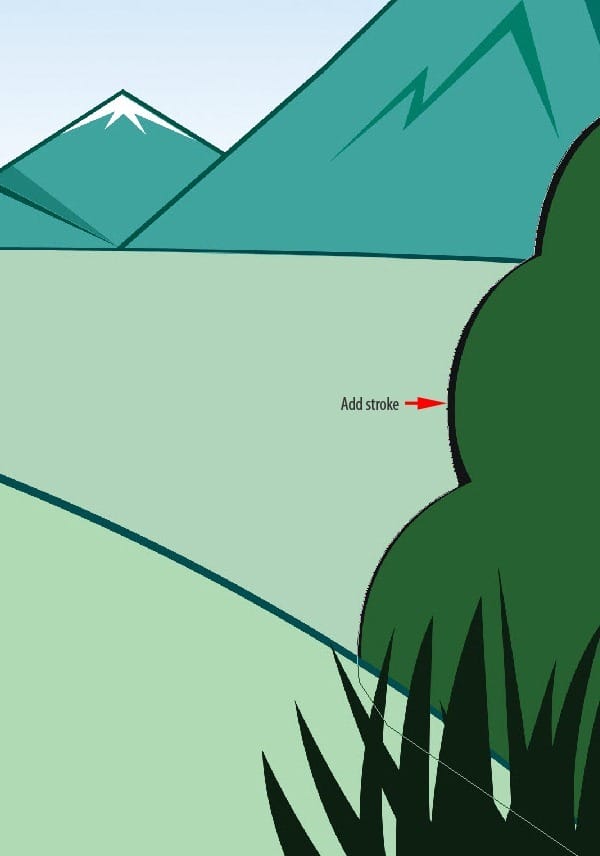
Add a stroke. Duplicate the above shape and change the color to #0c0e0d. Place it under the above layer.
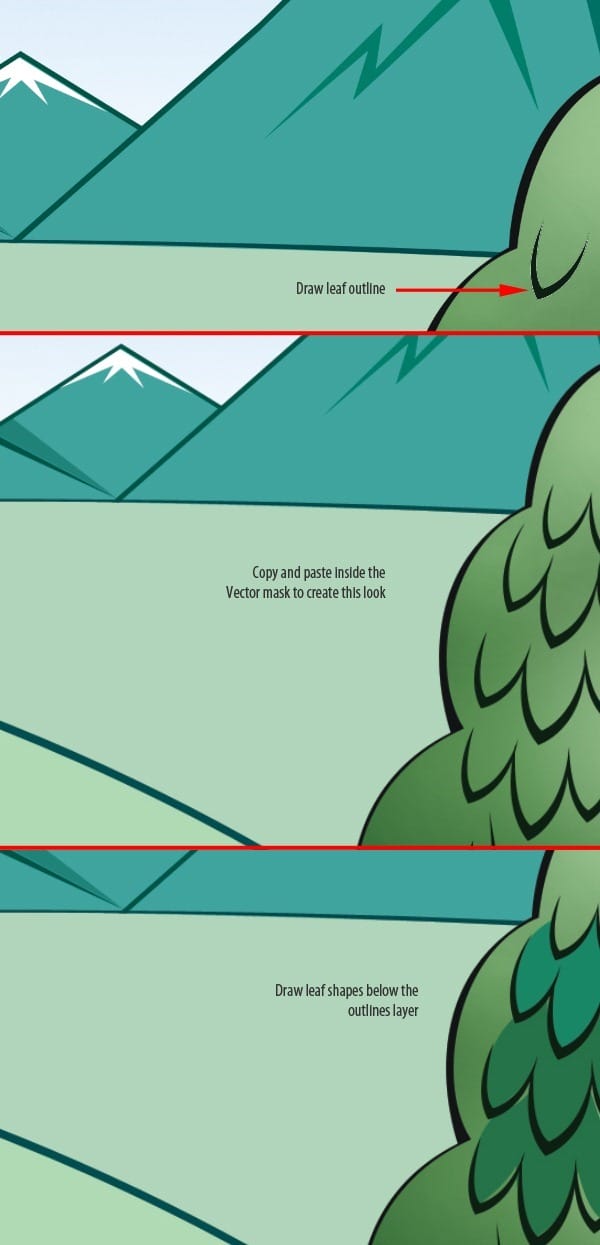
Give some color treatment to the plant, create a new layer above the plant shape, take a large soft brush, pick a bright green color and add some color.
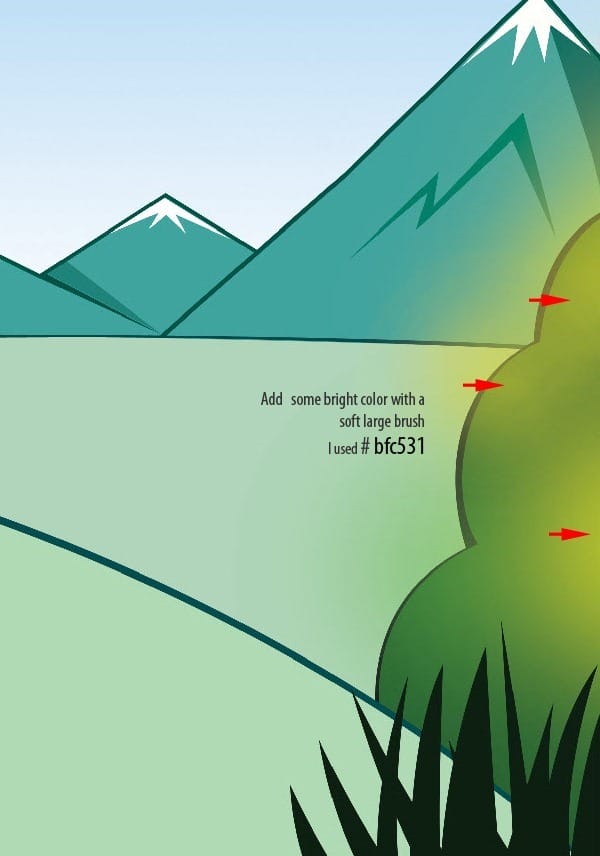
Clip the layer to the shape layer, change the blending mode to Luminosity.

Draw leaf outlines.
Step 13 : Drawing Clouds
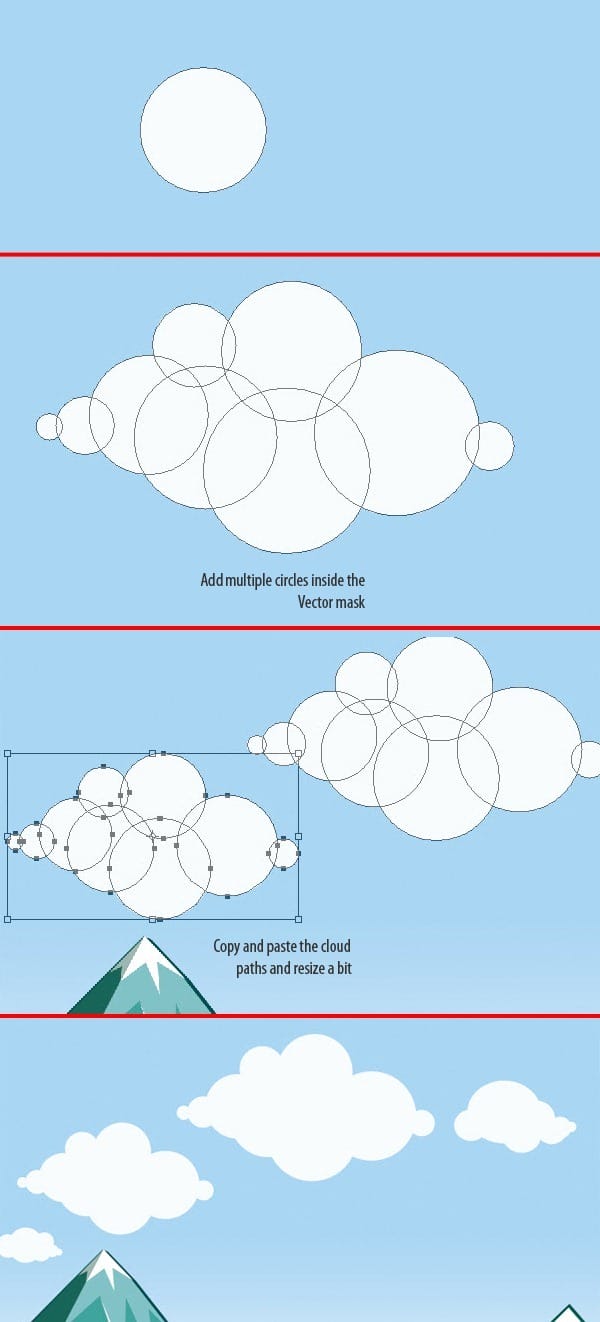
Creating clouds is quite simple. Start by creating one shape layer and draw inside the vector mask holding “Shift” key. Once a full cloud is completed just select the paths with Path selection tool, copy and paste them to create multiple copies. Resize a bit by pressing Ctrl+T. Place this layer above the “Sky” layer.
Step 14 : Organize layers
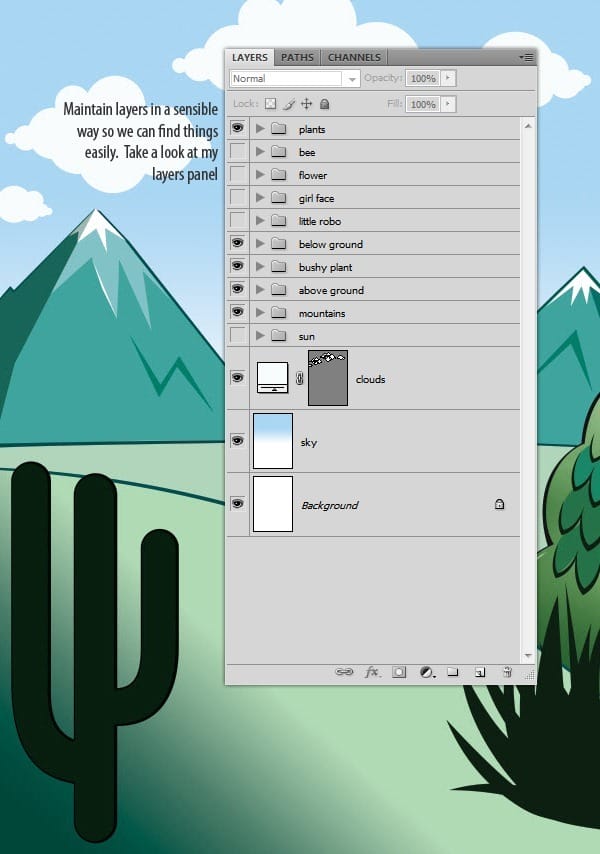
Take a look at our Layers palette notice how things are organized.
Step 15 : Setting up the characters
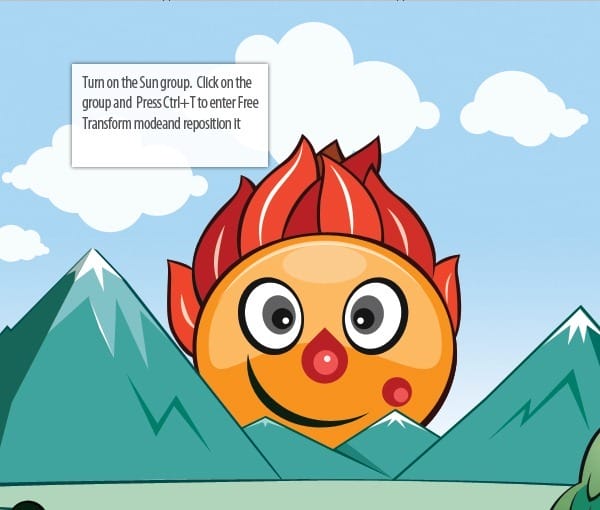
Turn on the “Sun” group. Reposition it as below.
Turn on the “Little Robo” group. Arrange it like below.
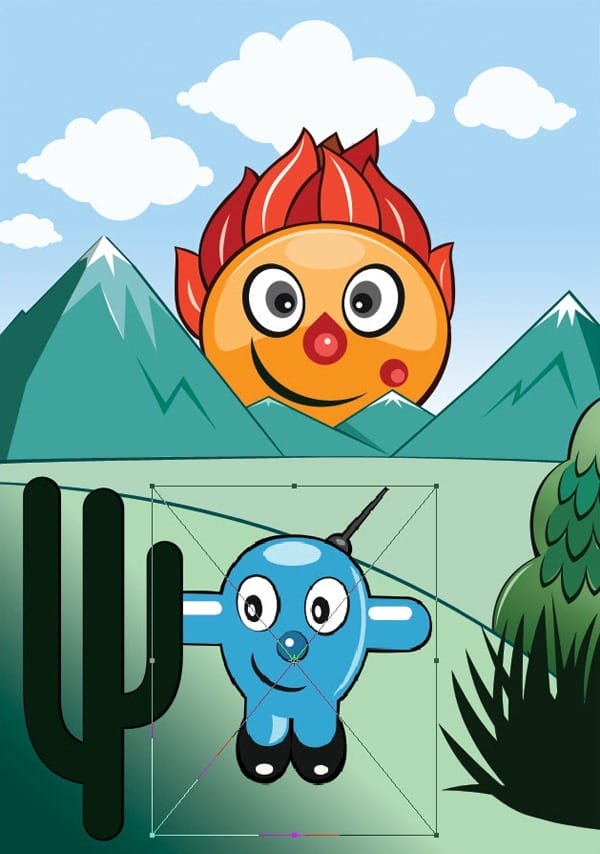
Now draw shadow to the robo character. Create the shadow with Ellipse Tool or using Pen Tool, place it at the very bottom of the layer stack of the group. Set color to #000000, reduce the layer opacity to 50%.

Turn on other characters as well and arrange them similar to the image. Resize them if your characters happen to be big, click on the group and press Ctrl+T and reduce the size.
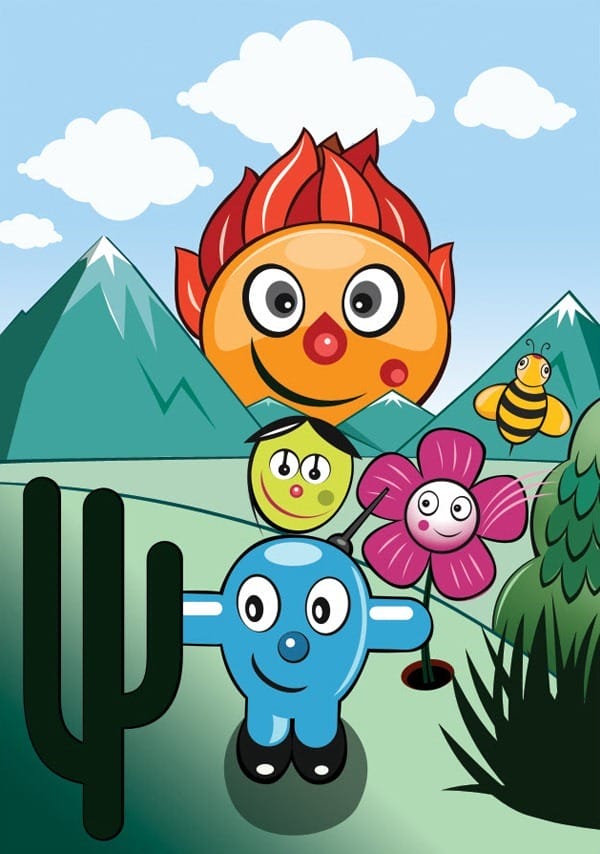
Add some more bees to the composition. Select the bee group and drag and drop it on to the Create new layer icon on the Layers palette. This duplicates the group. Right click on the group and choose Convert to smart object. We can easily duplicate it by pressing Ctrl+J. Create one more copy of it and arrange them as you see below.
8 responses to “Create a Vector Style Magazine Cover in Photoshop”
-
You would do anything in your power to make your best friend’s day even better. That could mean picking up their go-to coffee in the morning, or sending a funny TikTok you know will make them LOL. It could also mean that whenever they post a cool pic, you’re the first to like it. As their No. 1 fan on social media, you’ll also need the best comments to leave on Instagram for your bestie as well. After all, you know you can’t just drop them a like. A stunning selfie in their OOTD or foodie pic of their lunch order deserves all the love with some funny Instagram comments from yours truly.
-
Hello Niranth, this was truly a fun filled tutorial!!!! Thank you very much for supplying such a detailed and organized project. I have recently finished this tutorial and was wondering if I could post this on my portfolio site? I would be sure to give you credit. Just let me know if you ever have the chance. <3
Sincerely – Auzurial
-
you took my name
-
Learn to type friend
-
can u plz mail me d psd file as ders some downloading error wic im facing..plaeas do it by 2mrw…its really very urgent
-
You are amazingly talented … wow, I loved that. Makes me proud to be an artist. Thanks!!!!
-
Nice idea and a wonderful lesson
-
no
-


Leave a Reply