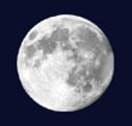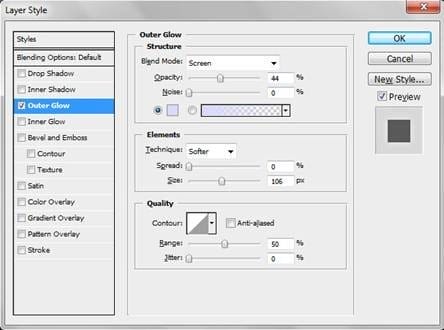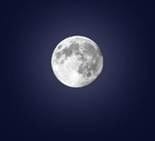
We want to add a glow around the moon so it seems like it is shining in this dark night. Let’s go to Layer–>Layer Style–>Outer Glow… and a window like the one below should open. Adjust your settings as I have here, making sure that you choose a light blue color for the glow, and press “OK.”

Now our moon should have a halo of light around it.

On to the clouds! For the clouds, let’s choose a large brush and set the opacity and flow both to 50%.

Then, take the brush using a pale blue color to draw circles in the shape of clouds. Because the opacity is not 100%, we can layer the color more in places we want the clouds to be thicker, and less where we want the clouds to be translucent and wispy. Make sure the parts of clouds closer to the moon are brighter.

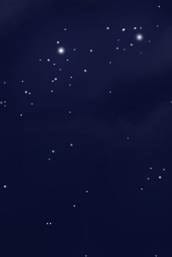
Now let’s add in some stars. Set the color swatch to white, choose several small brushes of slightly varying size, and manually dot stars throughout the sky.

Remember how we set used the “Outer Glow” layer effect to give the moon a glowing halo? Use the same techniques to make the stars glow.

We are almost done! Let’s add in a field of grass that our subject will be sitting in. Go into the choices of brushes and chose the “Dune Grass” brush. This should be a Photoshop CS3 preset.

Go to the two choices of color swatches. Set one to a medium green and one to a very dark green. Now drag the grass brush horizontally across the page several times, starting at the level where the grass just covers our subject’s feet up until the bottom of the image. Make sure that the brush used for the layer in front is somewhat larger than the layer in the back to give a sense of depth, in that things that are further from the foreground will appear smaller than things closer to the foreground.

Repeat the same procedure for the grass further behind our subject and her pumpkin. Make sure that the grass closest to the hills in the distance looks very distant, therefore the blades being very small. With a semi-transparent brush, draw in several soft horizontal lines of white for some ominous-looking mist.


Leave a Reply