
) Transform the path created at the step 12A into a selection (right click on the path->make selection , 0.3 px radius) (12B)
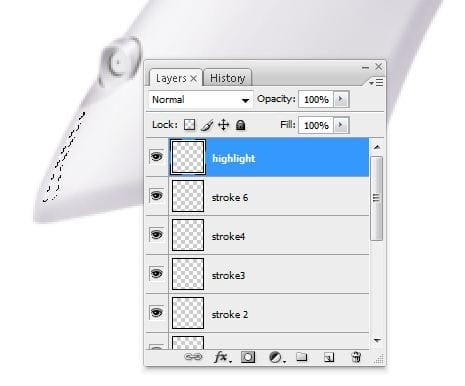
Fill the selection created at the step 12b with the white color like in the next picture (12C)

Into a new layer called “stroke 7” add a little white stroke at the bottom of the “highlight” (12D)

Step 13 – Start creating the buttons
Make a new layer(Ctrl+Shift+N or you can go to Layer->New->Layer or you can press the indicated button in the picture below ). Rename the layer to “highlight”. You can rename a layer by pressing right click on it , then selecting “Layer properties” option and in the “Name” box you can enter what name you prefer. From the Tools menu select Pen Tool (P key) and use it to make a path like in the picture below (13A) (4A)
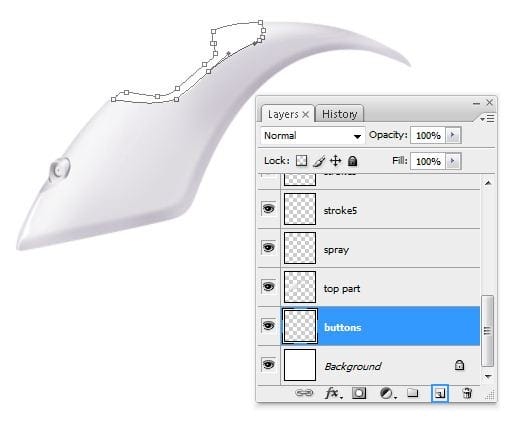
Fill the path created at the step 13A with a lighten gray , I used #f3f3f3 (13B)

Step 14 – Strokes
Make a new layer(Ctrl+Shift+N or you can go to Layer->New->Layer or you can press the indicated button in the picture below ). Rename the layer to “stroke8”. You can rename a layer by pressing right click on it , then selecting “Layer properties” option and in the “Name” box you can enter what name you prefer. From the Tools menu select Pen Tool (P key) and make and use it to make a path like in the picture below (14A)
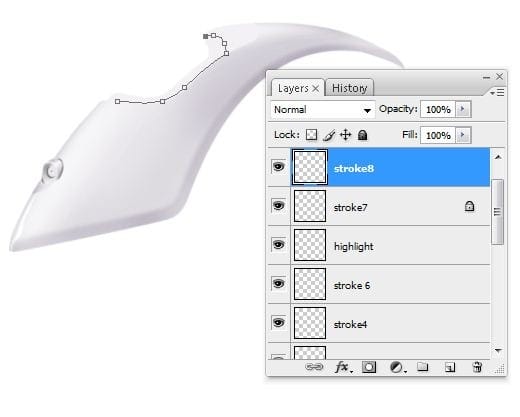
Add a 2 pixels gray stroke (right click on the path->stroke path) like in the next picture (14B)

Erase using Eraser Tool (E) at the edges of the stroke (14C)
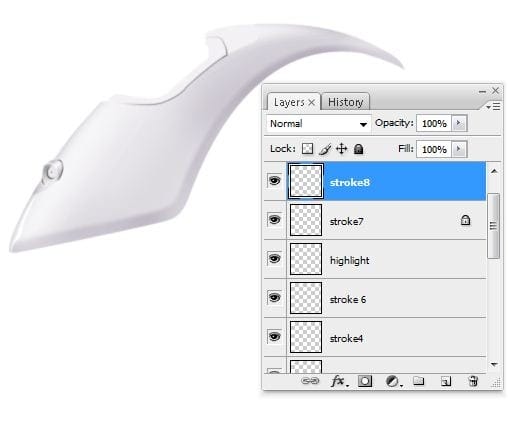
Step 15 – Highlights & Shadows
Add some shadows/highlights using Burn/Dodge Tool (O) like I did (15A)
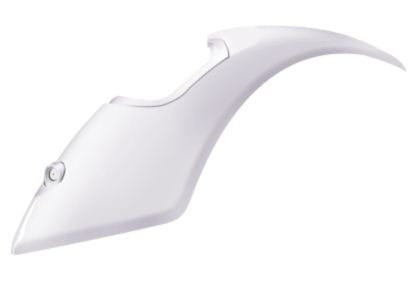
Into a new layer called “stroke 9″(Ctrl+Shift+N or Layer->New->Layer) make a new path using Pen Tool (P) (15B)
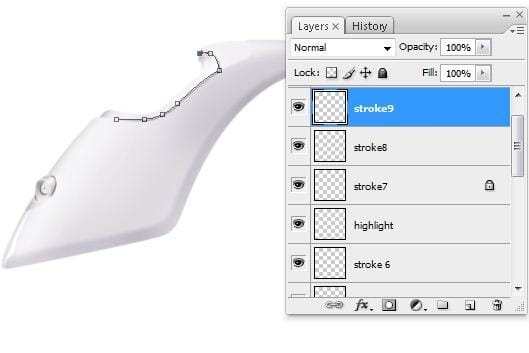
Add a 2pixels white stroke to give a nice 3D look (15C)

Step 16 – Water hole
Make a new layer(Ctrl+Shift+N or you can go to Layer->New->Layer or you can press the indicated button in the picture below ). Rename the layer to “water hole”. You can rename a layer by pressing right click on it , then selecting “Layer properties” option and in the “Name” box you can enter what name you prefer. From the Tools menu select Lasso Tool (L) and make and use it to make a selection like in the picture below (16A) (4A)
1 response to “Draw a Realistic Steam Iron in Photoshop”
-
hohoho , I like this ,I want to join you


Leave a Reply