Fill the selection from the step 16A with a lighten green color , I used # 9a9754 (16B)
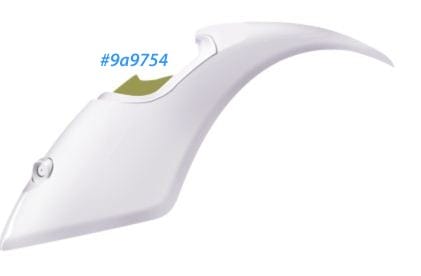
Use Dodge Tool (O) to add highlights and Burn Tool (O) to add shadows to make same thing like I did (16C)

Step 17
Make a new layer(Ctrl+Shift+N or you can go to Layer->New->Layer or you can press the indicated button in the picture below ) then using Pen Tool (P key) make a path like in the picture below (17A)
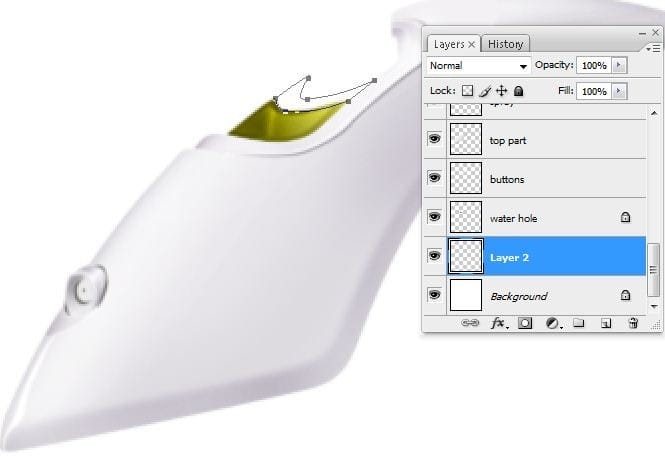
Fill the path created at the step 17A(right click->fill path) with a grey color , I used # c3bfd8 (17B)
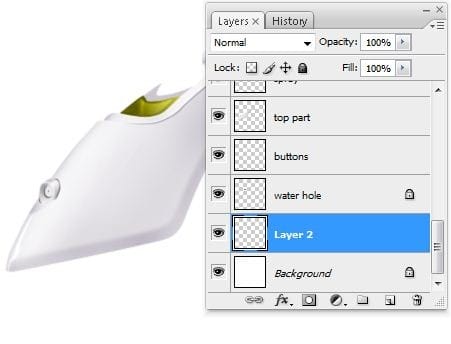
Add some indifferent shadows and highlights using Burn Tool(O)/ Dodge Tool (O) like I did (17C)

Step 18 – Start making the green button
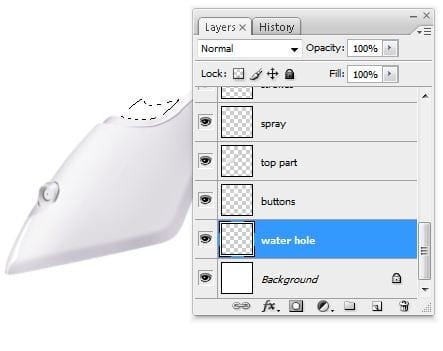
Make a new layer(Ctrl+Shift+N or you can go to Layer->New->Layer or you can press the indicated button in the picture below ). Rename the layer to “water hole”. You can rename a layer by pressing right click on it , then selecting “Layer properties” option and in the “Name” box you can enter what name you prefer and add a dark grey shape like I did (18A)
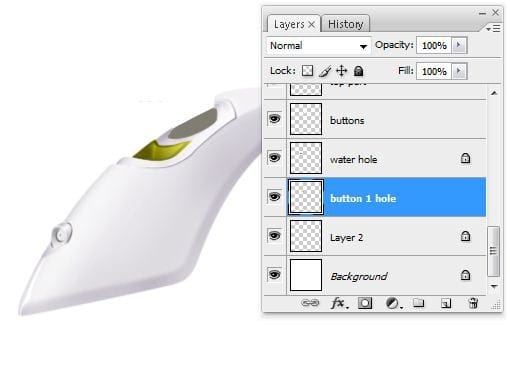
Make another new layer , rename it “button1′ and make a selection using Lasso Tool (L) like in the next picture (18B)

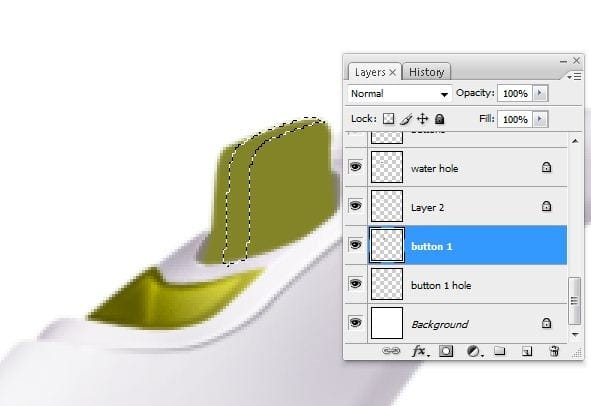
Fill the selection created in the step 18B with a green color , I used # 838427 (18C)

Step 19 – Highlights on the green button
Use Lasso Tool (L key) to make a selection like in the picture below (19A)
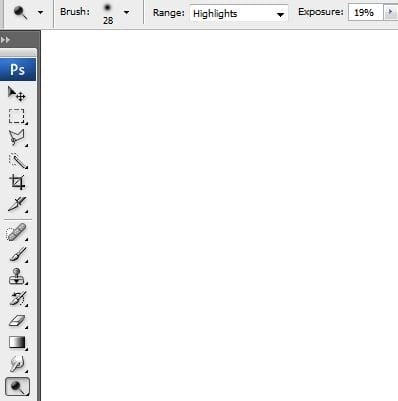
From the Tools Menu , pick up Dodge Tool (O) with next settings :
- Master Diameter : 28pixels
- Range : Highlights
- Exposure : 19% (19B)
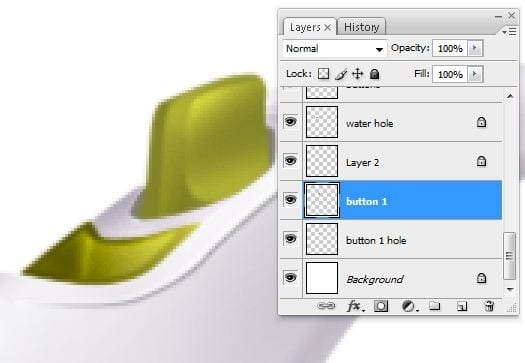
Add some highlights in the selection created at the step 19A using Dodge Tool(O) with the settings above (19C)

Add more highlights in different places using same tool (Dodge Tool-O key) (19D)
Step 20 – Shadows on the grey buttons
With the “Buttons” layer selected , make next selection using a selection tool ( I used Lasso Tool – L key) (20A)
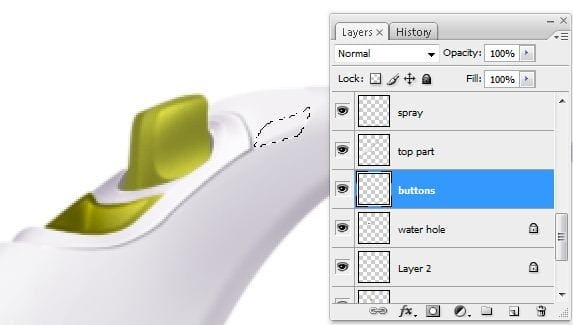
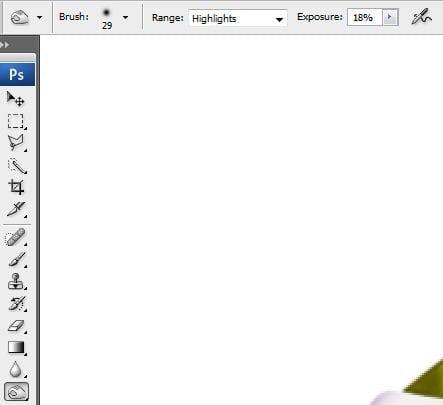
Pick up Burn Tool (O) from the Tools Menu with next settings :
- Master Diameter : 29pixels
- Range : Highlights
- Exposure : 18% (20B)
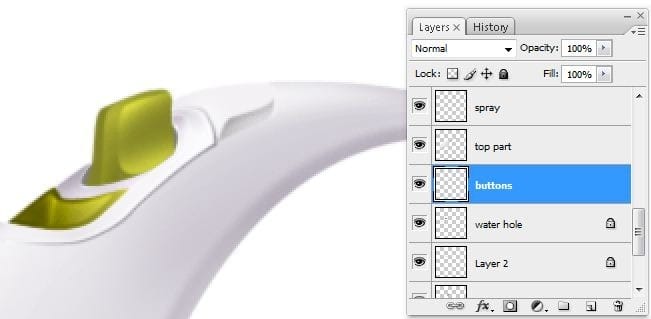
Add some shadows using Burn Tool (O key) with the settings above in the selection created at the step 20A like I did (20C)
Step 21 – More shadows
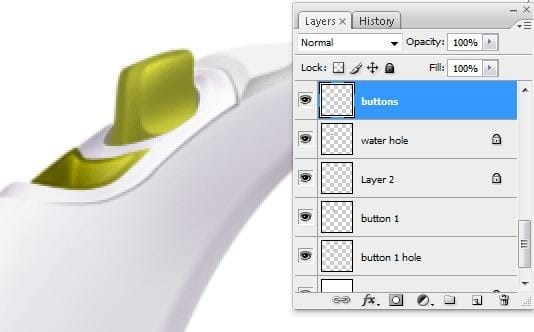
Make next selection using Lasso Tool (L key) like in the next picture (21A)

Add some shadows using Burn Tool (O) with the settings from the step 20B (21B)
Step 22 – Stroke
Make a new layer(Ctrl+Shift+N or you can go to Layer->New->Layer or you can press the indicated button in the picture below ). Rename the layer to “stroke11”. You can rename a layer by pressing right click on it , then selecting “Layer properties” option and in the “Name” box you can enter what name you prefer then pick up Pen Tool (P key) and make a path like I did (22A)
1 response to “Draw a Realistic Steam Iron in Photoshop”
-
hohoho , I like this ,I want to join you


Leave a Reply