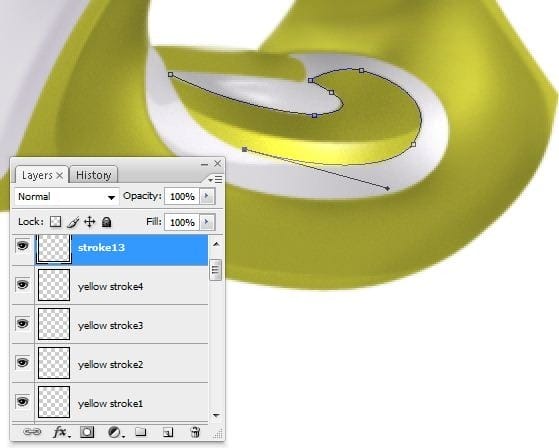
Add a 3 pixels dark gray stroke (Right click on the path ->stroke path) like in the picture below (33B)
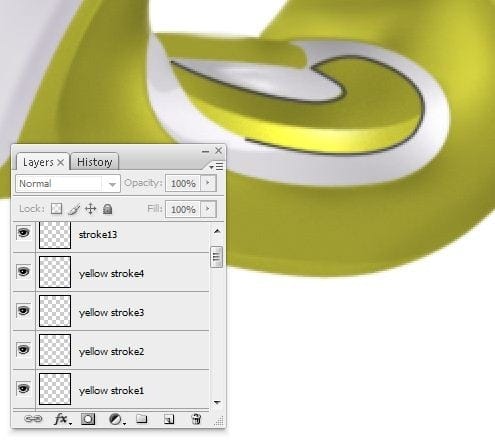
Using Eraser Tool (E) erase a little the edges of the stroke (33C)

Step 34 – Overlay stroke
Duplicate the layer created at the step 33A (right click on it ->duplicate layer or Ctrl+J) make it white and move a little down (34A)
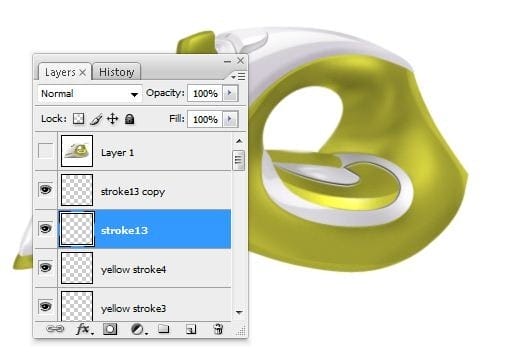
Set the blending mode for the layer on Overlay and decrease the opacity of it to ~80% (34B)
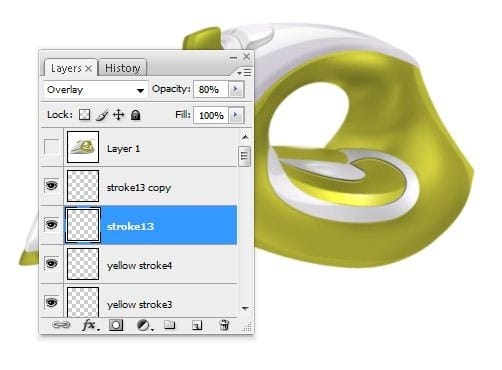
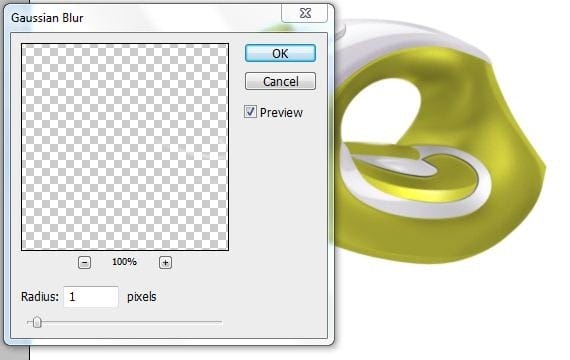
Now go to Filter->Blur->Gaussian Blur and make the settings below :
- Radius : 1 pixels (34C)
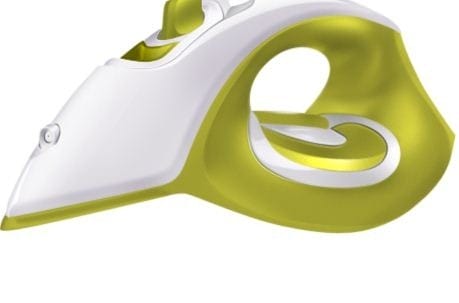
After making more strokes like those you should have something like in the next picture (34D)
Step 35 – Highlight
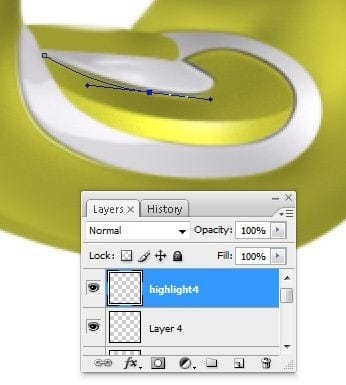
Make a new layer(Ctrl+Shift+N or you can go to Layer->New->Layer or you can press the indicated button in the picture below ). Rename the layer to “highlights4”. You can rename a layer by pressing right click on it , then selecting “Layer properties” option and in the “Name” box you can enter what name you prefer then using Pen Tool (P) make a path like in the next picture (35A)
Press right click on it , check the Simulate Pressure box (35B)
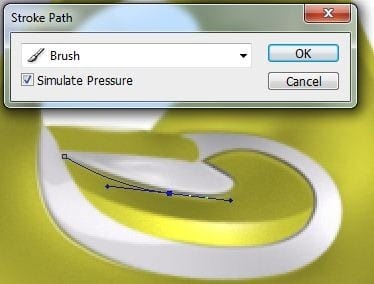
And add a 4 pixels white stroke then decrease the opacity of it to ~75% (35C)
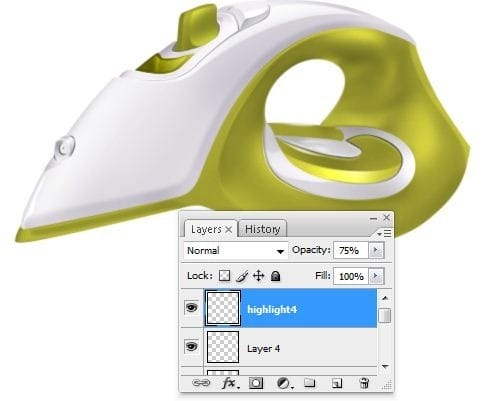
Step 36 – Rounded green button
Make a new layer(Ctrl+Shift+N or you can go to Layer->New->Layer or you can press the indicated button in the picture below ). Rename the layer to “button2”. You can rename a layer by pressing right click on it , then selecting “Layer properties” option and in the “Name” box you can enter what name you prefer then using Lasso Tool (L) make a selection like in the next picture (36A)
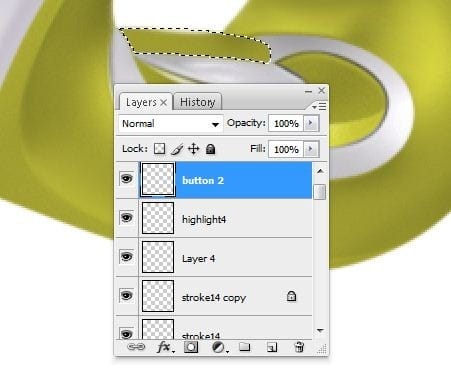
Snow fill the selection created at the step 36A with a dark green color , I used #6a6b29 (36B)
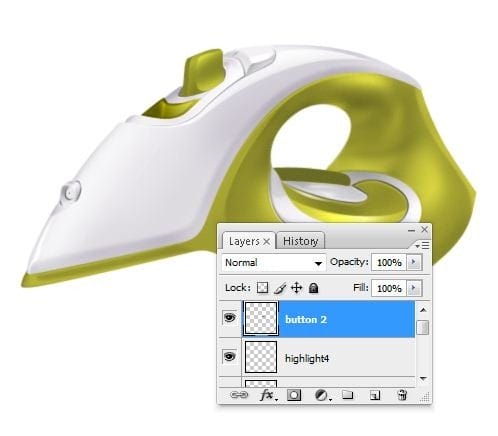
With the Lasso Tool (L) select the top part of our “button2” layer (36C)
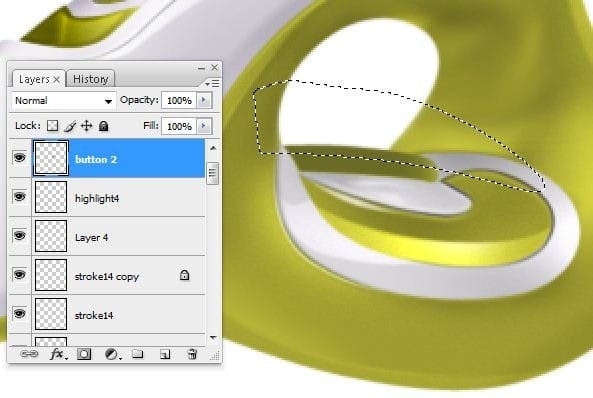
Use Dodge Tool (O) to add some highlights in the selection from the step 36C (36D)
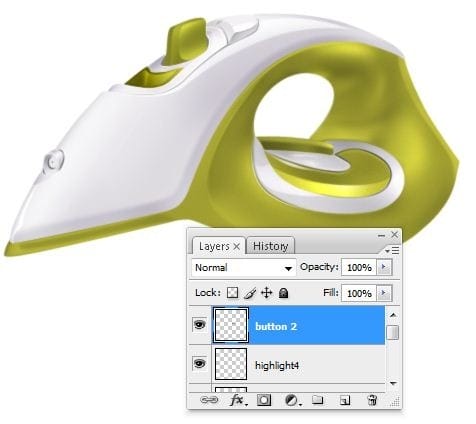
Step 37 – title
some previously steps , you learned how to create nice strokes , add some strokes under the “button2” layer using same techniques (37A)
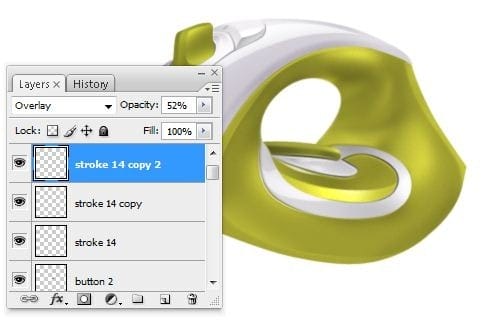
Make a new layer(Ctrl+Shift+N or you can go to Layer->New->Layer or you can press the indicated button in the picture below ) then with Pen Tool (P) make a path like I did in the next picture (37B)
1 response to “Draw a Realistic Steam Iron in Photoshop”
-
hohoho , I like this ,I want to join you


Leave a Reply