
Add a 2 pixels dark gray stroke (right click on the path->stroke path) (37C)
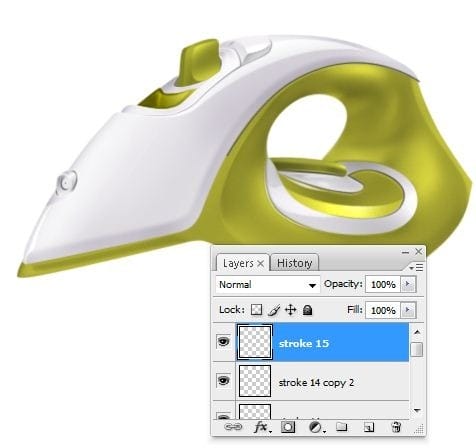
Erase it using Eraser Tool (E) for more realism (37D)
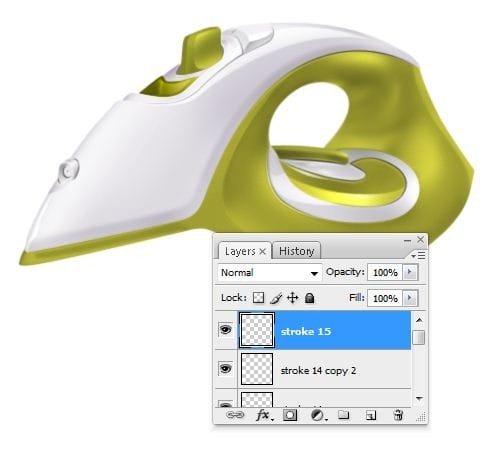
Duplicate it(select the layer and press Ctrl+J) , make it white , move it a little upper and set the blending mode for the layer on Overlay then decrease the opacity o fit to ~24% for more realism (37E)

Step 38 – Bottom part
Make a new layer(Ctrl+Shift+N or you can go to Layer->New->Layer or you can press the indicated button in the picture below ). Rename the layer to “bottom part”. You can rename a layer by pressing right click on it , then selecting “Layer properties” option and in the “Name” box you can enter what name you prefer then using Pen Tool (P) make a path like in the next picture (38A)
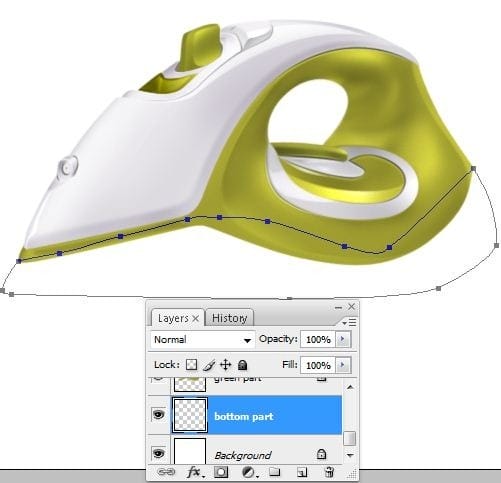
Fill the path created previously with a grey color , I used # c6c5c3 (38B)

Add some shadows using Burn Tool (O) at the bottom (38C)

Step 39 – Highlights on the bottom part
Make next selection using Lasso Tool (L) (39A)
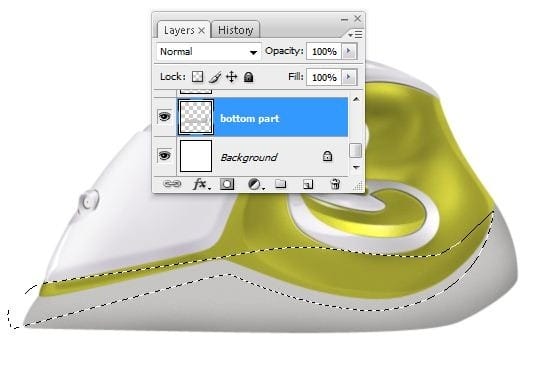
Use Dodge Tool(O) and add some highlights in the selection created at the step 39A like in the picture below (39B)
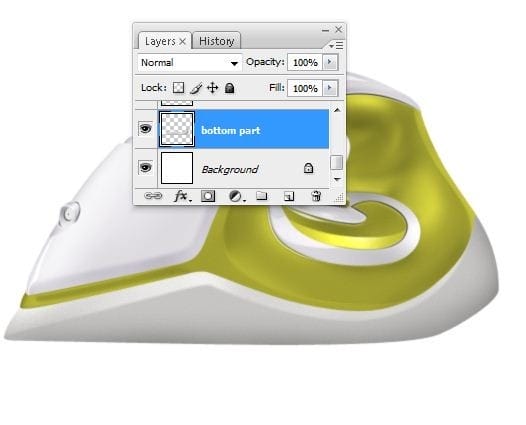
Step 40 – Shadows on the bottom part
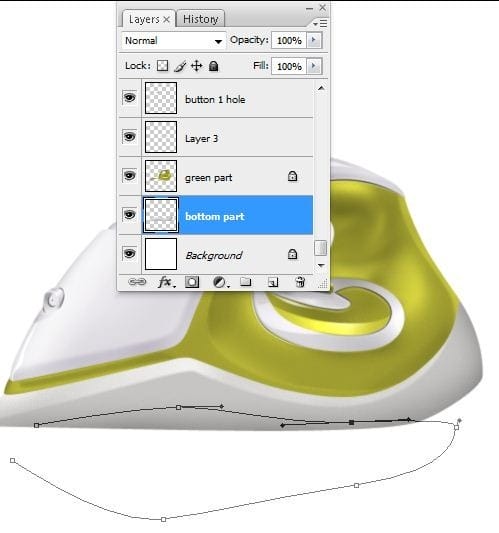
In the “Bottom part” layer make a path like I did in the next picture (40A)
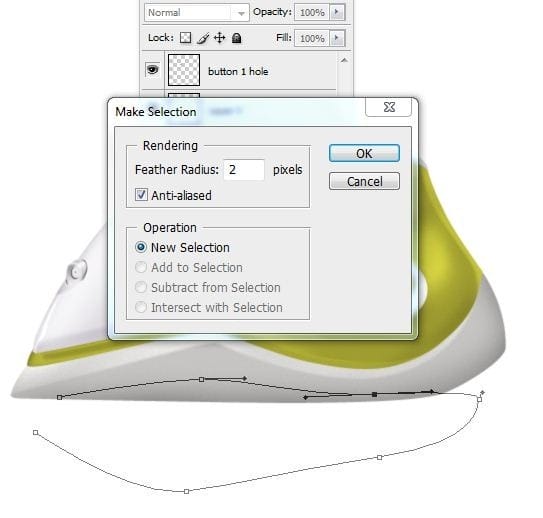
Press right click on the path , choose “make selection” option , increase the Feather Radius to ~ 2 pixels and press Ok (40B)
In the selection from the step 40B add some shadows using Burn Tool(O) like in the picture below (40C)
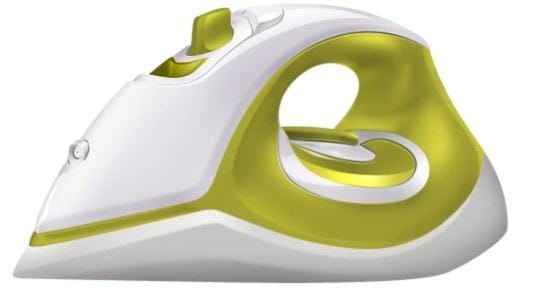
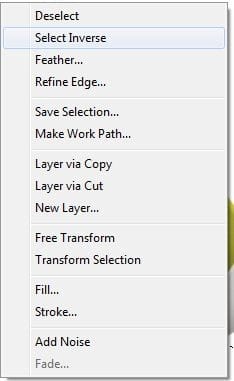
Now press right click on the selection and choose “select inverse” options (40D)
Step 41
Add more highlights in the left part of our “bottom part” layer using Dodge Tool(O)

Step 42 – Strokes
Make a new layer(Ctrl+Shift+N or you can go to Layer->New->Layer or you can press the indicated button in the picture below ). Rename the layer to “stroke16”. You can rename a layer by pressing right click on it , then selecting “Layer properties” option and in the “Name” box you can enter what name you prefer then using Pen Tool (P) make a path like in the next picture (42A)
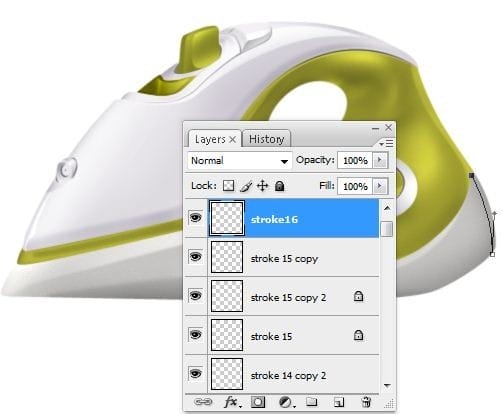
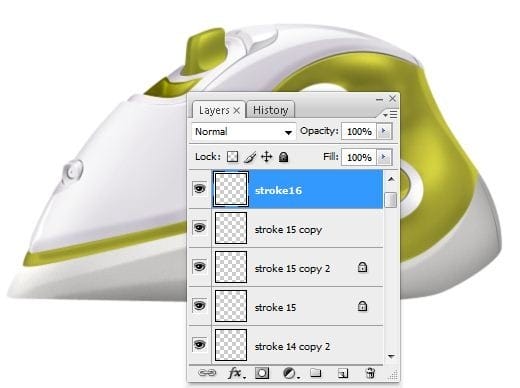
Press right click on the path->stroke path , add a 1 pixel dark gray stroke and erase a little to give more realism (42B)
Step 43 – Metal part
Over the Background layer make another one (Ctrl+Shift+N) , rename it “iron part ” and using Lasso Tool (L) make a selection like this (43A)
One response to “Draw a Realistic Steam Iron in Photoshop”
-
hohoho , I like this ,I want to join you


Leave a Reply