Step 24
Add the logo/text to your label.

Step 25
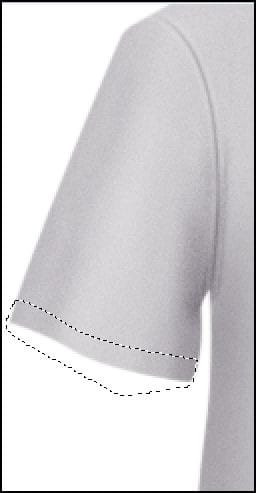
Make a selection on the left sleeve like the image below. For better selection, feather the selection (Select > Modify > Feather) by 0.3px.
Step 26
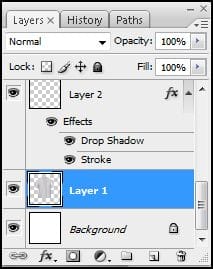
In the Layers palette, select the t-shirt layer.
Step 27
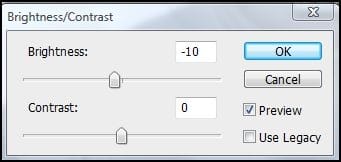
Choose Image > Adjustments > Brightness/Contrast and reduce the brightness by 10.
Step 28
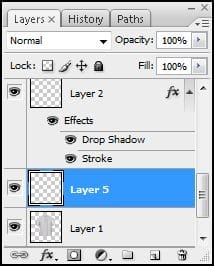
Create a new layer (Ctrl+Shift+N or Layer > New > Layer)
Step 29
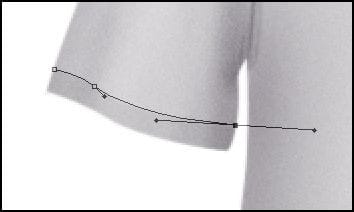
Using the Pen tool, create a path like shown below.
Step 30
Set your foreground color to white. Then, in the Paths palette (Window > Paths), right click on the path then choose Stroke Path.

Step 31
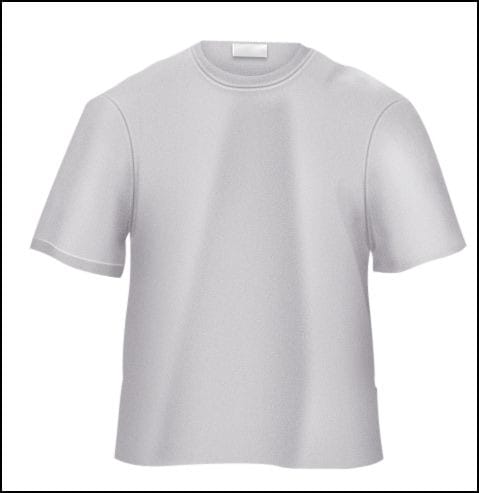
Here’s what the t-shirt looks like so far!
Step 32
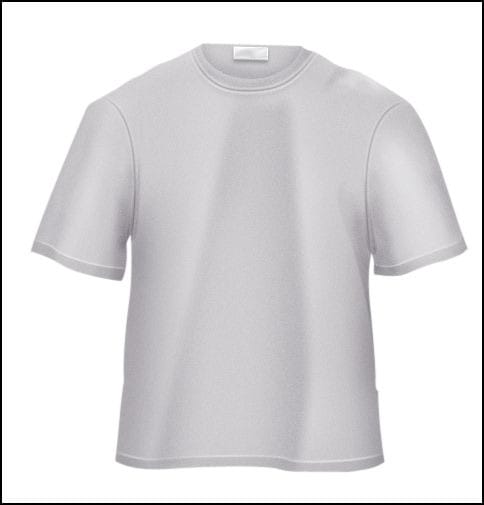
Repeat steps 29 and 30 for the right sleeve.
Step 33
I added an abstract paint image on the t-shirt. You can add any image you like.
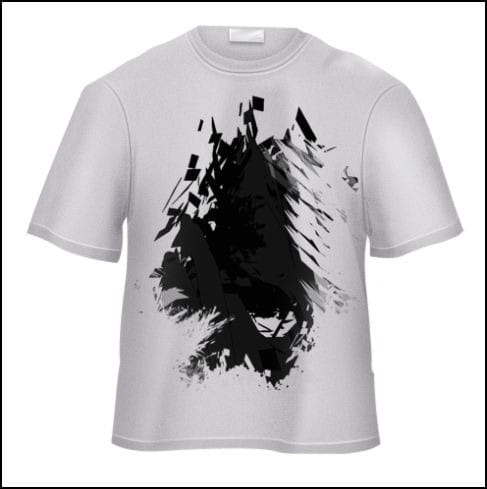
Step 34
Create a selection like shown below. Feather the radius (Select > Modify > Feather) by 5 pixels. Now choose Select > modify > Inverse.
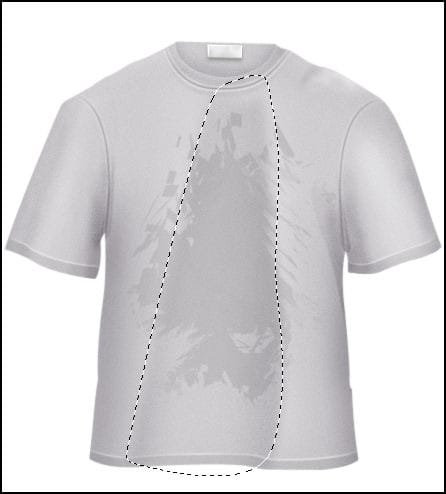
Step 35
Create a new layer (Ctrl+Shift+N or Layer > New > Layer)
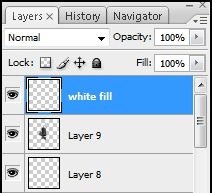
Step 36
Fill the selected area with white.
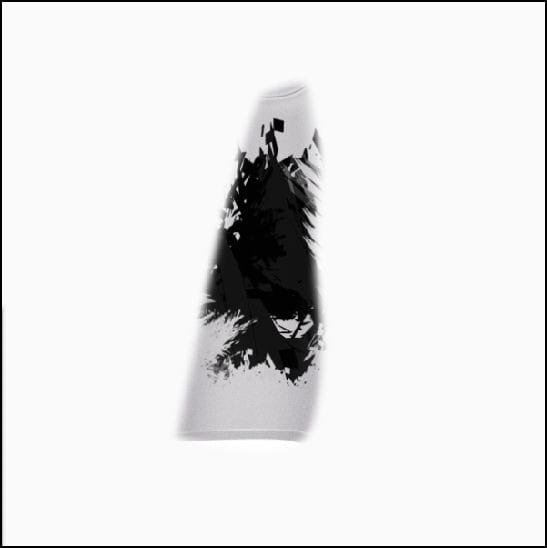
Step 37
Select the layer with the t-shirt artwork.
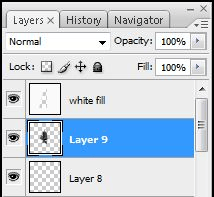
Step 38
Use the Eraser tool to erase the excess white areas.
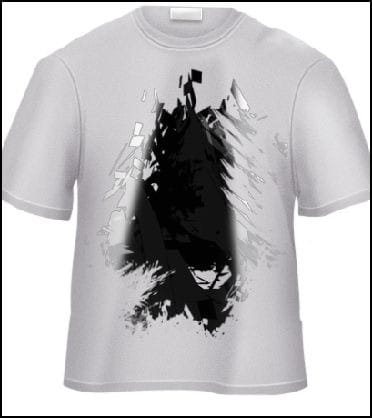
Step 39
Change the opacity of the white fill layer to 30%.
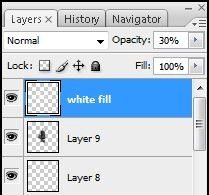
Step 40
Choose Filter > Blur > Gaussian Blur. Apply the settings shown below then click OK.
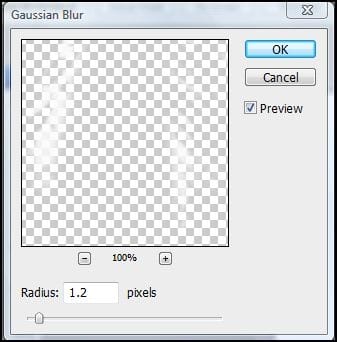
Step 41
Here’s what the t-shirt looks like so far.
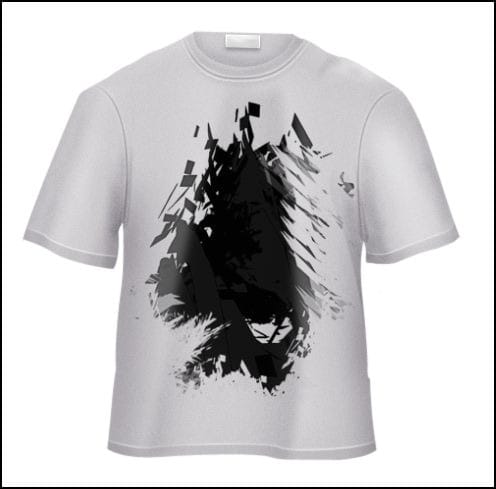
Step 42
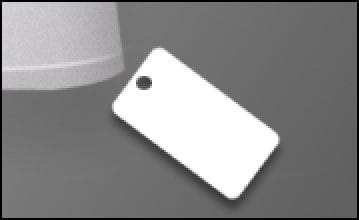
Select the Rounded Rectangle tool.

Step 43
Create a rectangle then choose Edit > Transform > Rotate to rotate the rectangle.
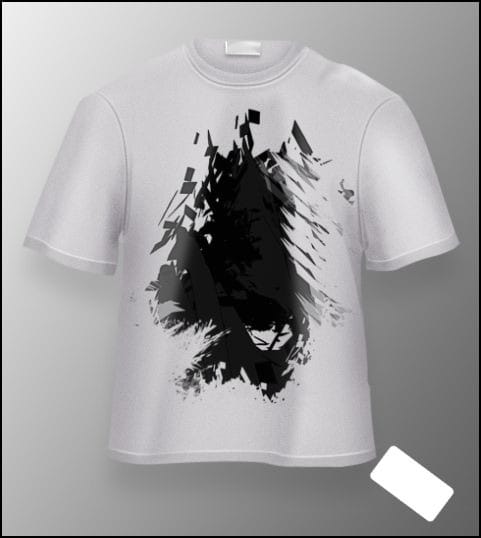
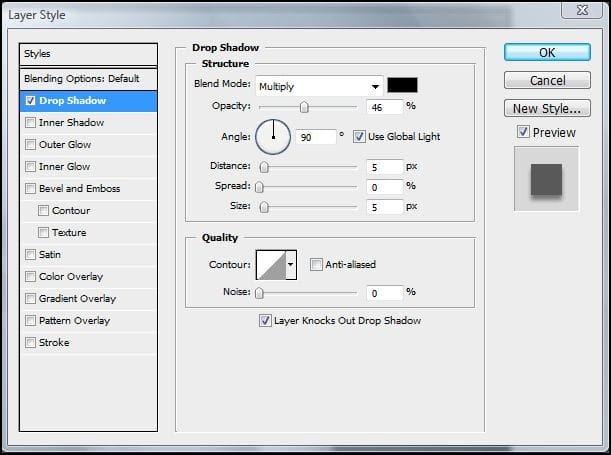
Step 44
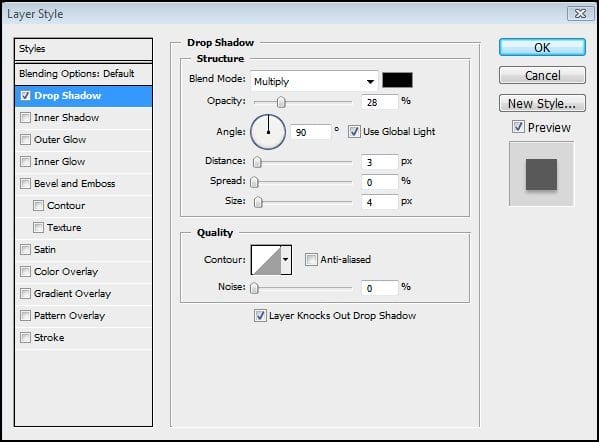
Right click on the layer >Blending Options >Drop Shadow and make next settings :
Step 45
Create a circle selection using the Elliptical Marquee tool like shown below.
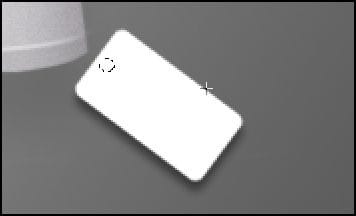
Step 46
Press delete to remove the contents in the selected area.
Step 47
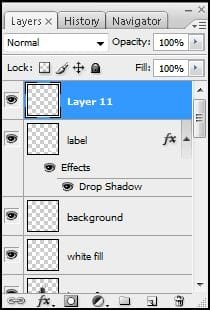
Create a new layer (Ctrl+Shift+N or Layer > New > Layer)
Step 48
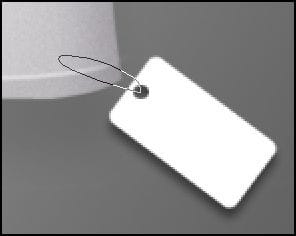
Using the Pen tool, create a path like shown below.
Step 49
Select the Brush tool the set the options in the option bar as shown below. The option bar is located under the menu bar.

Step 50
In the Paths window, right click on the path then choose Stroke Path.

Step 51
Use the Eraser tool to erase the tag as shown below so that it looks like it is looped around the fabric of the t-shirt.
15 responses to “Draw a T-Shirt in Photoshop”
-
Thank you for the very informative tutorial…
-
hi, thank uu 4 valuable idea.. from india
-
Hi, again, thanks! It was very helpfull for me.
-
thanks a lot greetings from Nigeria
-
Hi! Regards from pakistan
-
Hello ! Greetings from South Africa
-
New to Photoshop,this made me easy to do things.. ….INDIA
-
many thanks! greetings from Philippines :)
-
Thanks greetings from Sweden!!!!!
-
Thank you, hello from USA
-
greetings from bangladesh
-
thanks :)!Greetings from India!!!!!!
-
thank you for it! greetings from Poland! =)
-
thanks. greeting from Poland! :)
-
ds


Leave a Reply