In this tutorial you will learn how to drawn a red shopping bag icon. This tutorial will cover the basic techniques of drawing such as creating the shape, shading, and adding shadows.
Preview of Final Results

Download the PSD
Red Bag Icon.zip | 705 KB
Download from FileSonic
Download from Website
Red Bag Icon
Step 1
Open new document.

Step 2
Create new layer, call it “main bag”. Then use Pen tool to draw the shape as show below.

Step 3
Use Pen tool to make the selection like show in image below and press Ctrl + J to duplicate this selection to new layer. Rename new layer “top bag”.
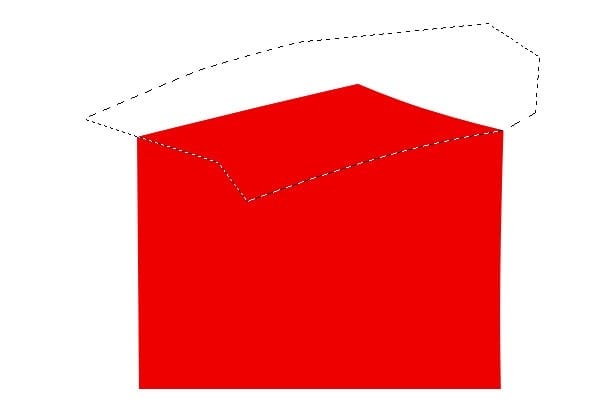
Step 4
Back to “main bag” layer. Use Pen tool to make the selection like show in image below and press Ctrl + J to duplicate this selection to new layer. Rename new layer “front bag”.
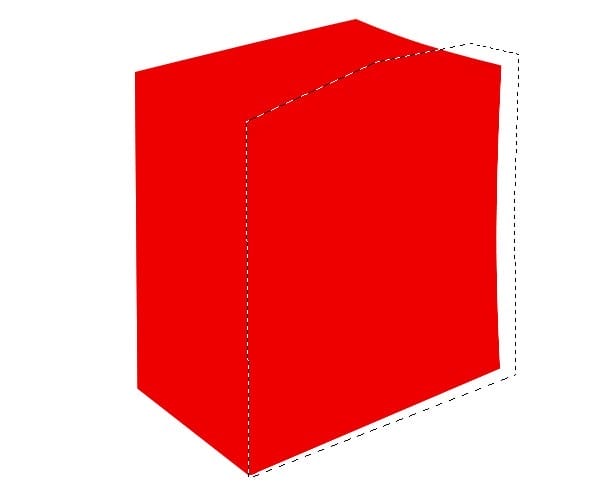
Step 5
Select Burn tool (O), then in the option bar set the setting to following.
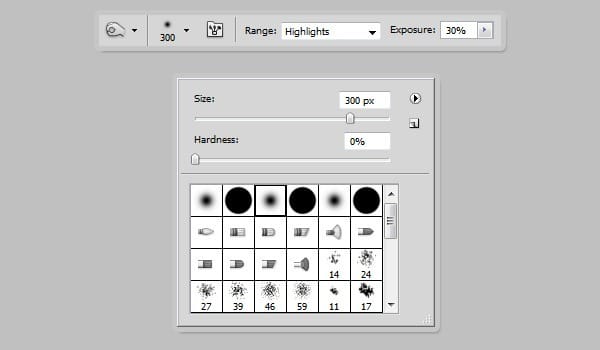
Step 6
Use the Burn tool on the areas indicated in the image below.
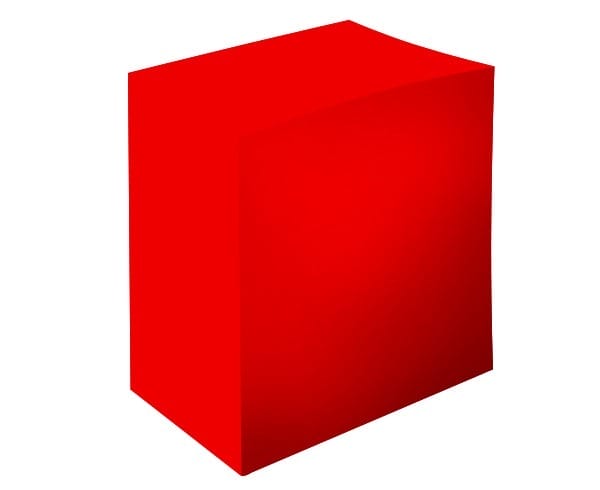
Step 7
Use Pen tool to make the selection like show in image below.
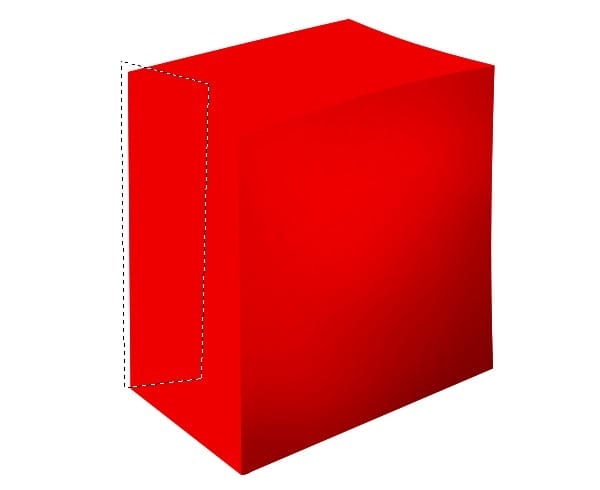
Step 8
Select Burn tool (O), then in the option bar set the setting to following.
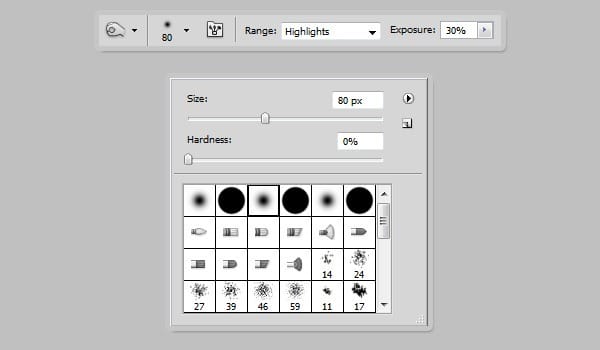
Step 9
Use the Burn tool on the areas indicated in the image below.
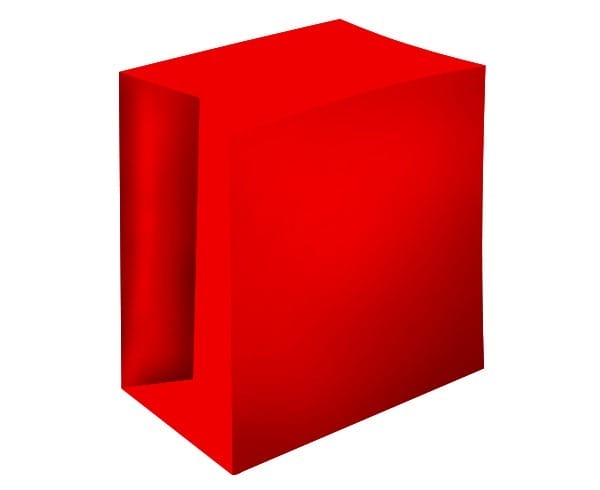
Step 10
Repeat step 7 to step 9 until your image should look like below.
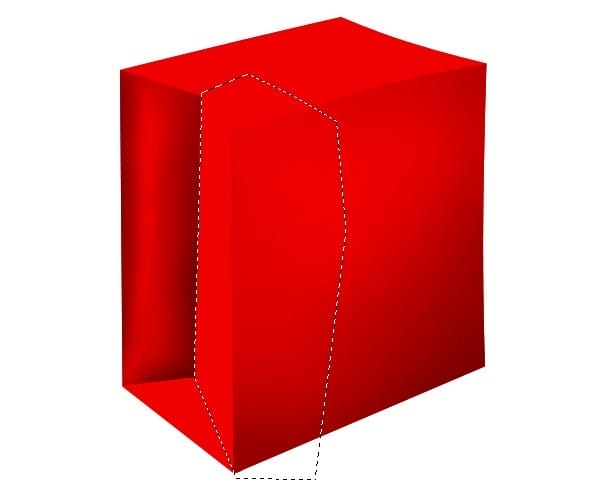
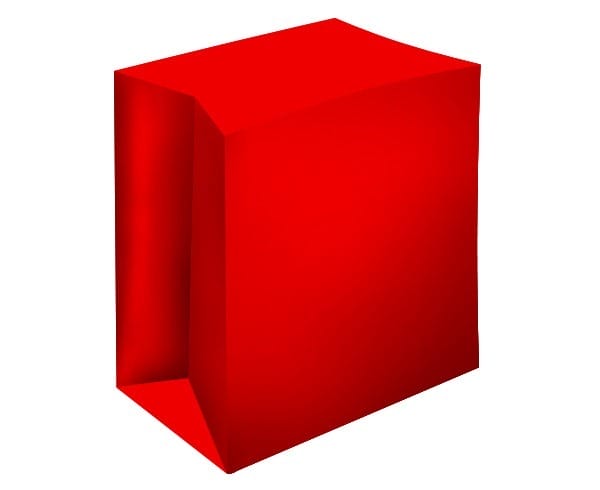
Step 11
Follow the images as show below.
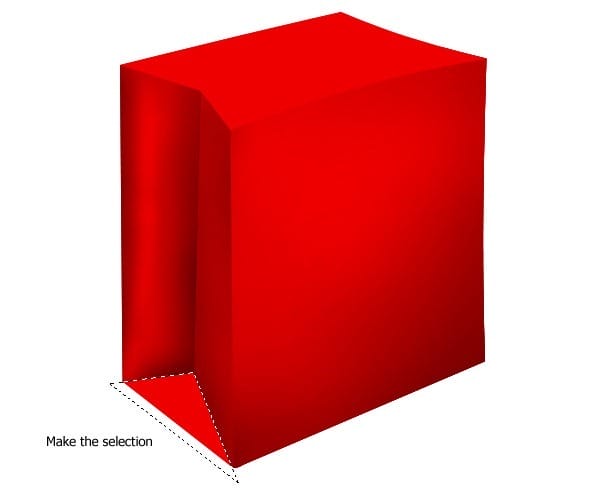


Step 12
Use Burn tool with setting Master Diameter from 80px to 120 px to add more details on the areas indicated in the image below.
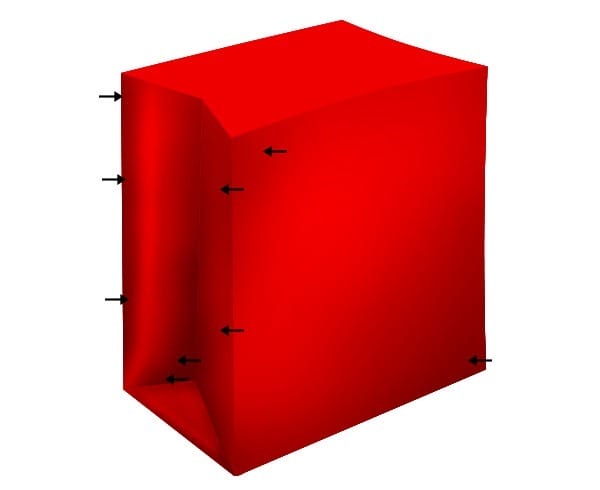
Step 13
At the “top bag” layer use Pen tool to make the selection like show in image below. Then press Ctrl + J to duplicate this selection to new layer. Rename new layer “inside bag” and fill it white color.


Step 14
Back to “top bag”. Use Burn tool with setting Master Diameter about 80px to add more details.

Step 15
Follow the images below to correcting details for “top bag”.
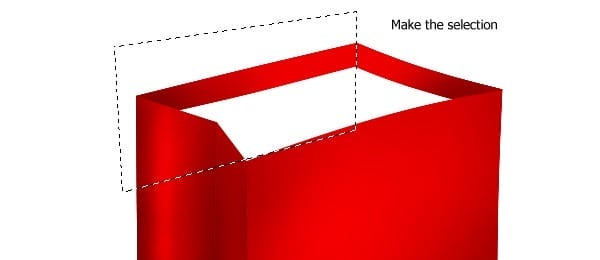

Step 16
At the “inside bag” use Burn tool with setting Master Diameter about 50px to add the detail what the image should look like below.

Step 17
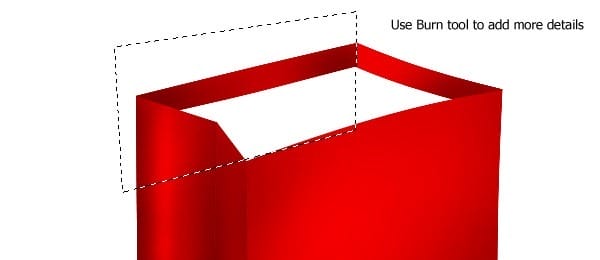
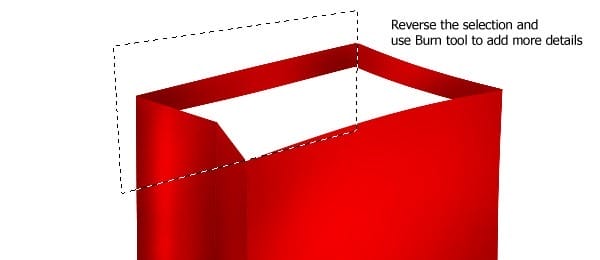
Make the selection as show below and use Burn tool to add more details for “top bag” and “inside bag”.


Step 18
Create new layer upon “font bag”, call it “front holds” and make 2 holes as show below

Step 19
Open Blending Options to add the style to this layer.
![clip_image002[6] clip_image002[6]](https://cdn.photoshoptutorials.ws/67a1da0e39cc_137EC/clip_image0026.jpg?strip=all&lossy=1&webp=82&avif=82&w=1920&ssl=1)
Step 20
Create new layer upon “front holes”, call it “front string”. Use Pen tool to draw the path as show below.
3 responses to “How to Draw a Shopping Bag Icon in Photoshop”
-
This tutorial is very useful for me…Thanks you very muchhh………
-
درس افضل من رائع
-
Great tutorial!!! Enjoyed doing this.


Leave a Reply