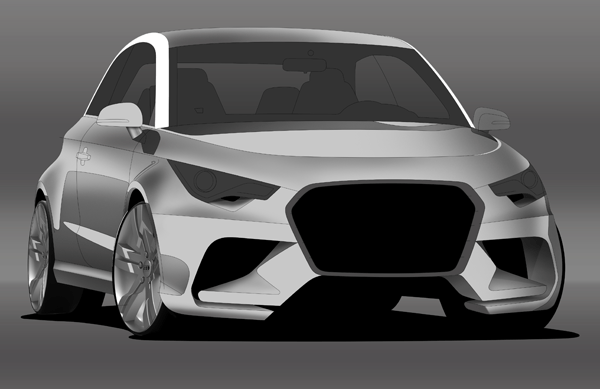
Step 14
Select the soft round pressure opacity brush with flow set to 4 and color set to black. Select the a-pillar and spray some color as shown.
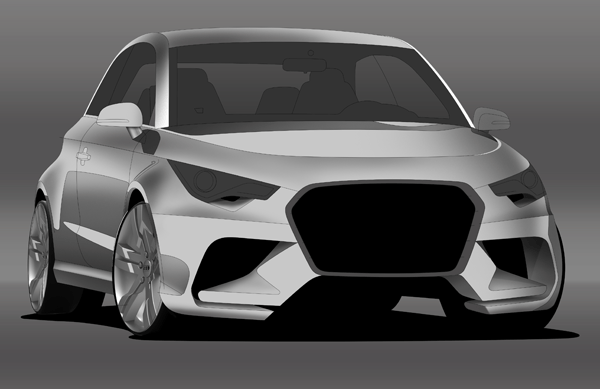
Step 15
Change the color to white and add a splash to the bottom area of the windows.
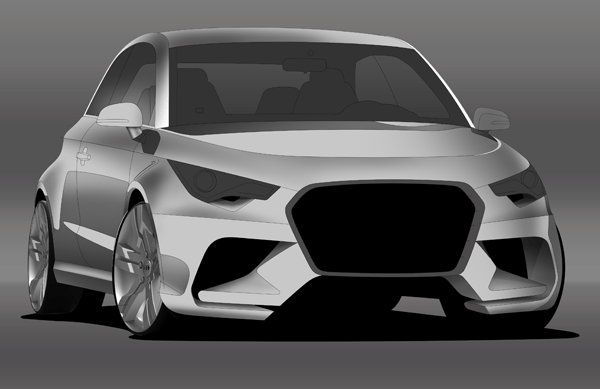
Step 16
On a new layer create a white outline for the grille.
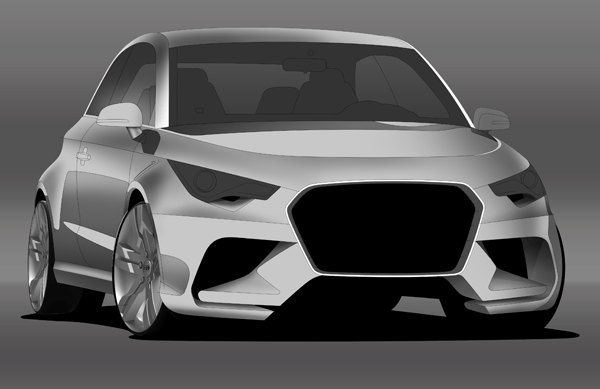
Step 17
If you imagine the grille is a recessed piece of chrome imagine which areas would reflect the sky and be bright and fill in the walls accordingly.
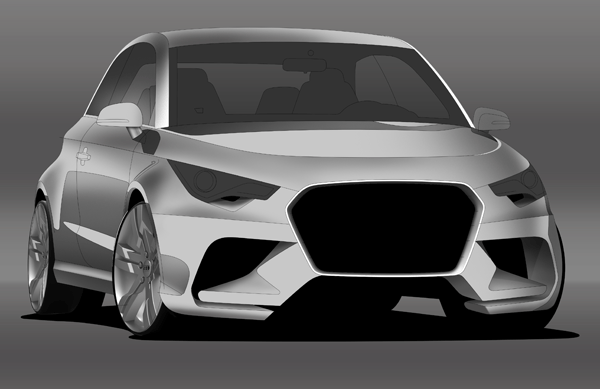
Step 18
Turn off the ‘lines’ layer and on a new layer stroke the bars in the grille.
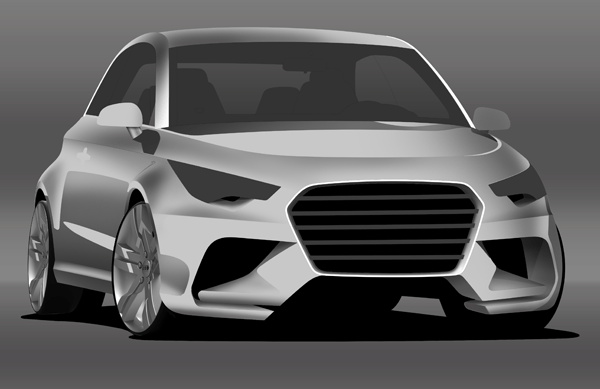
Step 19
Retouch the lower outer corners of the grille bars to give them some interest as shown.
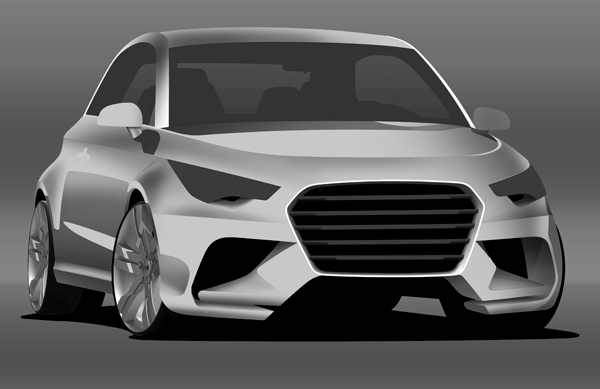
Step 20
Stroke the bars paths again but this time with a thin white soft brush to create a highlight.
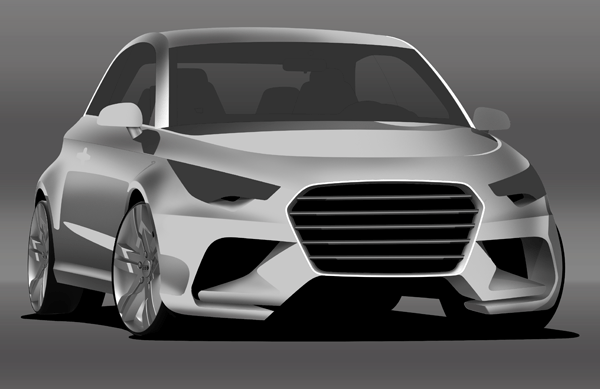
Step 21
Set the eraser to Soft Round Pressure Opacity and erase the outer areas of the bars.
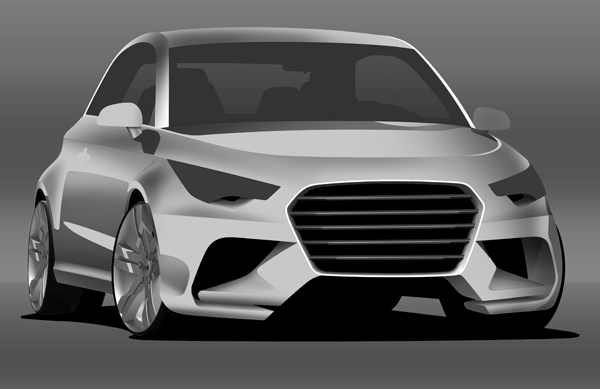
Step 22
Using the wand tool select the light bulb circle and using the brush tool with Soft Round Pressure Opacity options to create some shadow.
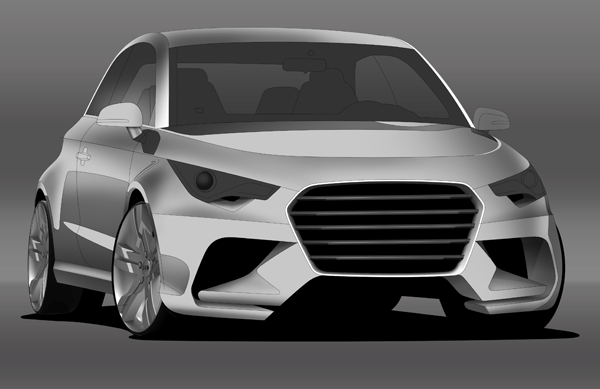
Step 23
Add a little shadow to the top of the light to give it depth so that it looks light its set in from the hood.
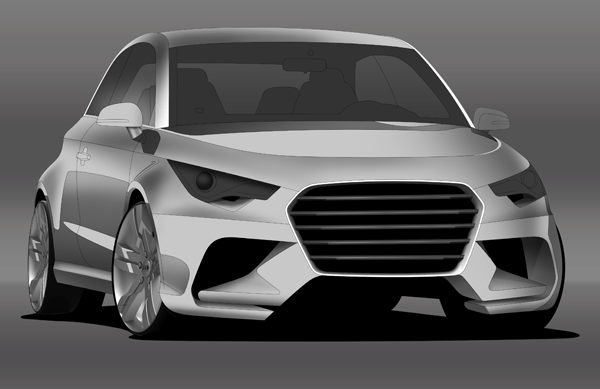
Step 24
Select the rings around the light bulb and use the brush tool with Soft Round Pressure Opacity settings to create the highlight areas.
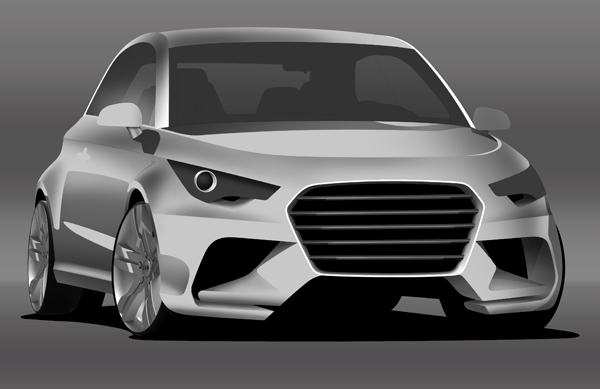
Step 25
Stroke the light detail with a white color.
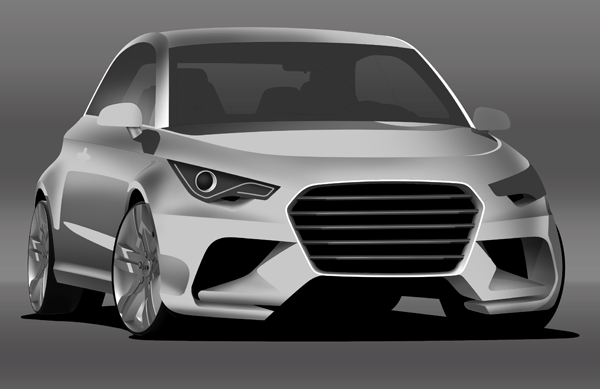
Step 26.
Go over parts of the light details to give it the impression that its high gloss chrome.
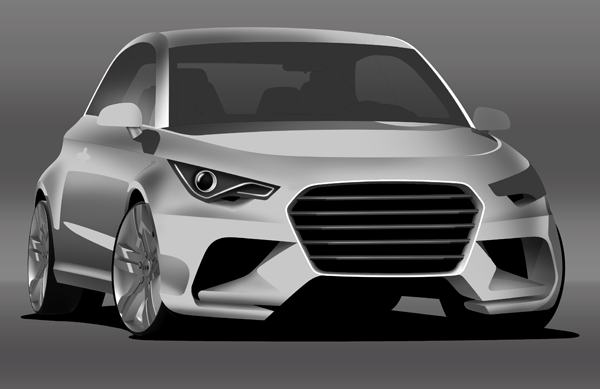
Step 27
Repeat Step 26 on the other side for the other headlamp and add a stroke for some spot lamp features.

Final Results
![final-results[1] final-results[1]](https://cdn.photoshoptutorials.ws/images/stories/2267529c245d_35AD/final-results1.png?strip=all&lossy=1&webp=82&avif=82&w=1920&ssl=1)
Authors Comment
4 responses to “How to Create an Audi A1 Digital Car Painting in Photoshop”
-
idolo!!!
-
wooooow vrey nice مررره مينوووونه لعيون فطووومه i am speki arabi خلاص
see you
I love me ,, pless
-
Question about step 8. Set it “soft round pressure opacity”. What the heck does that mean? Could you be a little more specific, please?
-
unbelievable man. It looks like a illustrated photo.
very helpful. thanks..


 Study how light bounces off cars to get a better feel for where to place highlights and lowlights. Don’t spend too long on any one area, if something isn’t working out come back to it later. There’s a real buzz to creating a good rendering so keep practicing. Check out some of my work at www.designermart.co.uk
Leave a Reply