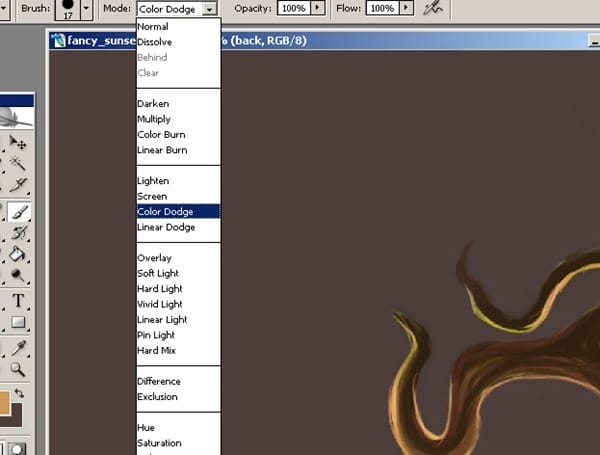
Now look at all details which I just make with the color dodge option.
![image024[1] image024[1]](https://cdn.photoshoptutorials.ws/images/stories/c37a0b60858a_5F67/image0241.jpg?strip=all&lossy=1&webp=82&avif=82&w=1920&ssl=1)
Step 4: Main Detailing
Once I’m satisfied with detailing the tree I create a new layer and name it with “green_green” I continue to add some green grass. Then I opened all layers except “sketch” layer.
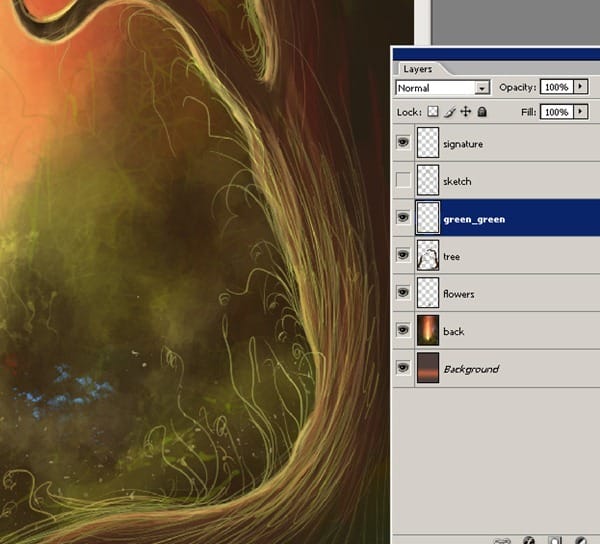
Step 5: Changing Canvas Size
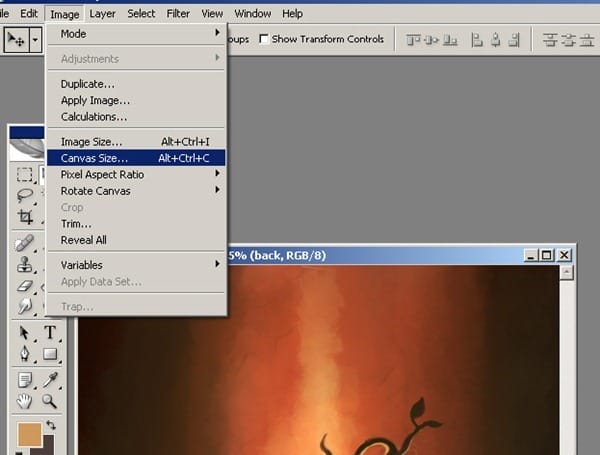
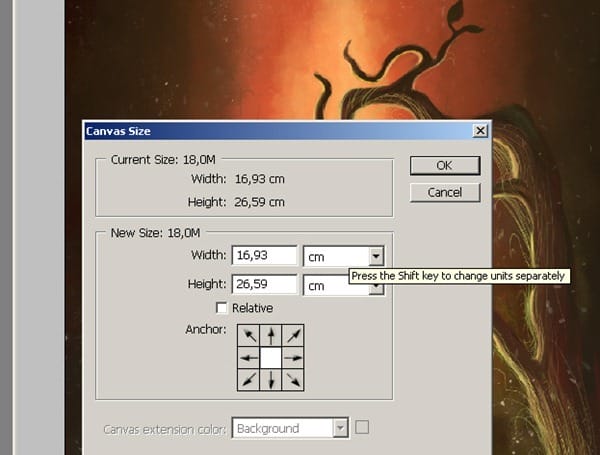
I do think I must make a little change with the canvas size so from Image select Canvas Size.
Here are my first settings before I change. I do want make higher the Height Size.
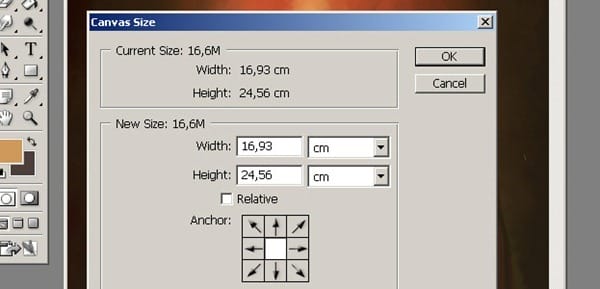
Here make the settings as you see.
Step 6: Continue add more Detailing
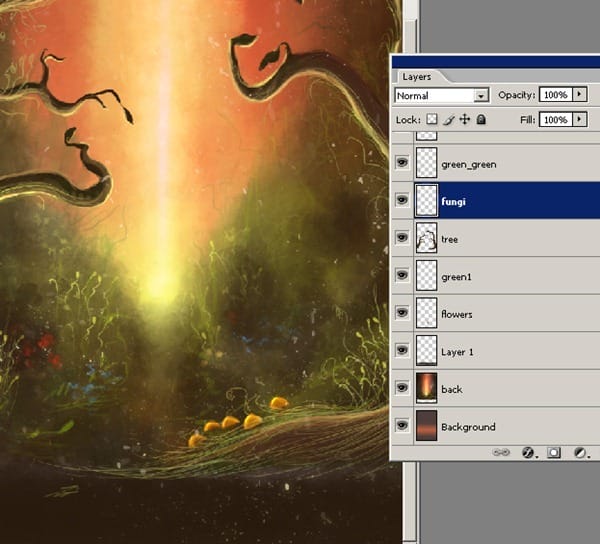
I continue to add more details and opening some new layers when I need. Pay attention to my layer order. And also pay attention to blank area at the bottom. We will need this area later.
Step 7: Working on Character
Now that I have decided to paint alien animal character. At the step I am just trying with the basic colors for my sketch. I have just closed the sketch layer for the see how is looking my character painting. I can start to add details. In this step. I started with coloring of my character. First select the “character” layer and began begin adding the character’s colors.
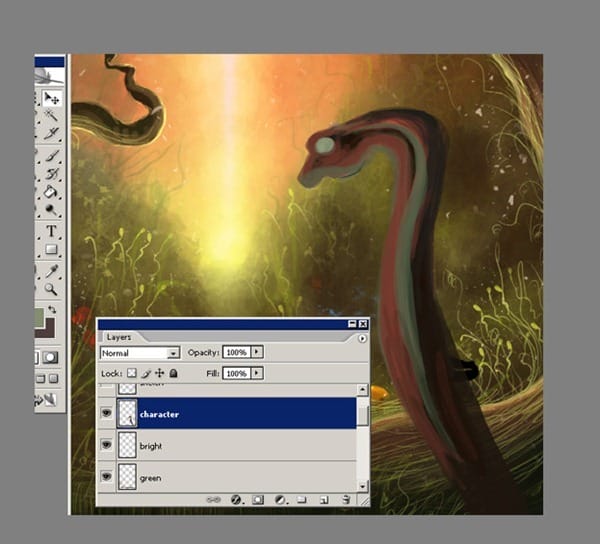
I’ll now begin to detail the character, adding more yellow and green colors. By the way don’t forget at this step you don’t have to over detail everything. At this point I kept working on main details and lights, until I got a nice and contrast. Sometimes I have to change some colors. I am pretty much finished with painting it’s body.
Step 8: Detailing Character
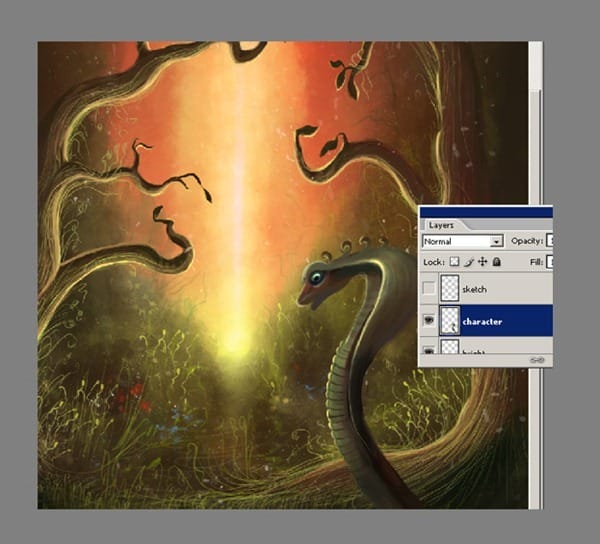
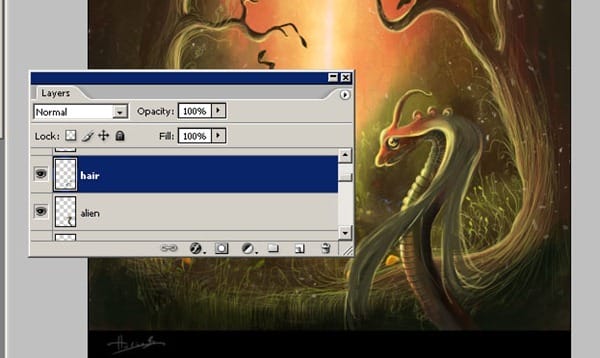
At this point I realized that my first character sketch is looking very simple and not so good, so I thought it was time to make some changes about character . I try some different outlook for it. First I have opened a new layer as “hair” and I continue to adding more details. I also would like to add some more details at the bottom of the image.
I do want some details at the bottom of our illustration. So first I have make a copy of the “tree” layer and name it as “black” And after choose Edit/Transform/Distort.
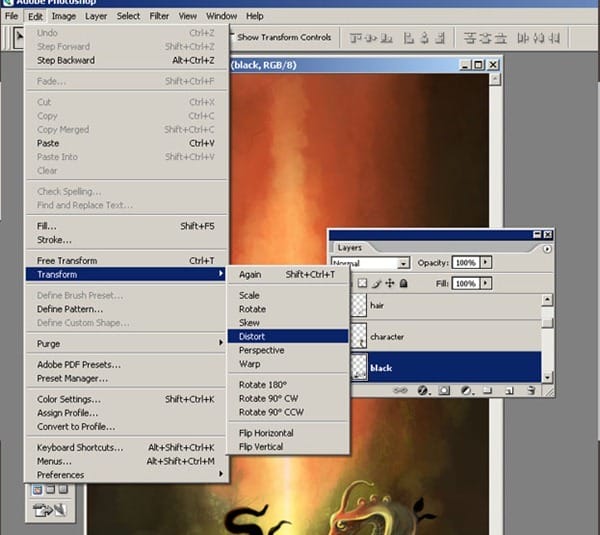
And make some changes with that. After from the sample panel select the Warp option and some changes as I did with the tree layer.
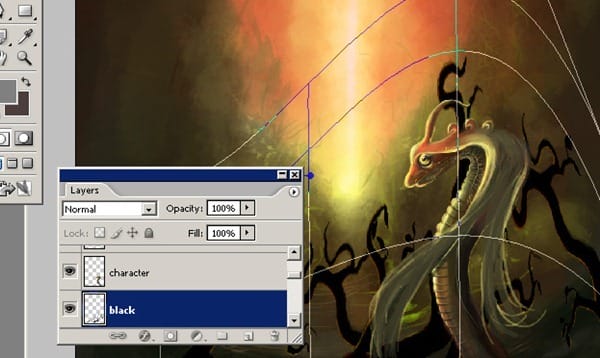

Here as you see position of the black tree must be like this.
2 responses to “How to Create an Environmental Painting in Photoshop”
-
Wonderful tutorial and beautiful work! Very helpful!
-
Thanks! Great and simple tutorial… keep up.


Leave a Reply