Step 14
Repeat the last two steps with the left section of the box

Step 15
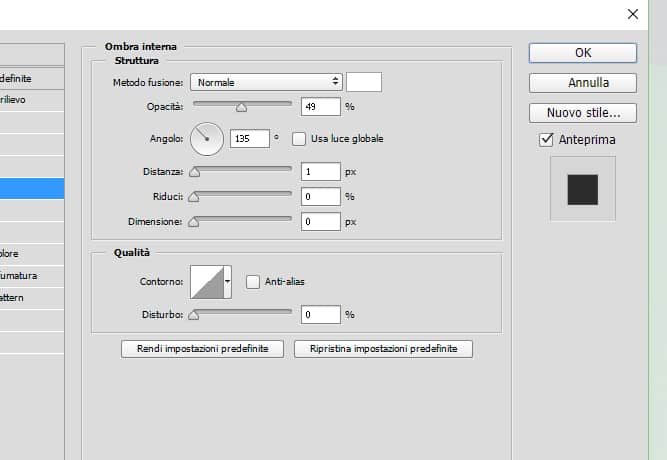
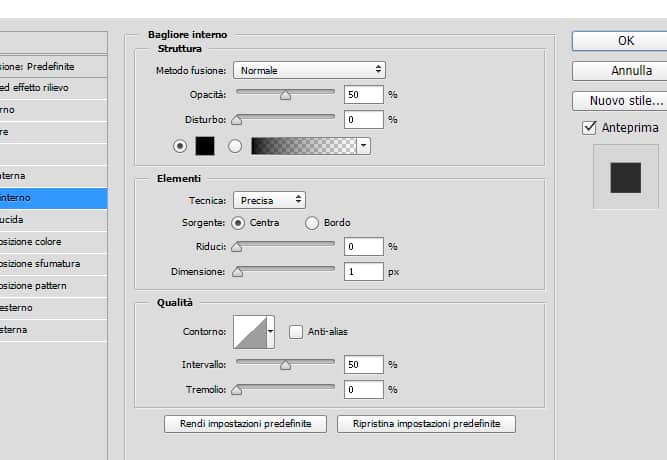
Create a new group and name it ‘Details’. Follow by creating a new layer and naming it ‘Left Flap’. Using the Pen Tool, you want to create a triangle -like shape but with a really flat center. Then right-click and fill it with #767676; Next you want to add an Inner Shadow to it…
Then some Inner Glow..
Step 16
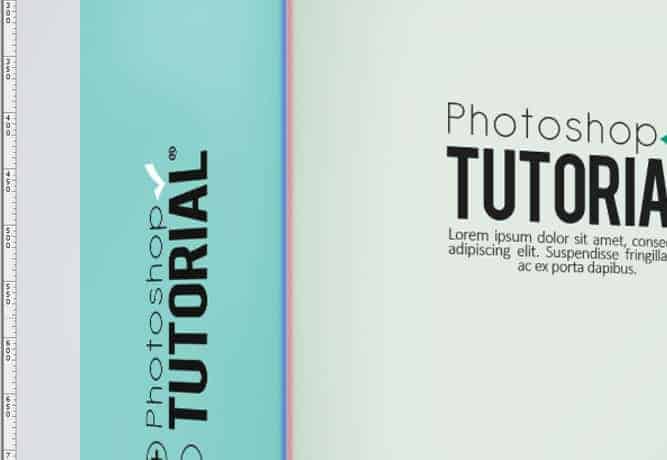
Create a New layer and name it ‘Shadow’. You want to re-do step 11 but with a slightly bigger brush size (size 4-6px), create a line next to the side that divides the left and right section of the box(place it more to the right side). then blur it with gaussian blur and change the blend mode to soft light (it is indicated as a red line below)

Step 17
Repeat the previous step but this time name the layer ‘highlights’ and use #ffffff; as your color and place it more to the left side like so (it is the blue line)

Step 18
Create another layer and name it ‘line’ and using the line tool create a line (atleast 2-3px big) on the side that divides the left and right section at #000000; change it’s blend mode to soft light. (it is indicated as the white line)
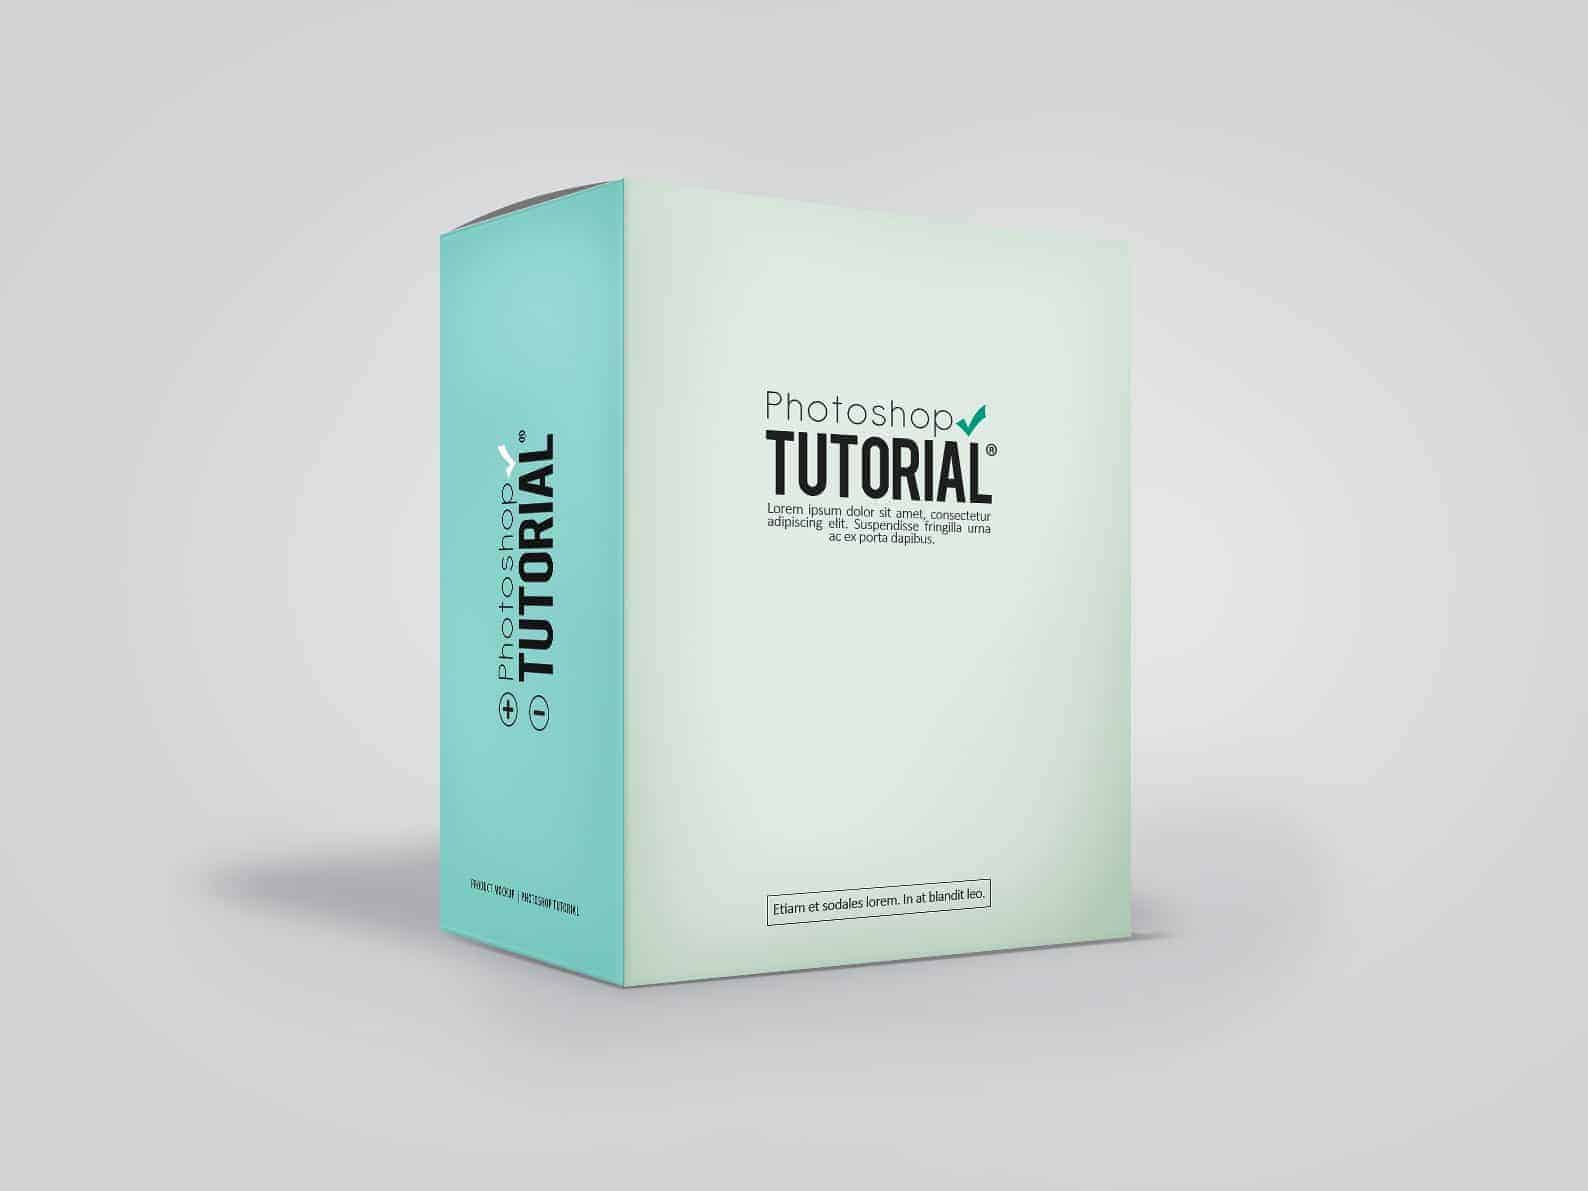
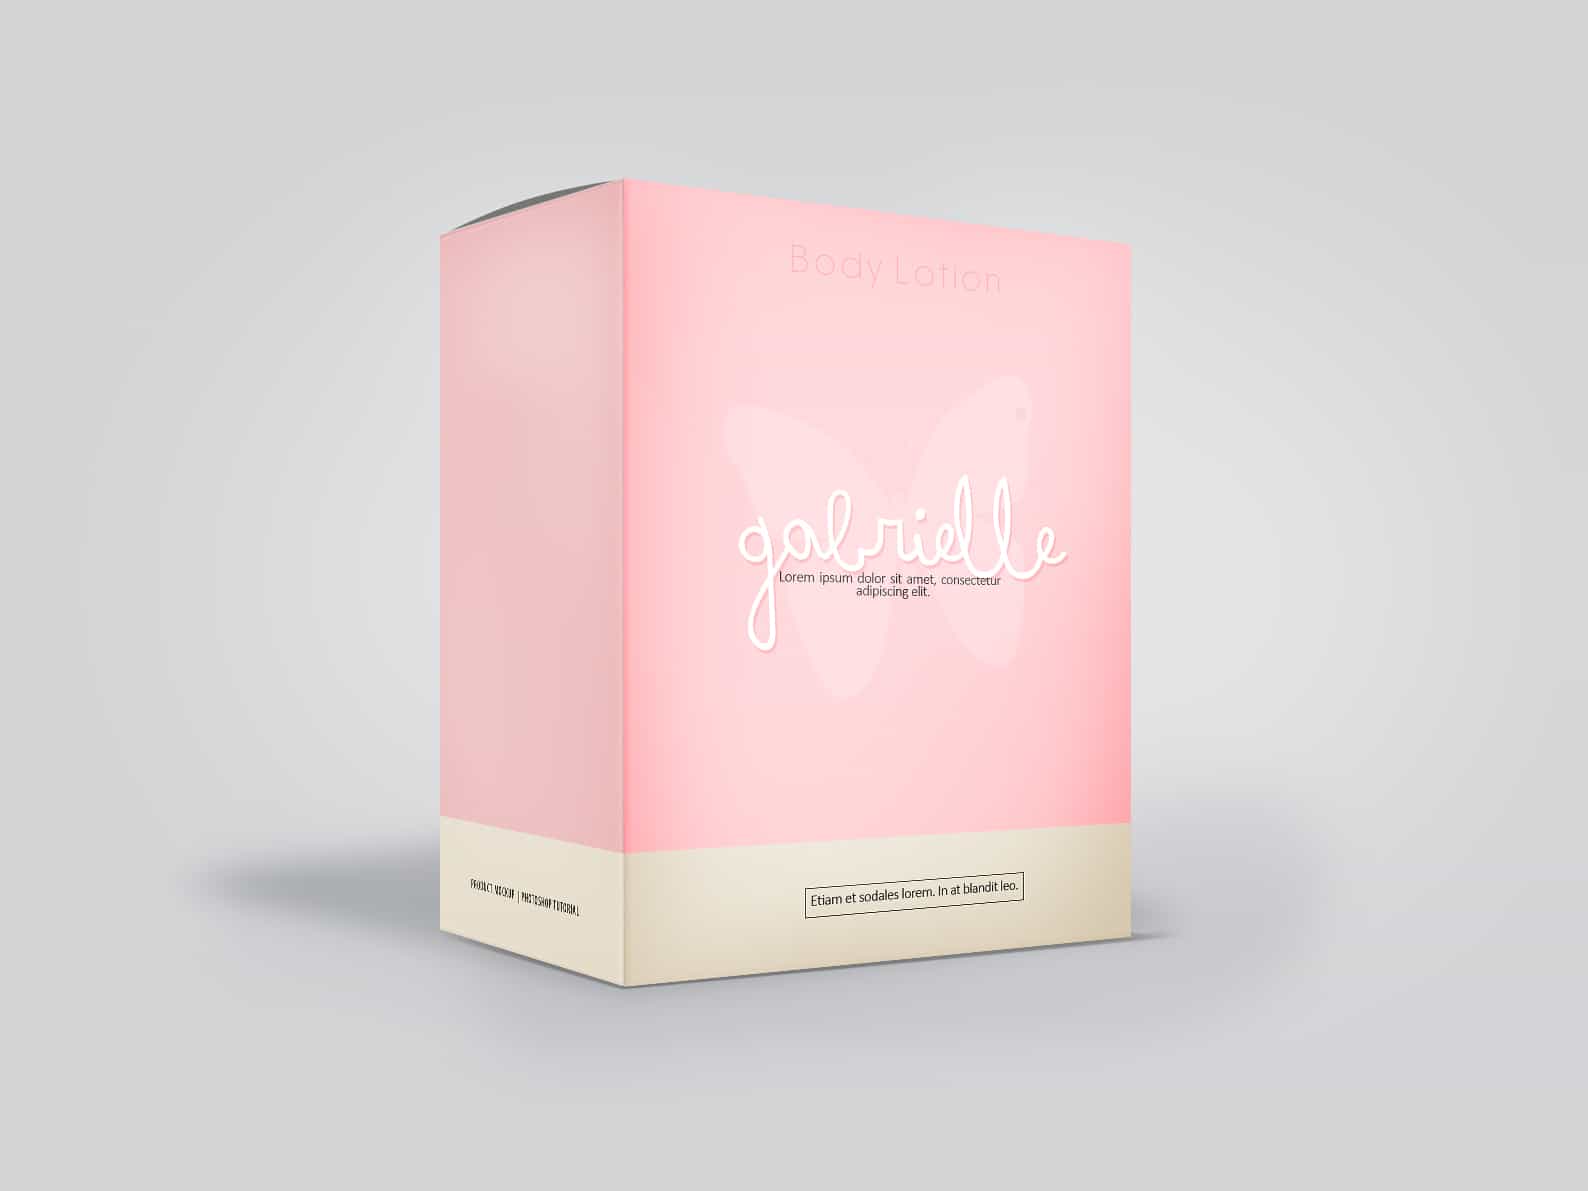
Final Results
Download the PSD
[vc_column width=”1/1″ el_position=”first last”] [vc_cta_button title=”Download” href=”https://downloads.photoshoptutorials.ws/Product Box Mockup.zip” color=”btn” size=”btn-large” icon=”none” target=”_self” position=”cta_align_right” call_text=”Product Box Mockup.zip | 3.17 MB” width=”1/1″ el_position=”first last”] [/vc_column]
Tutorial by x–tenshii
5 responses to “How to Create Your Own Product Mockup Box in Photoshop”
-

Thanks so much – this was really helpful!
-
Thanks for this tutorial :)
-
Thank you for your efforts you’re at level
-
this great idea …for making my own mockup !!!! simple ,,,, just play in contrast :)
like your photoshop tutorial
-
I have always wanted to create my own mockups and this was a great tutorial on how to do a product box using smart objects. Thanks!
Leave a Reply