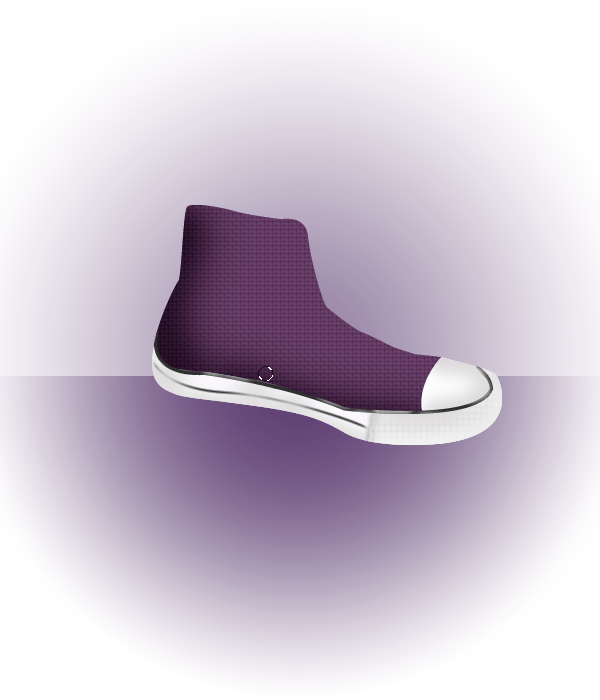
Step 13
Now we will create the outer lining of the shoe. Create a new layer and name it ‘outer lining’. Grab your pen tool and make a shape like the image below, then make a selection of it and fill it with #ffffff

Step 14
Now we will shade in the lining just like we did the tip of the shoe. Get your 32px soft round brush (#dedcdc, Flow:27%) and shade in the lining around the bottom

Step 15
Create a new layer and again grab your pen tool. Make sure that your paint brush is set to 4px hard round brush and the color is set to #2f2f2f

Step 16
Right click it and select stroke path. Then erase away the ends of the line so that it fades out, use a soft round brush

Step 17
Create a new layer and make a shape like the image below. I made this shape red so that you could see the shape of it but fill your shape #f1f1f1

Step 18
Duplicate this layer and add this Pattern Overlay to this second layer

Step 19
Create a layer mask from this layer (circle inside a square icon) and erase away the pattern around the edges of this shape.

Step 20
Create a new layer underneath this shape and add a bit of a shadow with a 15px soft round brush (color: #dbdbdc Flow: 100%). Also reapeat this same step but place it above this shape layer

Step 21
Create a new layer and with a 58px soft round brush Flow: 25% Color: #e5e5e7 paint around the entire lining. Make sure to leave some areas white.

Step 22
Create a new layer and with your pen tool selected make a line around the lining. Again make sure that your pen tool is set to 4px hard round brush #2f2f2f. Make your line and right click on the line and select stroke path.

Step 23
Now we will add some highlights to this line. Create a new layer and with a small soft round brush #ffffff, paint in some highlights on the line. Then make this layer Opacity: 63%
![step-001[1] step-001[1]](https://cdn.photoshoptutorials.ws/images/stories/13e6e2eead33_118E1/step-0011_3.png?strip=all&lossy=1&webp=82&avif=82&w=1920&ssl=1)
Step 24 Rings
Now we will create the holes or the rings that the shoe laces go through. Grab your Elliptical Marquee Tool and make a circle. Note: I like to hold down the shift key when doing this so that I get a even round circle. Fill it with #ffffff

Step 25 Contract the selection
Select>Modify>Contract then click ‘ok’

Step 26
Press your delete key to delete the inside of the circle and apply these layer styles
2 responses to “How to Draw a Converse “Chuck Taylor” Shoe in Photoshop”
-
Awesome I love it so much :D
-
so nice


Leave a Reply