Step 16
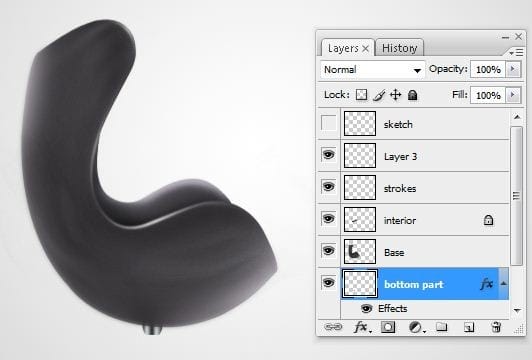
Make a new layer and rename it to “bottom part”. Make a selection using the Lasso Tool (L) as on the image below.

Fill the selection with #737E84 gray color. Go to Blending Options > Gradient Overlay. (The button Blending Options is on the bottom part of the Layers palette.)
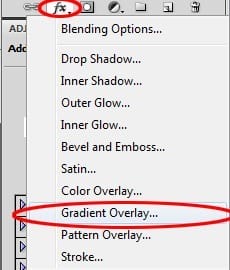
Make following settings.

Click on the preview of Gradient and set it as you can see bellow.

After you applied the gradient you should have something like in the following picture.
Step 17
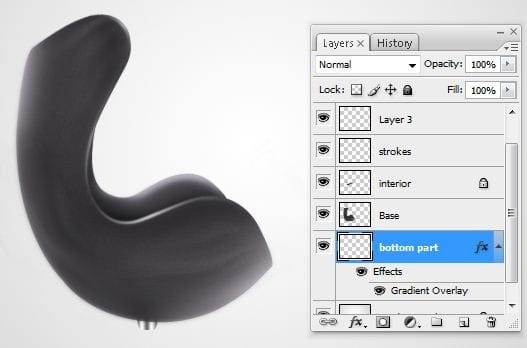
Pick up the Dodge Tool (O). Set the Diameter on about 30 px, Range on Highlights and Exposure on 70%. Dodge the “bottom part” of the layer.
Step 18
Make another new layer and add a shape like in the picture below using the color # 9DA2A6.

Go to Blending Options > Gradient Overlay. Click on the preview of Gradient and set is as bellow.

After this step you should have something like in the next picture.

Step 19
Make a new layer above the “Background” layer and using the Pen Tool (P) make a path like in the picture below.
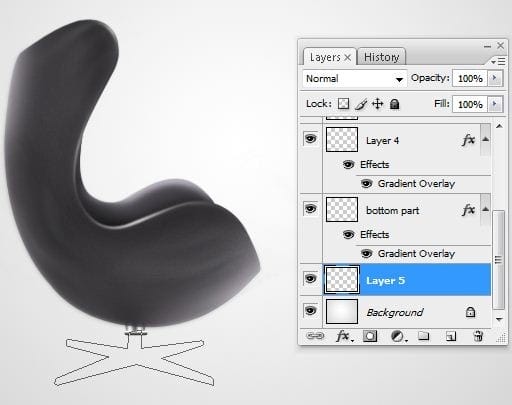
Fill the created path with a gray color (# 6E7D82).

Step 20
Use the Lasso Tool (L) and make a selection like in the picture below.

Grab the Burn Tool (O). Set the Diameter of the brush on 50 px, Range on Highlights and Exposure on 50%. Add some shadows like in the next picture.
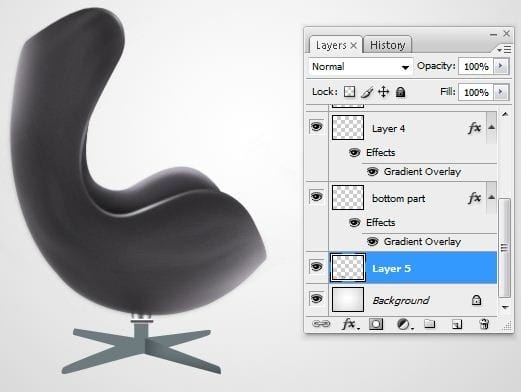
Step 21
Make a new layer and name it “bottom stroke”. Select the Pen Tool (P) and create a path like in the next picture.
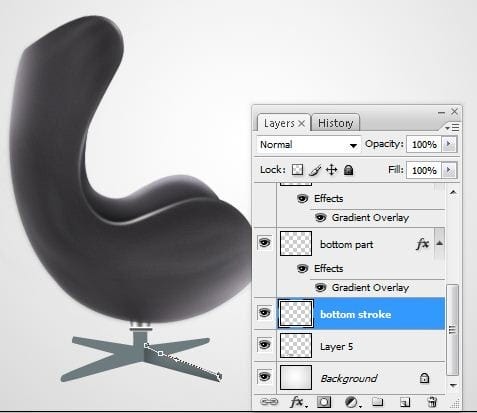
Add a 2 px dark gray color stroke.
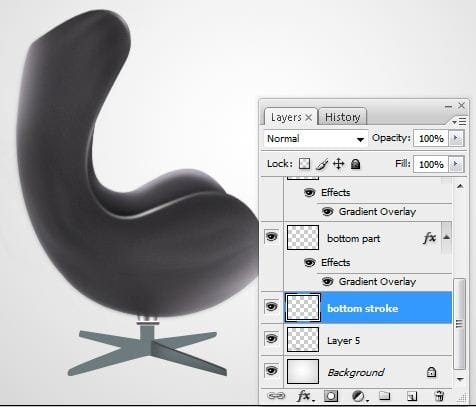
Use the Eraser Tool (E) and erase the excess.

Step 22
Make a new layer and name it “white bottom stroke”. Use the Pen Tool (P) and create a path like in the next picture.
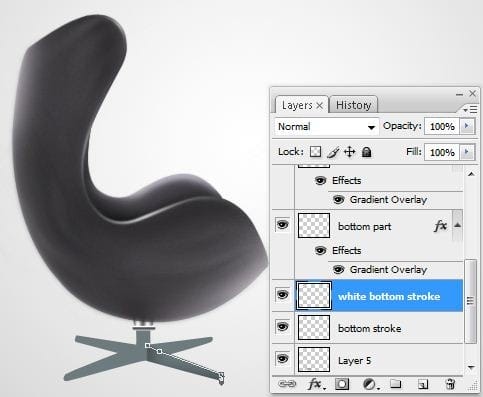
Add a 2px light grey stroke.
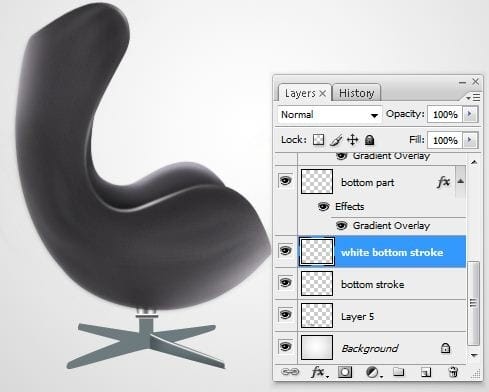
Use the Erase Tool (E) and erase some parts like on the picture bellow.

Step 23
Repeat the steps 21-22 at the left of the bottom part. Then make following selection using the Lasso Tool (L).
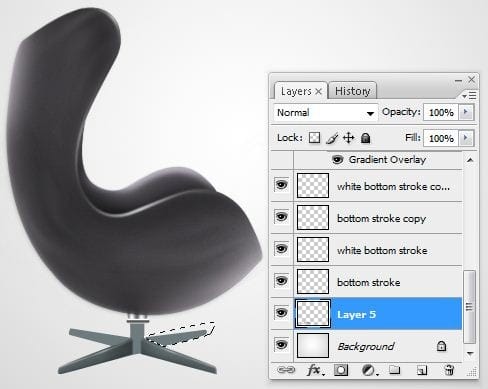
Select the Dodge Tool (O). Set the Diameter of the brush on 50 px, Range on Shadows and Exposure on 30%.
Add some highlights in the selection like in the picture below.

Step 24
Add a small shadow using the Burn Tool (O) in the selection.
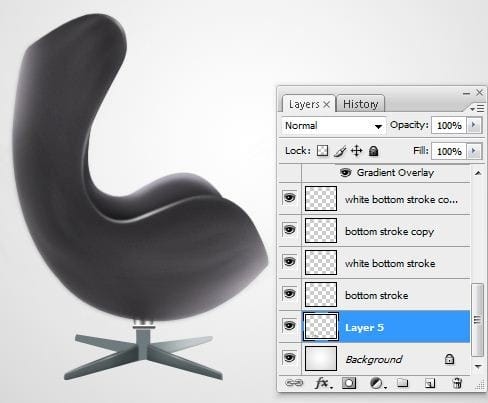
Repeat the step 23 for the left part too.


Leave a Reply