
Duplicate this layer and blur it even more (Filter > Blur > Gaussian blur with radius of 7px) and change copy’s blending mode to Color Dodge.

Then just do exactly the same on the opposite side.
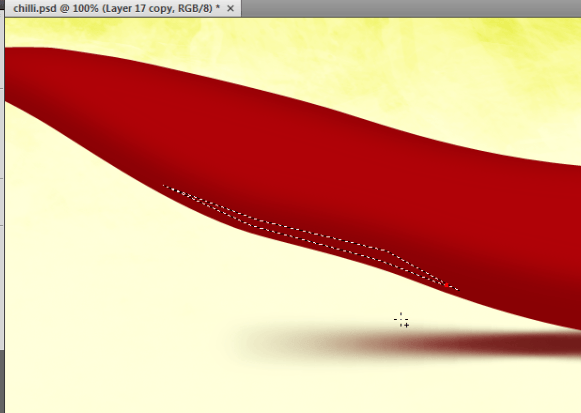
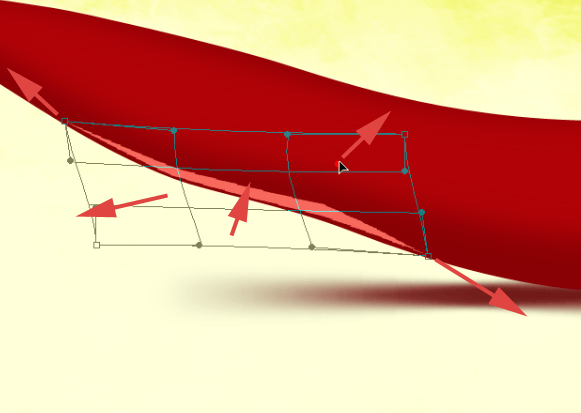
As it is brighten part and thus more reflective, we can make this layer a bit brighter with Image > Adjust > Brightness/Contrast.

But here instead of Color dodge, copy could be leave with Normal blending mode
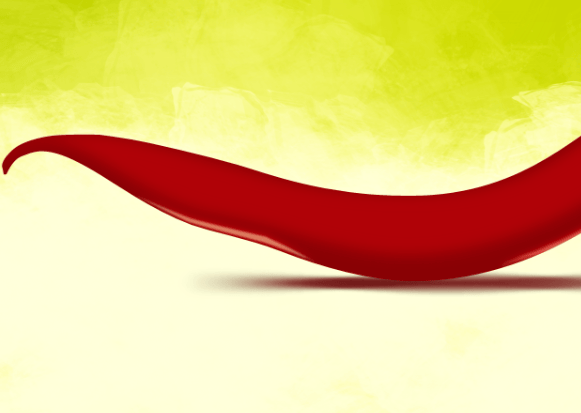
Create new clipping layer. Remember our strategical layer? [CTRL] + Click on ‘Shape 1 copy’ thumbnail so you will get a selection. We have used it to simple shadows and now it will help us with lights. Pick the color #f8eceb.
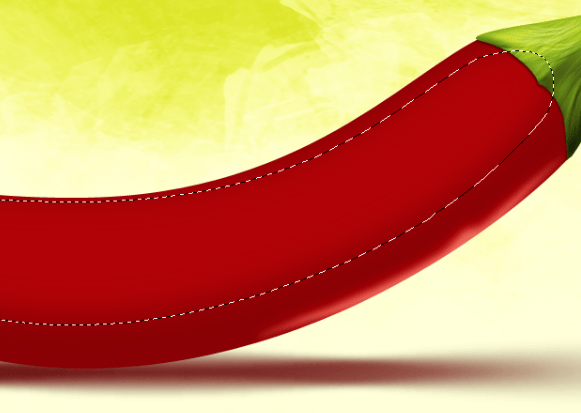
Get Gradient tool and make some gradients from bottom to top.
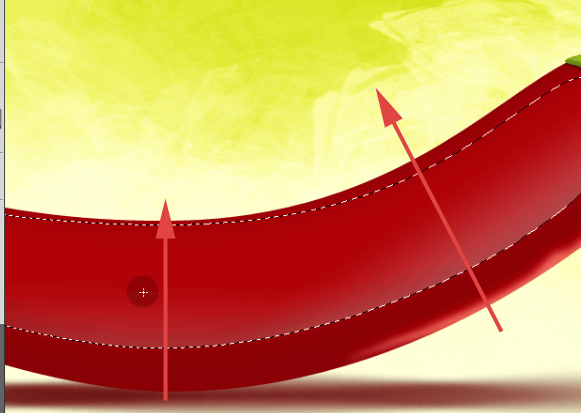
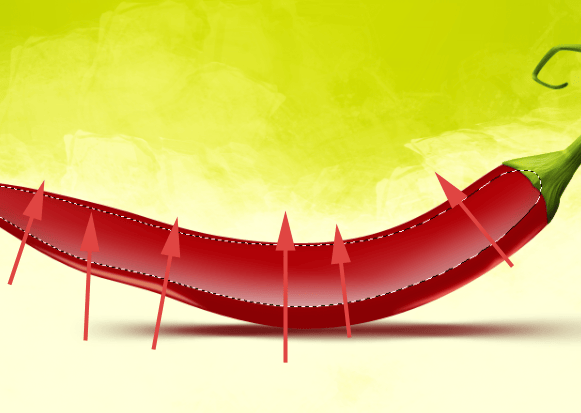
Now grab some marquee tool, just press M on your keyboard and now hold [SHIFT] and press down arrow few times. Each arrow press will move selection by 10 pixels, but the layer will stay on its position. Then go to Select > Inverse and just puch [DELETE]

Go to Filter > Blur > Gaussian blur and by using radius of 8px blur this layer. At the end change this layer’s blending mode to Overlay with 50% opacity. You can also copy this layer and change the copy’s blending mode to Normal and opacity to 40%.

And our pepper should looks like this for now

Step 12 – Lights
Get Gradient tool and set its mode to radial
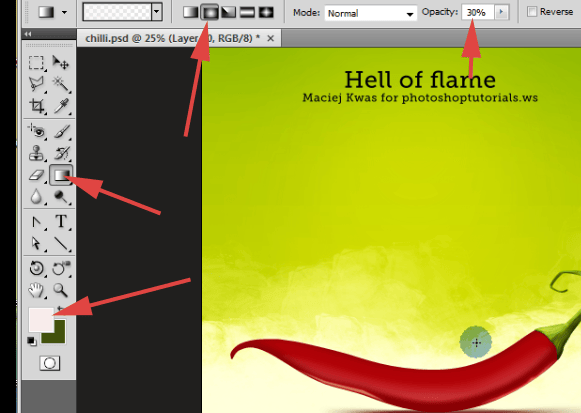
Remember about new clipping mask layer. Make few gradients to achieve tonal difference on the pepper’s surface.

Change this layer’s blending mode to Overlay and lower down the opacity a bit if it is too strong. With Polygonal Marquee tool create a selection on the end of pepper (New layer- just a remembrance) and fill it with gradient.

Pick up Rounded Rectangle tool (U) with radius of about 15 pixels and make a rectangle.

Then modify it with Edit > Transform > Skew to get the following result. It is just small action to add a bit of smoothness to the peppers surface. I am just making it in one point, but if you wish to, you can place more objects like this.
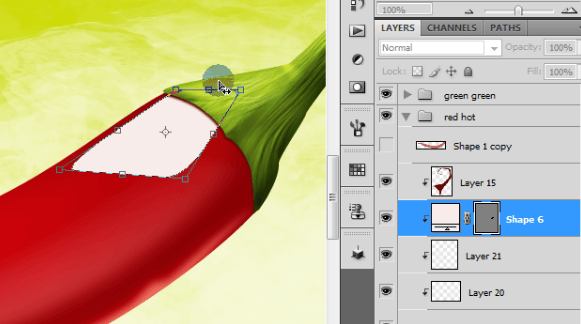
Duplicate this layer. Set original layer to Overlay with 55% opacity and copy to Soft light with 70% opacity.
2 responses to “How to Draw a Steaming Hot Chili Pepper in Photoshop”
-
cos pieknego:)…
-
thankssssssssssssssssss


Leave a Reply