

Step 20
Right click this layer, choose Bevel & Emboss. Pick the color for highlights to #bbceda and the color of shadow to #1c2022.

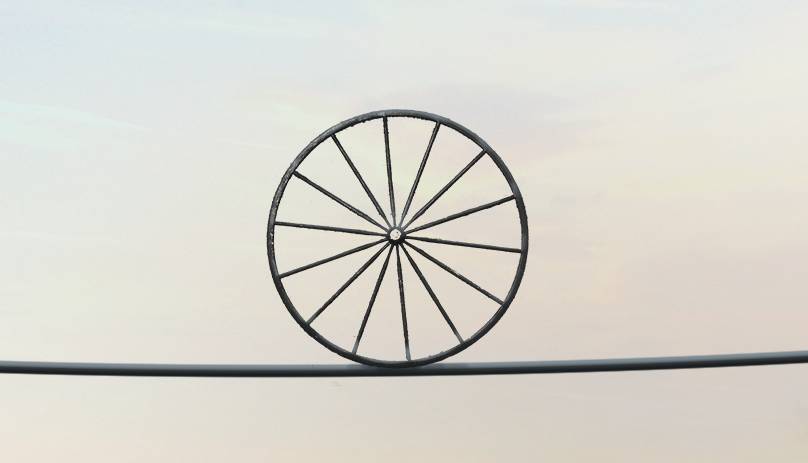
Step 21
Isolate the wheel and place it in the middle of the line.

Make a new layer below the wheel one and use a soft brush with the color #1c2022, the opacity about 30% to paint shadow for the wheel on the line.

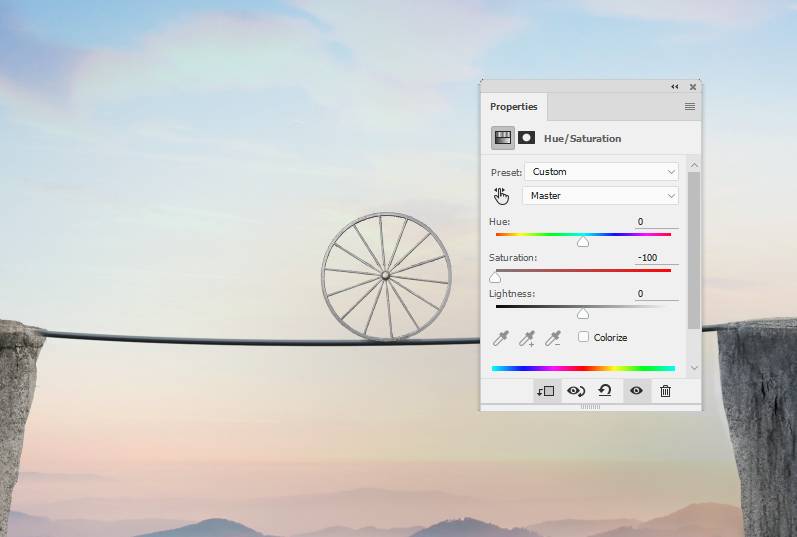
Step 22
Create a Hue/Saturation adjustment layer and bring the Saturation values down to -100.
Add a Curves adjustment layer to darken the wheel.

Step 23
Right click the line layer, choose Copy Layer Styles. Right click the wheel layer, choose Paste Layer Styles.
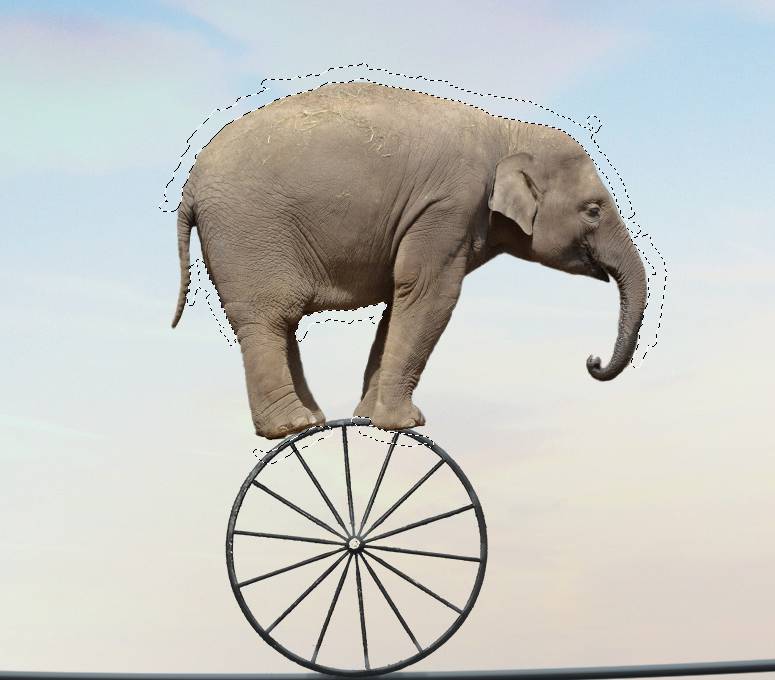
Step 24
Cut out the elephant and place him above the wheel. Convert this layer to a Smart Object.

Add a mask to this layer and use a small hard black brush to remove the hard edges on the contour of the elephant.
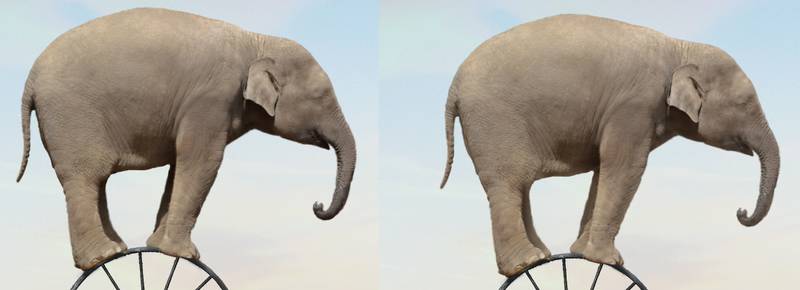
Step 25
Go to Filter > Liquify and choose the Forward Warp Tool (W) to stretch a part of the elephant’s head to the right a bit to make the head rounder.

Go to Edit > Puppet Warp and use the pins to make the feet of the elephant to be held on the wheel.


Step 26
Create a new layer below the elephant one and use a small brush with the color #1c2022, the opacity about 30% to paint shadow for the elephant on the wheel.

Step 27
Make a new layer and use the Clone Tool with the opacity about 50% to reduce the visibility of the wrinkles and details on the elephant.

Step 28
Add a new layer and use a soft brush with the color #9c8873,, the opacity about 17% to reduce the shadow on the elephant.
Step 29
Create a Hue/Saturation adjustment layer and change the Saturation values:

Make a Curves adjustment layer and reduce the lightness. On this layer mask, use a soft black brush to erase the head of the elephant so it won’t become darker.

Step 30
Create a new layer, change the mode to Overlay 100% and fill with 50% gray. Use the Dodge and Burn Tool to refine the light and shadow, make more details and repaint the mouth and eye for the elephant.


Step 31
Cut out the rat from the background and add him to the top of the elephant’s body.
3 responses to “How to Create a Surreal Elephant Photo Manipulation with Adobe Photoshop”
-

Thank you! great lesson!
-
Well done
-
Excellent. I’m a regular viewer. It’s help To me. Thank you…….
Leave a Reply