

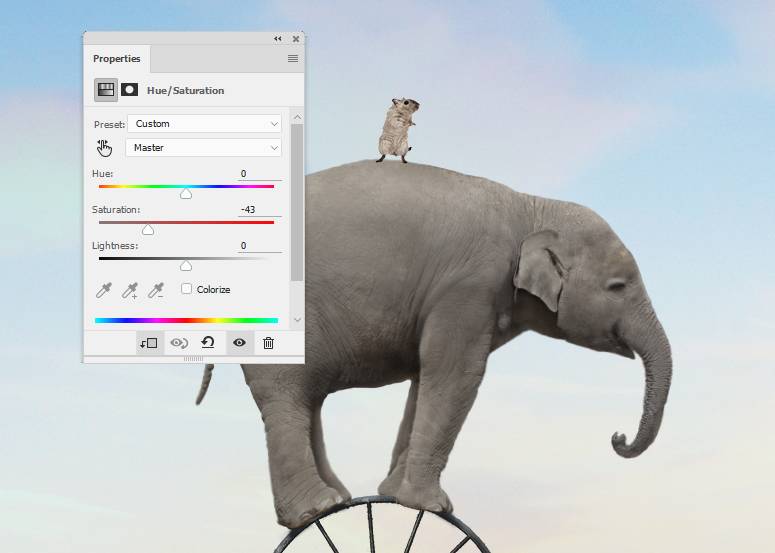
Step 32
Create a Hue/Saturation adjustment layer and bring the Saturation values down to -43:
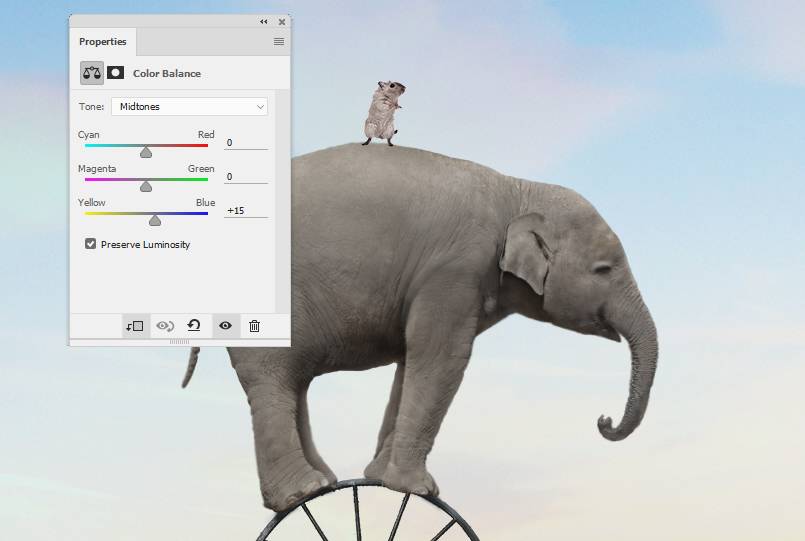
Make a Color Balance adjustment layer and change the Midtones settings:
Add a Curves adjustment layer and decrease the lightness. On this layer mask, paint on both sides of the rat so these parts won’t become darker after this step.

Step 33
Create a new layer, change the mode to Overlay 100% and fill with 50% gray. Use the Burn Tool to paint shadows for the rat to fit the light of the scene.

Step 34
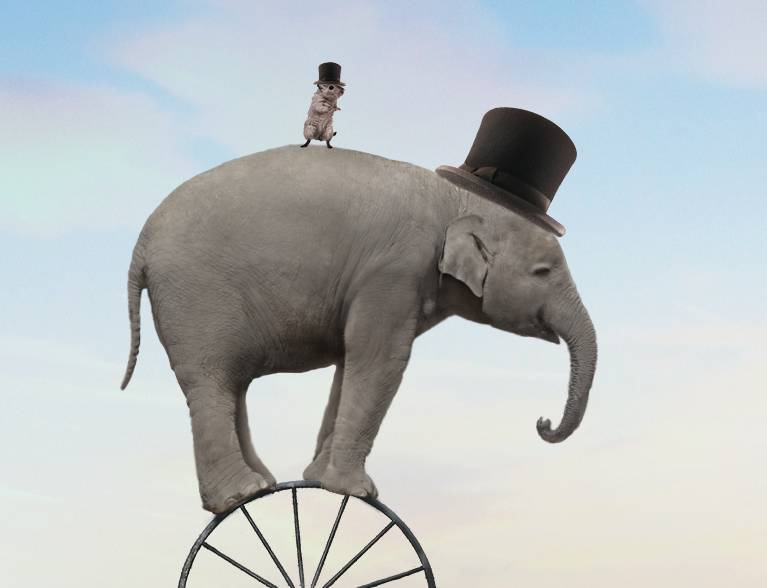
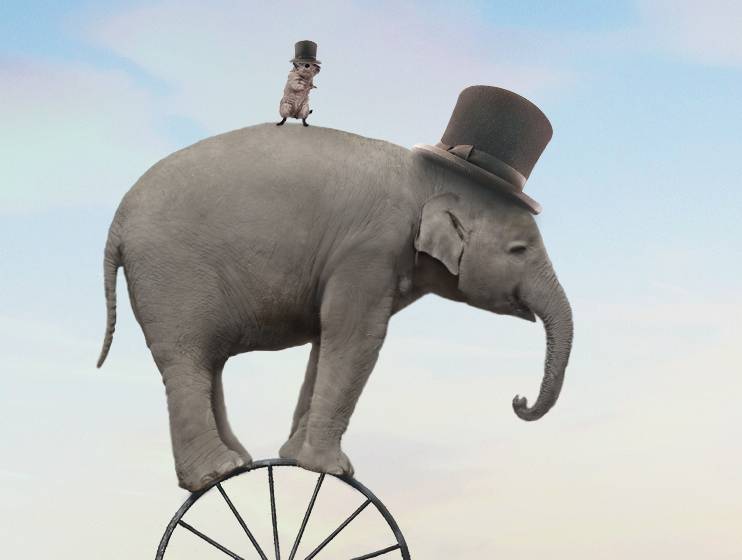
Isolate the hat from the background and place it onto the head of the elephant. Flip it vertically and use Ctrl+T to resize and rotate it to fit the pose of the head. Duplicate this layer and resize it to be much smaller and then add it to the head of the rat.

Add a mask to each of these layers and use a hard black brush to hide the bottom of the hats.
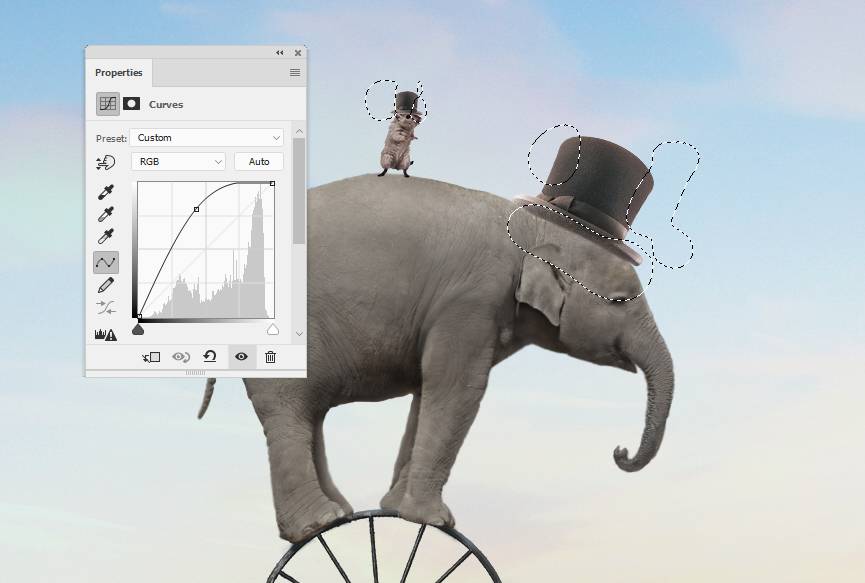
Step 35
Make a group for the hats and add a Curves adjustment layer within this group. Increase the lightness to make the middle of the hats brighter. The selected areas show where to paint on the layer mask.
Step 36
Make a new layer above the elephant’s hat one (set as Clipping Mask), change the mode to Overlay 100% and fill with 50% gray. Use the Dodge Tool to make the middle of the hat brighter.

Step 37
Create a new layer above the hats group and use a brush with the color #222626 with the opacity about 30% to paint shadows of the hats on the rat and the elephants.
Step 38
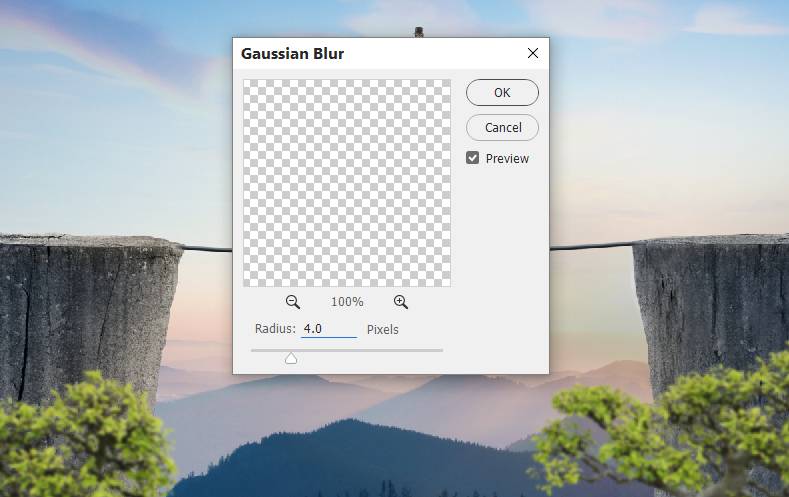
Cut out the tree and place it in the bottom right of the canvas. Duplicate this layer and move it to the bottom left.

On each of these layers, apply a Gaussian Blur of 4 px:
Step 39
Create a group for the trees and add a Hue/Saturation adjustment layer to change the color of the trees.

Step 40
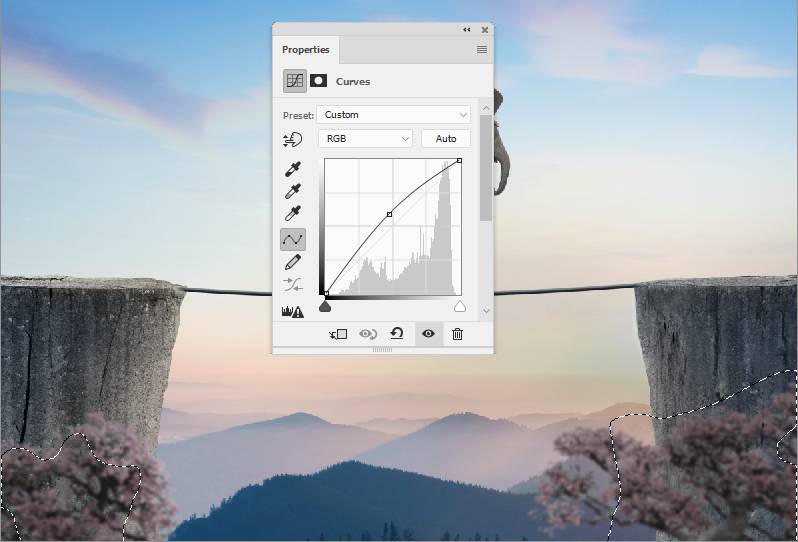
Make a Curves adjustment layer to darken the tree. On this layer mask, paint on the front of the trees to reveal some light there.

Add another Curves adjustment layer to bring more light to the front of the trees. Paint on the rest to keep its contrast.
Step 41
Cut out the birds and add them to the upper left of the sky.

Step 42
Create a Curves adjustment layer to reduce the contrast of the birds.
3 responses to “How to Create a Surreal Elephant Photo Manipulation with Adobe Photoshop”
-

Thank you! great lesson!
-
Well done
-
Excellent. I’m a regular viewer. It’s help To me. Thank you…….
Leave a Reply