
Step 43
Make a Gradient Map adjustment layer and pick the colors #e10019 and #00601b. Lower the opacity of this layer to 20%.
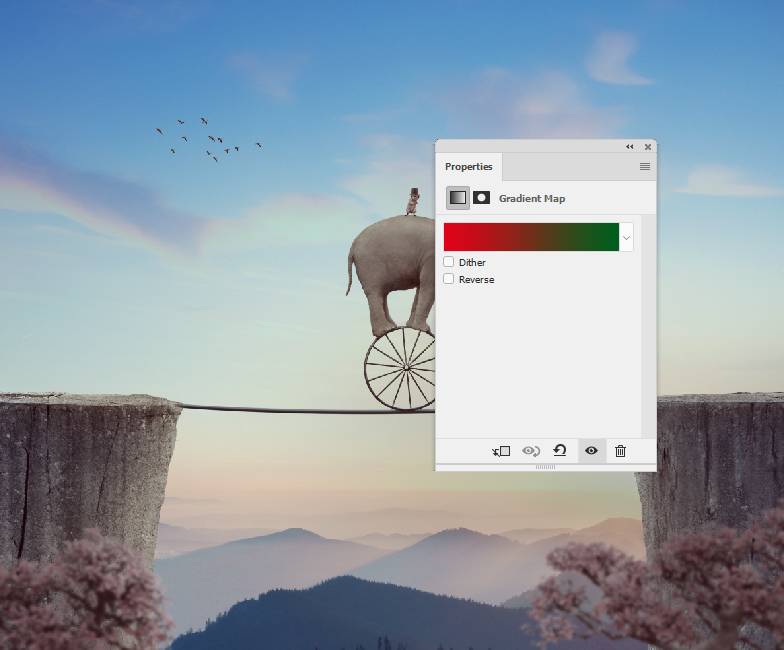
Add another Gradient Map adjustment layer and pick the colors #1b180b and #b30b0b. Lower the opacity of this adjustment layer to 20%.

Step 44
Create a Color Balance adjustment layer and change the Midtones and Highlights settings:


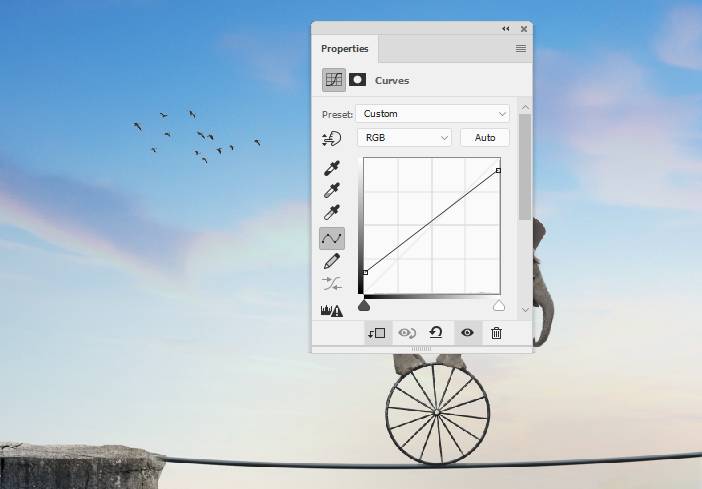
Step 45
Make a Curves adjustment layer to brighten the middle section. Paint on the rest to keep its contrast.

Final Result

Download the PSD
3 responses to “How to Create a Surreal Elephant Photo Manipulation with Adobe Photoshop”
-

Thank you! great lesson!
-
Well done
-
Excellent. I’m a regular viewer. It’s help To me. Thank you…….
Leave a Reply