

Step 19
Create a new layer and use the Clone Tool (S)to fix some missing details on the fins.


Step 20
On the fin layers of the neck and head of the creature, make a new layer, change the mode to Overlay 100%and fill with 50%gray. Use the Dodge and Burn Tool to change the light and shadow of these parts.


Step 21
Create a group for the fin layers and the relative ones and make a Hue/Saturationadjustment layer to desaturate the body and fins.

Step 22
Make a Photo Filteradjustment layer and pick the color #aeecb1.

Step 23
Add a Curvesadjustment layer to brighten the fin and body. On this layer mask, paint on parts which are bright already to keep the shadow and contrast of the giraffe.


Make a Levelsadjustment layer with the same purpose. The selected areas show where to paint on the layer mask.

Step 24
Open the flamingo image and isolate the legs on a new layer. Use the Polygonal Lasso Tool (L) to select the left leg to add to the lower of the giraffe’s body.

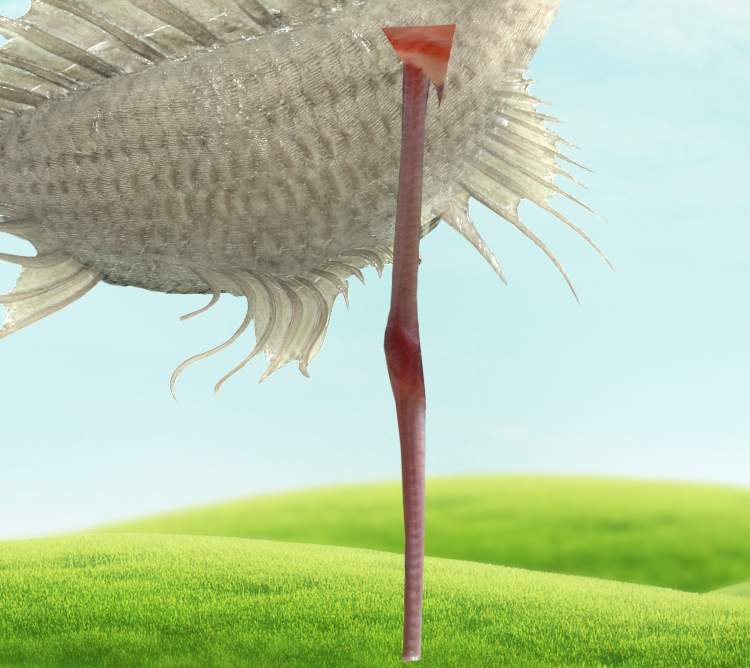
Add a mask to this layer to blend it with the body and the ground.

Step 25
Create a new layer (set as Clipping Mask) and use the Clone Tool to retouch a little details on this leg.

Make a new layer, change the mode to Overlay 100%and fill with 50%gray. Use the Dodge Toolto brighten the front of the leg to fit the light on the background.

Step 26
Move the left leg to our working document again and place it behind the first one. Use a layer mask to blend with the ground and the existing body.

Use the Clone Toolto refine a small detail on this leg.
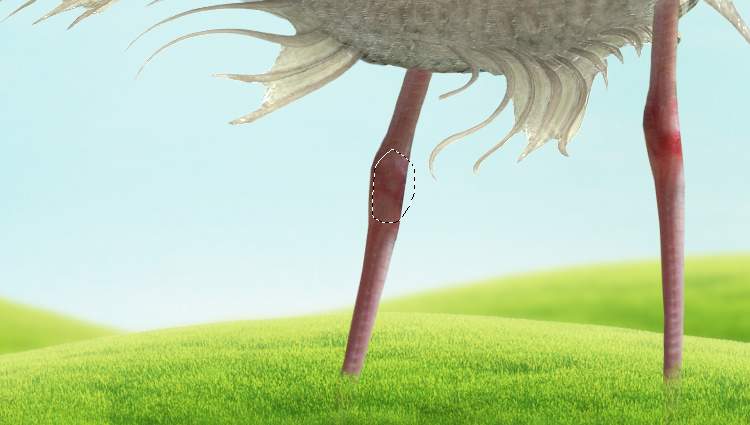
Step 27
Come back to the extracted layer in the original flamingo image and make a new layer and use theClone Toolto remove the marked part on the right leg. Select this leg with theLasso Tool and hit Ctrl+Jto duplicate it onto a new layer. Select this layer and the cloning one and right click, choose Merge Layers. Move this merged leg into our main document and place it besides the front leg. Use a layer mask to blend it with the existing body.


Step 28
Make a new layer (set as Clipping Mask)and use theClone Toolto refine some details on the legs.

Drag this leg from the original image into the main document again and place it behind the first one. Blend it with the ground and body using a layer mask.
7 responses to “How to Create a Fantasy Creature with Adobe Photoshop”
-

create a creature that have a head of sloth and body of elephant.
-
search it up ya nonce
-
first space movie
-
who u calling nonce
-
Creative good work!
-
wake up you nonce
-
jee
-
Leave a Reply