

Step 29
Create a Curvesadjustment layer to make the upper of the leg a bit darker. Paint on the rest to keep its lightness.

Step 30
Make a group for the leg layers and add a Curves adjustment layer to brighten the legs. On this layer mask, paint on the hind of the legs to reduce the lightness.


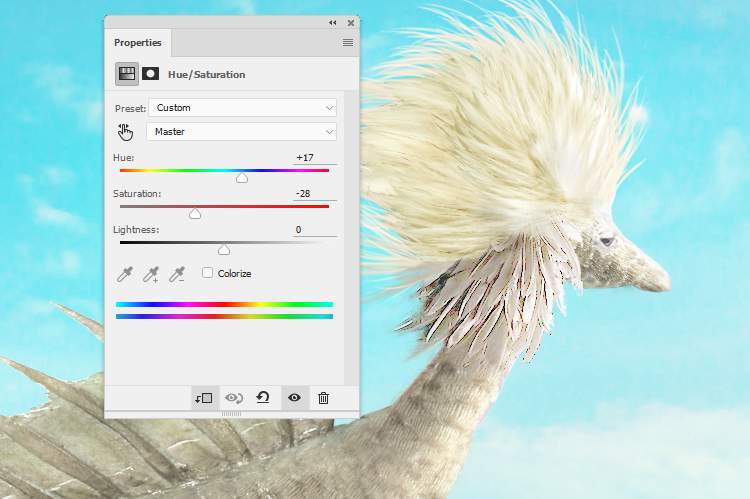
Create a Hue/Saturationadjustment layer and alter the Mastervalues:

Make a Photo Filteradjustment layer and pick the color #aeecb1:

Step 31
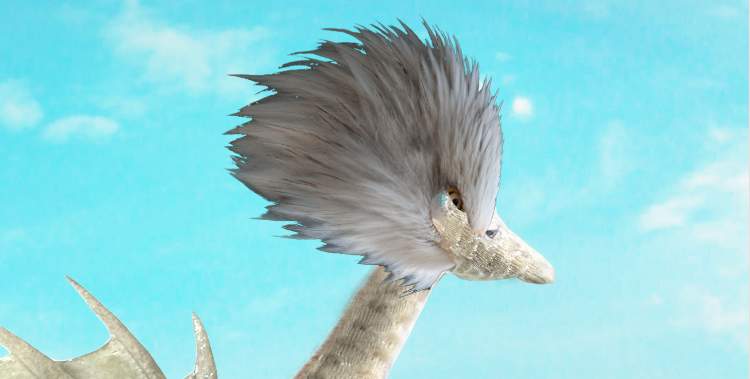
Open the bird image and isolate the white hair on the bird’s head to add to the head of the creature. Add a mask to this layer to remove the bottom of this hair part.
Step 32
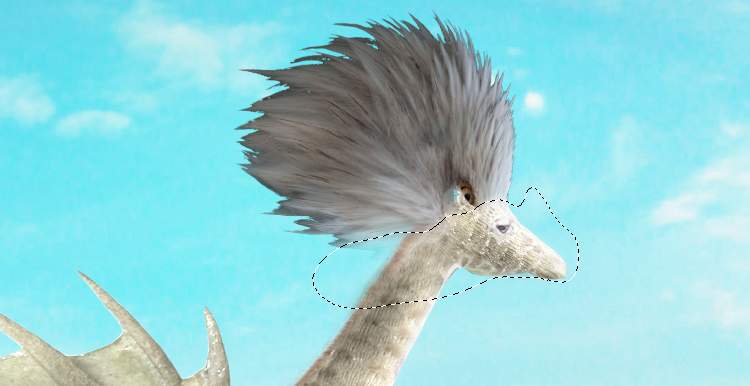
Duplicate this layer three times to place around the creature’s head. Add a mask to each of these layers to remove the hard edges and blend them with the existing head.

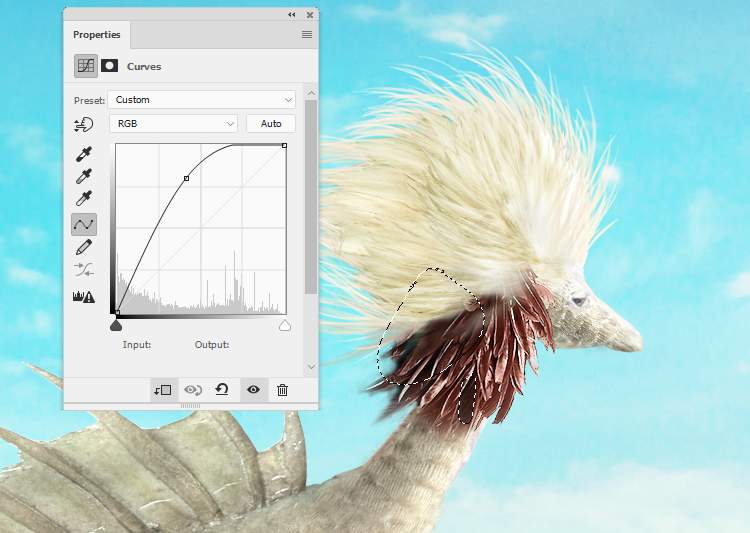
Step 33
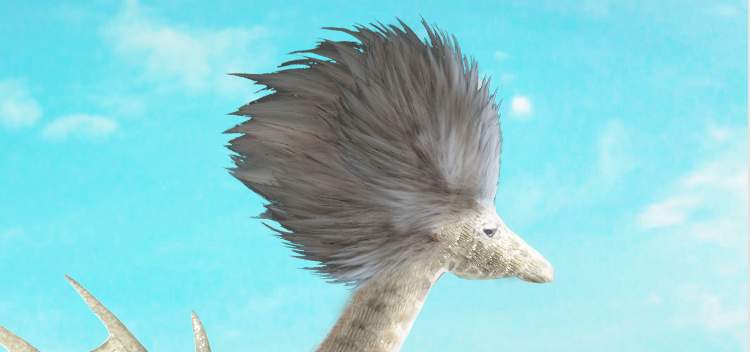
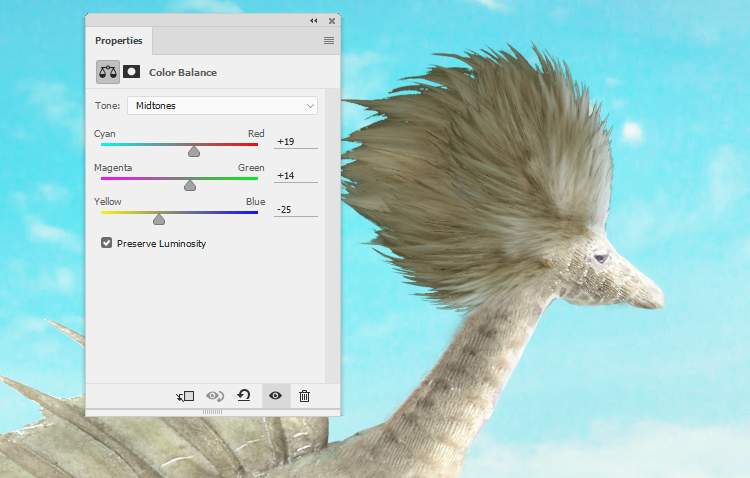
Make a group for these hair layers and add a Color Balance adjustment layer to change the hair color a bit:
Create a Curvesadjustment layer to brighten the hair. On this layer mask, use a soft black with the opacity about 5-10% to reduce the highlight on the hair.

Step 34
Make three layers within this group and use the colors #c5bdac, #efe5cfand #fef7e6to paint more hair for the giraffe’s head.

Step 35
Create a Curvesadjustment layer and increase the lightness. On this layer mask, paint on the details which are bright already.


Step 36
Open the wing image and isolate the clothes with the wing to add to the giraffe. Add a mask to this layer and use a medium- soft black brush to remove most of the clothes, leaving a small part of the wing visible below the head only.


Step 37
Make a Curvesadjustment layer to increase the light on the front of this wing part. Paint on the shadow behind to keep its contrast.
Add a Levelsadjustment layer with the same purpose. Use a soft black with the opacity about 5-7%to reduce the light on the shadow area.

Make a Hue/Saturationadjustment layer and change the Master settings:
Create a Color Balanceadjustment layer to give the wing part some yellow tone.


Step 38
Make two new layers on top of the layers and use the soft brush with the colors #fdfaf4and #c5bdacto paint more details, light and shadow for the wing part.
7 responses to “How to Create a Fantasy Creature with Adobe Photoshop”
-

create a creature that have a head of sloth and body of elephant.
-
search it up ya nonce
-
first space movie
-
who u calling nonce
-
Creative good work!
-
wake up you nonce
-
jee
-
Leave a Reply