

Go to Edit > Puppet Warpand use the pins to change the pose of the child’s head and dress to make her look fit the position of the butterfly.


Step 21
Add a mask to this layer to hide the bottom of the child’s dress to make her look like sitting inside the flower.

Step 22
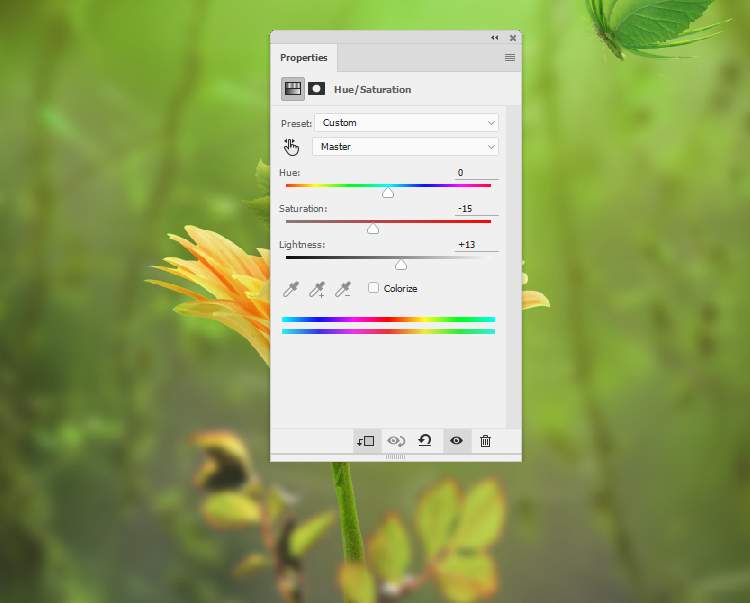
Make a Hue/Saturationadjustment layer and change the Master settings:

Step 23
Create a Color Balanceadjustment layer and alter the Midtonesvalues:

Make another Color Balanceadjustment layer to bring more yellow light on the front of the child. Paint on the shadow on the left to remove the effect there.

Step 24
Add a Photo Filteradjustment layer and pick the color#fff229. On the layer mask, paint on the child’s skin and the upper of the arms and shoulders so they won’t become too yellow.

Step 25
Make a Curvesadjustment layer to give the front of the model more dreamy. Paint on the shadow details so they won’t be affected by this adjustment layer.

Step 26
Open the leaf wingsimage and isolate them from the white background . Take the leaves on the second line to add to the back of the child. Place this layer below the flower group. Duplicate this layer and flip the winghorizontally and move them to another side of the child’s back.


Step 27
Take another leaf wing on the first line to add to the back of the butterfly.

Step 28
Select all the leaf wings layers and hit Ctrl+G to make a group for them. Change the mode of the group to Normal 100%and make a Hue/Saturationadjustment layer within this group.

Step 29
Create a Color Balanceadjustment layer to give the wings on the child redder. Paint on the wings on the butterfly to keep their color.

Step 30
Make a Curves adjustment layer to brighten the upper of the leaf wings more. Paint on lower so they won’t be affected by this adjustment layer.

Step 31
Isolate the branch and move it into our main document. Place it onto the bottom of the flower’s stem and convert it to a Smart Object.

Step 32
Apply a Gaussian Blurof 9 pxto this layer to increase the depth of the scene.

Step 33
Create a Hue/Saturationadjustment layer to change the color and contrast of the branch.
Step 34
Make a Color Balanceadjustment layer and alter the Midtonesvalues:
4 responses to “How to Create a Fantasy Fairy Scene Photo Manipulation with Adobe Photoshop”
-

Thanks very much!
-
wow great results
-
Neat image! Thank you!
-
WOW ist das schön, vielen Dank für das gut erklärte Tutorial.
Leave a Reply