
Step 35
Add a Brightness/Contrastadjustment layer to reduce the light and contrast of the branch. Paint on the top of some leaves on the right to reduce the effect there.

Step 36
Create a new layer on top of the layers and use a soft brush with the color #3c1807to paint on the wings of the butterfly. Change this layer mode to Linear Dodge 100%.


Make a new layer and use a soft brush with the color #fdffe0to paint on the top right of the butterfly. Change this layer mode to Soft Light 100%.

Step 37
Create a new layer and select a small brush with the color #cee780. Press F5to change the color of this brush:


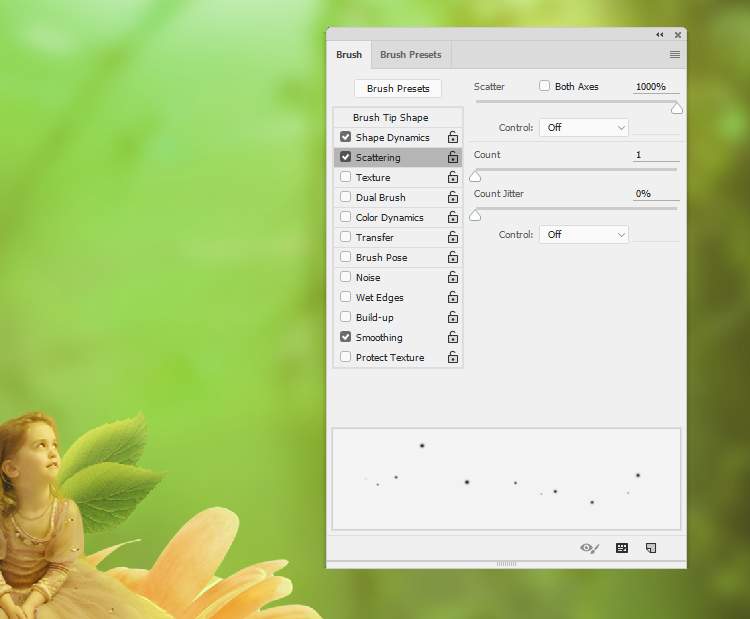
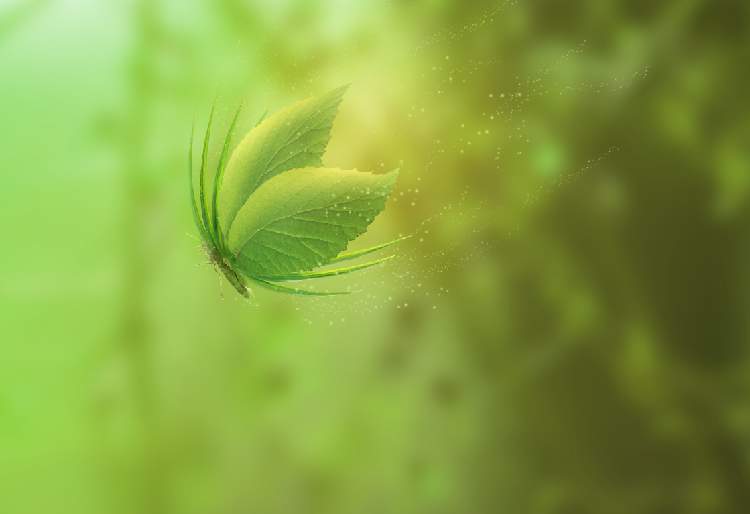
Use this brush to paint tiny dots around the butterfly, especially around the wings. Press [and ]to change the size of the brush while painting.
Step 38
Hit Ctrl+Gto make a group for the dots layer and change the group’s mode to Color Dodge 100%.

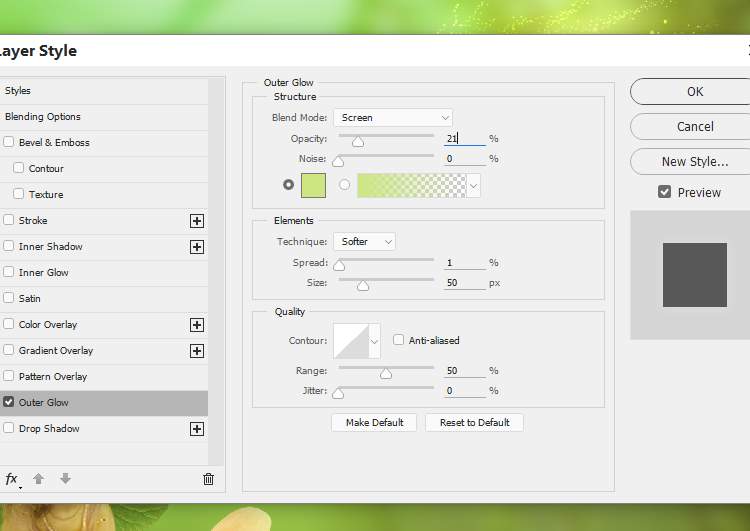
Double click this layer, choose Outer Glow. Set the color of the glow to #cee780.

Step 39
Open the starry images pack and choose the image 4 to place onto the main canvas. Change the mode of this layer toScreen 100%and add a mask to this layer. Use the layer mask to remove the effect on the middle and the visibility of the glowing dots.


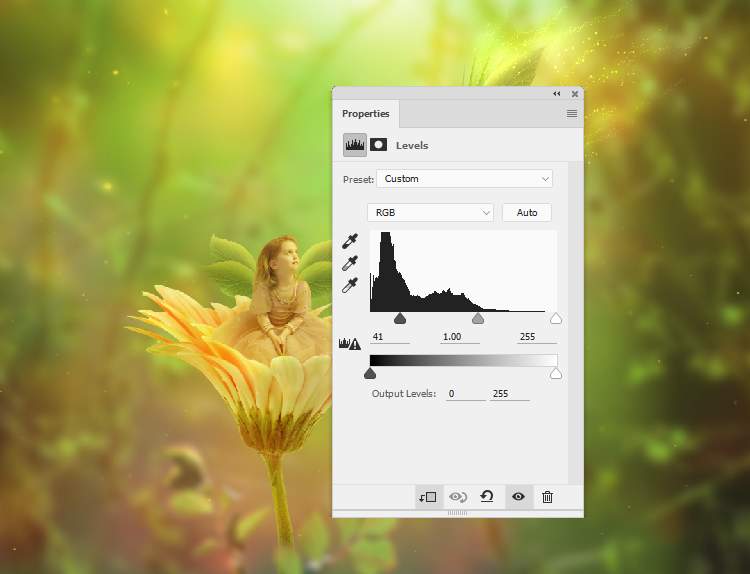
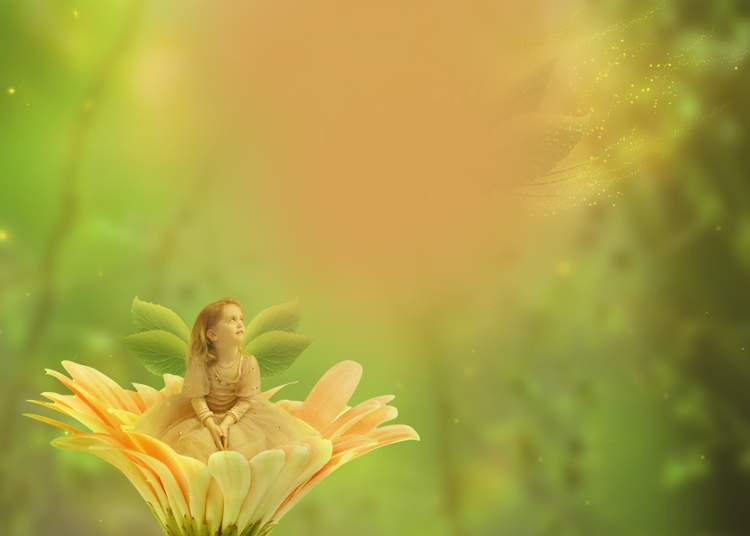
Step 40
Make a Levelsadjustment layer to reduce the light effect.

Add a Hue/Saturationadjustment layer to change the color of the effect.

Step 41
Add the bokeh image to our main document and change the mode to Screen 100%. Convert this layer to aSmart Object.

Apply a Gaussian Blurof 35 pxto this layer.

Add a mask to this layer to reduce the bokeh effect.

Step 42
Make a Levelsadjustment layer to increase the contrast and decrease the effect’s visibility.
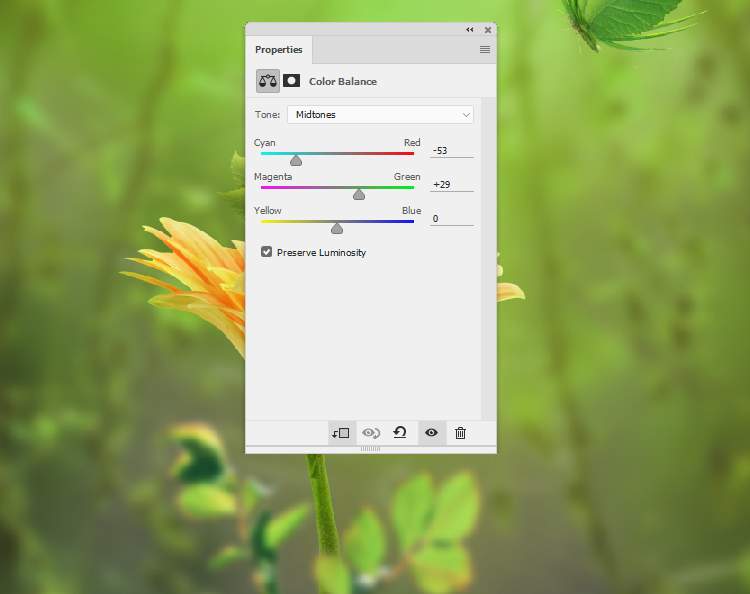
Create a Color Balanceadjustment layer and change the Midtones and Highlightssettings:


Step 43
Make a new layer and use a soft brush with the color #d6a352to paint on the top middle. Change this layer mode to Soft Light 100%and use a layer mask to reduce the effect on the butterfly.

Step 44
Create a Gradient Mapadjustment layer and pick the colors #8d0e1cand #2cfe67. Change this layer mode to Soft Light 20%.

Make a Color Balanceadjustment layer and alter the Midtonesand Highlightssettings. On this layer mask, paint on the top middle to reduce the light effect there.
4 responses to “How to Create a Fantasy Fairy Scene Photo Manipulation with Adobe Photoshop”
-

Thanks very much!
-
wow great results
-
Neat image! Thank you!
-
WOW ist das schön, vielen Dank für das gut erklärte Tutorial.
Leave a Reply