

Step 37
Make a new layer on top of the layers and use a soft brush with the color #c7b792 with the opacity about 50% to paint around the sea’s surface. Change this layer mode to Overlay 100% and add a mask to this layer. Use a soft black brush to remove the light effect on both sides of the sea.

Step 38
Create a new layer on top of the layers and hit G to activate the Gradient Tool. Press D to turn the foreground and background to default colors (black and white). Choose Radial Gradient and drag a line from the top to the bottom of the canvas. Change this layer mode to Soft Light 100% and add a mask to this layer. Use a soft black brush to erase the effect on the sky and both sides of the underwater part.

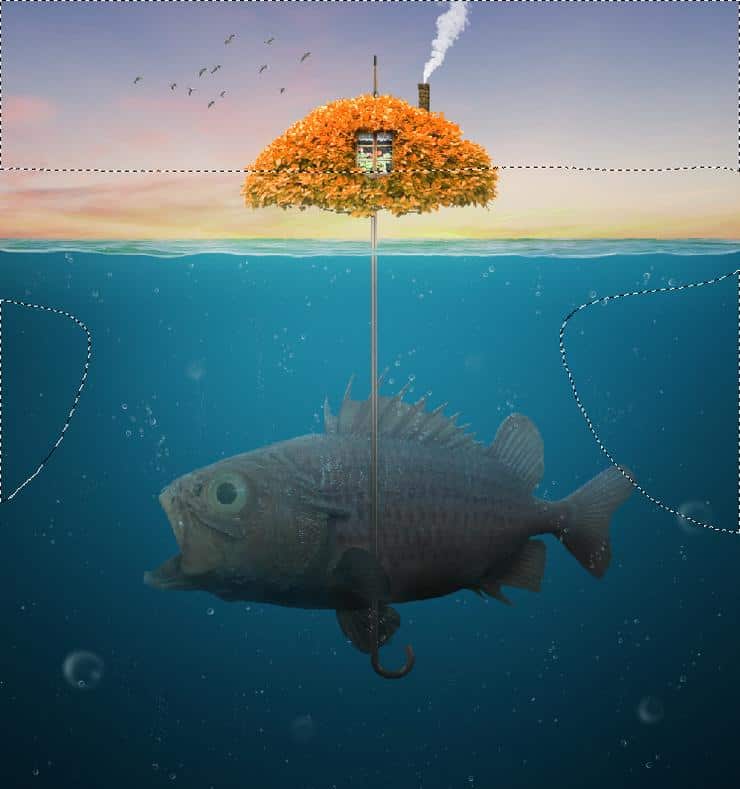
Make a Color Fill layer and pick the color #121031. Change this layer mode to Exclusion 100%.

Step 39
Add a Color Balance adjustment layer and alter the Midtones and Highlights settings. On this layer mask, use a soft black brush with the opacity about 40% to reduce the effect on both edges of the underwater part.


Create a Photo Filter adjustment layer and pick the color #ec8a00.

Make another Photo Filter adjustment layer and pick the color #fcdd63.

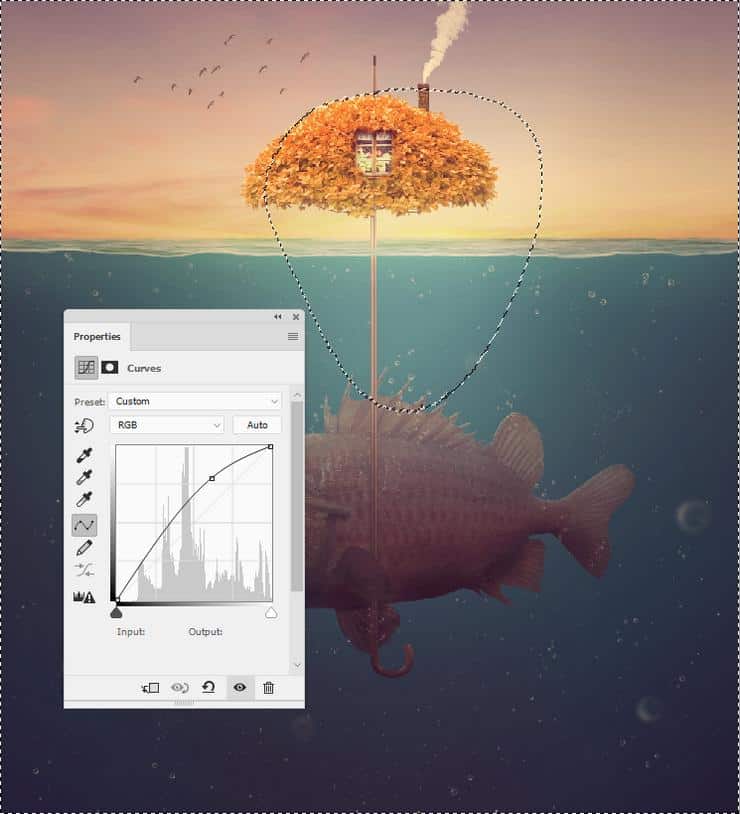
Step 40
Create a Curves adjustment layer to bring more light to the middle of the canvas. On this layer mask, paint on the rest to keep its contrast.
Add another Curves adjustment layer to increase the shadow and contrast on both sides of the canvas. The selected area shows where to paint on the layer mask.

Make a Vibrance adjustment layer to enhance the final effect.

Final Result

Leave a Reply