


Step 22
Add Adjustment Layer “Curves” and press Ctrl/Cmd + I to invert and use Brush Tool(B) Soft Round with foreground color white and paint dark (bottom) parts of bird.


Step 23
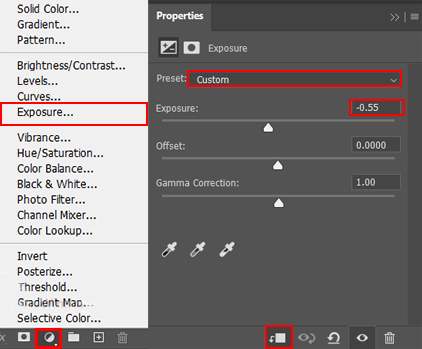
Add Adjustment Layer “Exposure” and press Ctrl/Cmd + I to invert and use Brush Tool(B) Soft Round with foreground color white and paint highlight parts of bird.

Step 24
Next we will open Butterfly. After you open the image, use Lasso Tool(L) and start selecting butterfly. After the selection area has been created, simply copy (Ctrl / Cmd + C) and Paste (Ctrl / Cmd + V) it to our work canvas. Then position the image with the transform tool (Ctrl / Cmd + T). Hold Alt + Shift and resterize like image below. In Photoshop CC only hold Alt to resterize al sides together.


Now right click on layer and select Blending Options. We now get an Layer Style options window. 1. Drop Shadow

Step 25
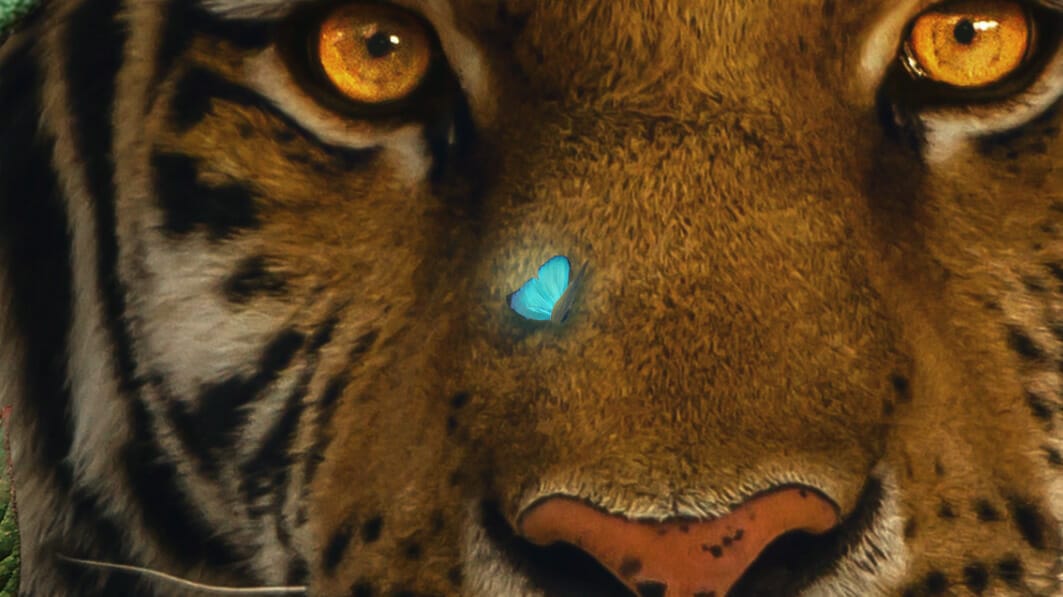
Lets add some glow to Butterlfy, create a new layer and change Blend mode to Linear Dodge(Add) with Opacity 25%. Now use Brush Tool(B)Soft Round with foreground color Aqua #5aa99d and paint with small Brush.

Create new layer and use Brush Tool(B) Soft Round wih foreground color Aqua #2a89a3 and paint to Butterfly with Medium brush Size. Blend mode change to Linear Dodge(Add) with Opacity 25%.

Step 26
Now select Background layer and start selecting leaf 5. Use Quick Selection Tool(W) and start selecting. After the selection area has been created, simply duplicate it (Ctrl / Cmd + J) and place above Butterfly layer. Then position the image with the transform tool (Ctrl / Cmd + T). Hold Alt + Shift and resterize like image below. In Photoshop CC only hold Alt to resterize al sides together.
Step 27
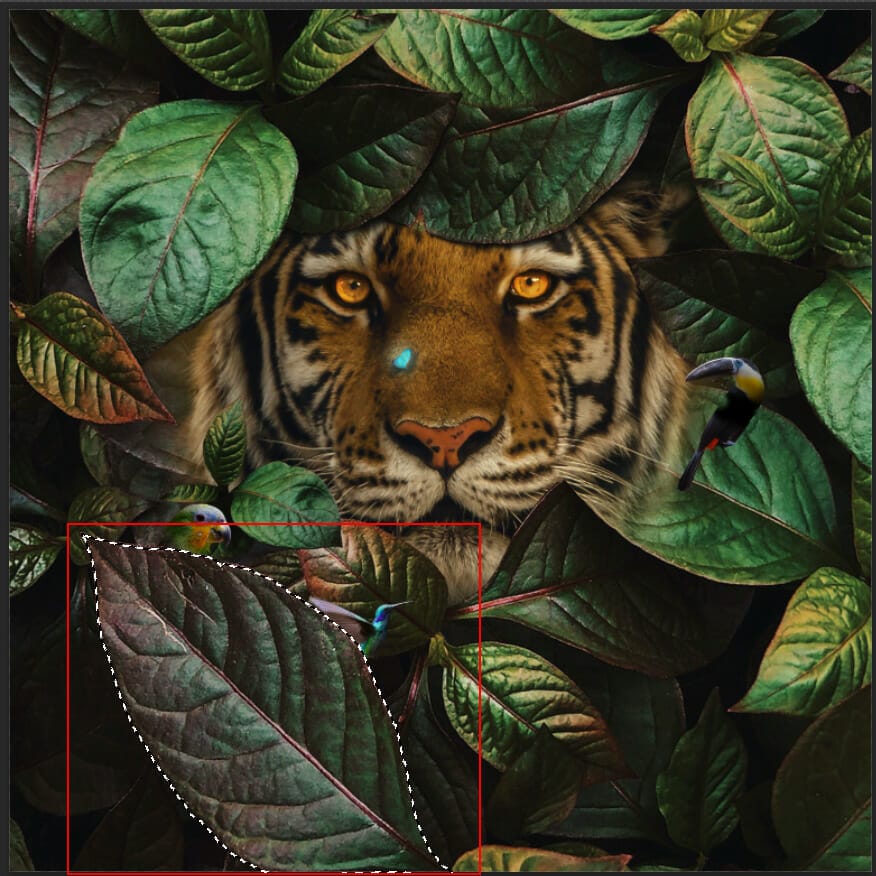
Add Adjustment Layer “Curves” and press Ctrl/Cmd + I to invert and use Brush Tool(B) Soft Round with foreground color white and paint bottom part of leaf.


Step 28
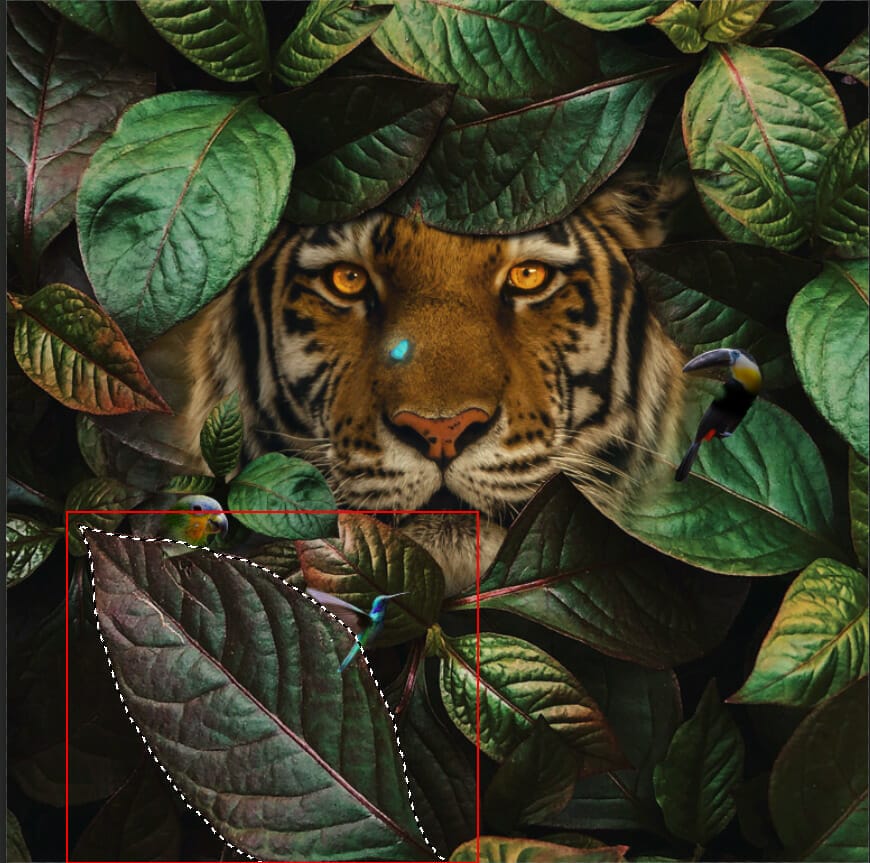
Next, select another leaf. Use Quick Selection Tool(W) and start selecting leaf.

After the selection area has been created, simply duplicate it (Ctrl / Cmd + J) and place above leaf 1 layer. Then position the image with the transform tool (Ctrl / Cmd + T). Hold Alt + Shift and resterize like image below. In Photoshop CC only hold Alt to resterize al sides together.
3 responses to “Floral Tiger Photo Manipulation Tutorial”
-

all of the animals are out of proportion and the butterfly ends up looking like a glowing cyst. but great colors
-
Wow this is superb!
-
This looks great! I must try it! Thank you!
Su
Leave a Reply