

Then select all shark layers and press Ctrl/Cmd + G to put in group.

Step 9
Add Adjustment Layer “Hue/Saturation”

Step 10
Add Adjustment Layer “Color Balance”

Step 11
Add Adjustment Layer “Hue/Saturation”

Step 12
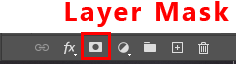
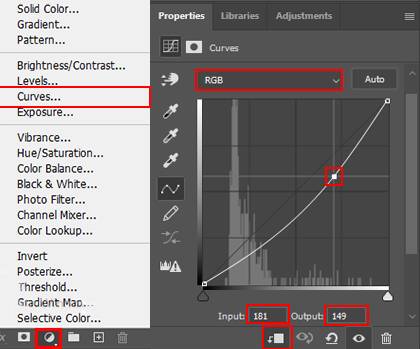
Add Adjustment Layer “Curves” and press Ctrl/Cmd + I to invert. Then use Brush Tool(B) Soft Round with foreground color white and paint highlight parts.


Step 13
Add Adjustment Layer “Curves” and press Ctrl/Cmd + I to invert. Then use Brush Tool(B) Soft Round with foreground color white and paint dark parts.

Step 14
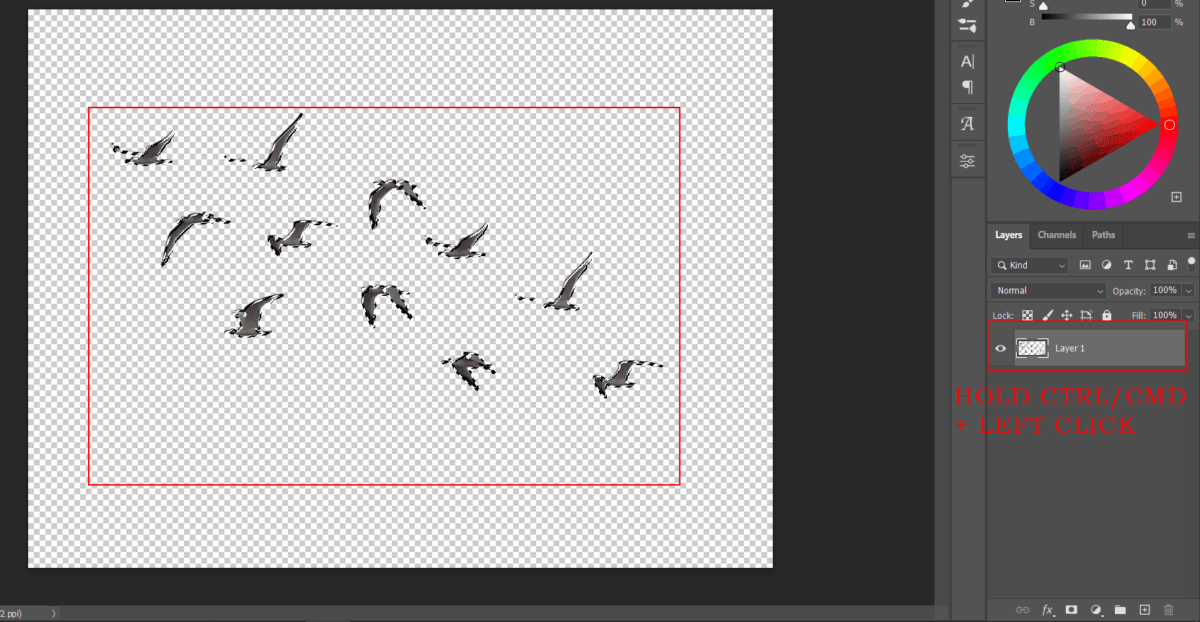
Open Birds and hold Ctrl/Cmd and click on layer and after the selection area has been created, simply copy (Ctrl / Cmd + C) and Paste (Ctrl / Cmd + V) it to our work canvas. Then position the image with the transform tool (Ctrl / Cmd + T). Hold Alt + Shift and resterize like image below. In Photoshop CC only hold Alt to resterize al sides together. Opacity reduce to 60%.

Step 15
Open Seaguls and use Lasso Tool(L) after the selection area has been created, simply copy (Ctrl / Cmd + C) and Paste (Ctrl / Cmd + V) it to our work canvas. Then position the image with the transform tool (Ctrl / Cmd + T). Hold Alt + Shift and resterize like image below. In Photoshop CC only hold Alt to resterize al sides together. Opacity reduce to 80%.


Step 16
Next, we add Clouds but first, we need to import brushes. Select a Brush Tool(B) and right-click on the background. Now click on the gear icon and Import Brushes (Select a downloaded brush).
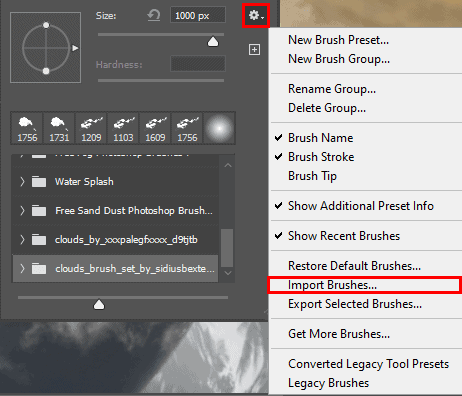
Now we can paint Clouds. Create a new layer and Foreground color use gray.


Step 17
Next, we will open Texture1. After you open the image, use Rectangular Marquee Tool(M).

After the selection area has been created, simply copy (Ctrl / Cmd + C) and Paste (Ctrl / Cmd + V) it to our work canvas. Then position the image with the transform tool (Ctrl / Cmd + T). Hold Alt + Shift and resterize like the image below. In Photoshop CC only hold Alt to resterize al sides together.
Blend Mode change to Soft Light.
Step 18
Place Texture2 Go to File > Place and select Texture2, Then place it to our work canvas. Then position the image with the transform tool (Ctrl / Cmd + T). Hold Alt + Shift and rasterize like the image below. In Photoshop CC only hold Alt to rasterize all sides together.
One response to “Create this Scene of Sharks Flying Over NYC in Photoshop”
-

It was really fun learning this friendly tutorial. I learnt to navigate through the panels, and tools. Got the feel of you just need to be creative. The instructions are direct too. Thank you.
Leave a Reply