

Step 24
Add another Color Balance adjustment layer to continue changing the color of the child.

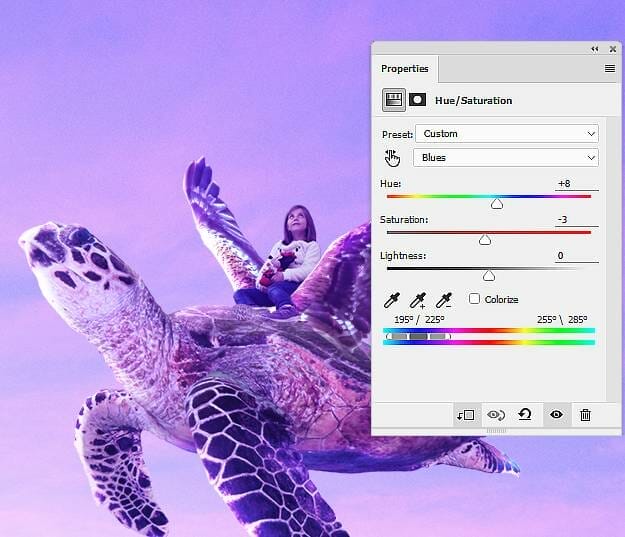
Step 25
Make a Hue/Saturation adjustment layer to change the color of her jeans.
Step 26
Create a Curves adjustment layer to brighten the contour and the areas of the child which are illuminated by the light from the background. The selected areas show where to paint on the layer mask.

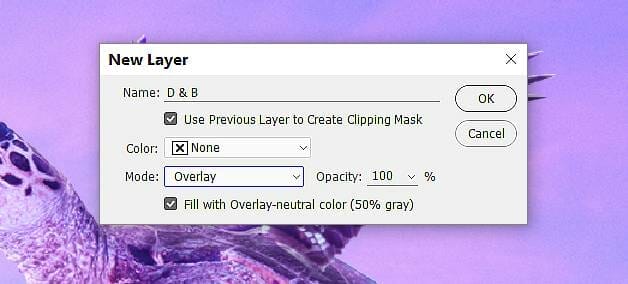
Step 27
Make a new layer, change the mode to Overlay 100% and fill with 50% gray. Activated the Dodge and Burn Tool (O) with Midtones Range, Exposure about 15-20% to refine the light and shadow on the child. You can see how I did it with Normal mode and the result with Overlay mode.
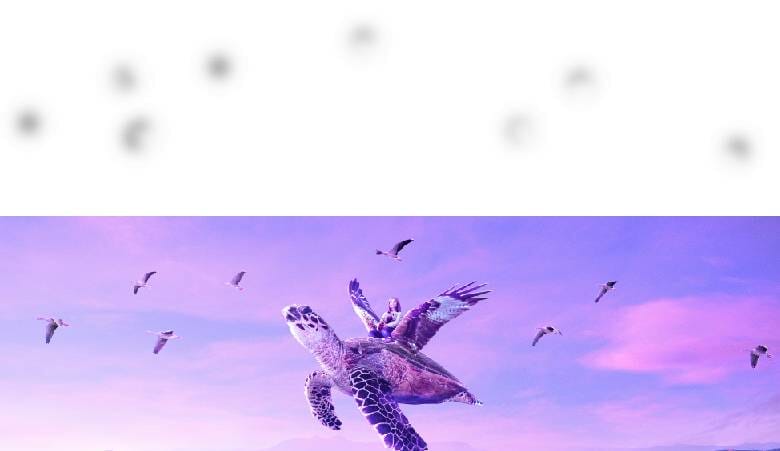
Step 28
Open the birds image and take different ones to add to the our main document. Place them along the way of the flying turtle.

Step 29
Create a group for the bird layers and change the group’s mode to Normal 100%. Add a Color Balance adjustment layer and change the Midtones values:

Step 30
Make another Color Balance adjustment layer to continue changing the color of the birds.

Step 31
Add a Curves adjustment layer to brighten the birds. On this layer mask, use a soft black brush to erase the effect on the bright parts of some birds.

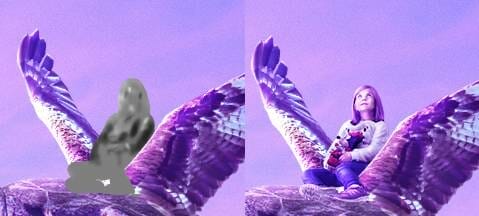
Step 32
Create another Curves adjustment layer to increase the light and change the color of the birds. The selected areas show where to erase to remove the effect on the parts which are bright enough.

Step 33
Add a mask to the birds’ group and use a soft black brush with the opacity about 10-15% to reduce the visibility of the birds to make them blended better with the sky.
Step 34
Create a new layer on top of the layers and use a soft brush with the color #f9f9fd to paint on the birds’ body to add more light and the dreamy effect to them. Change this layer mode to Hard Light 100%.

Step 35
Make a new layer and use the same brush to paint some soft and dreamy effect around the head of the turtle. Change this layer mode to Soft Light 20%.

Step 36
Add a Color Balance adjustment layer on top of the layer and change the Midtones settings:

Step 37
Make a Gradient Map adjustment layer and pick the colors #0b553f and #fcff00. Lower the opacity of this layer to 20%.
3 responses to “How to Create a Fantasy Flying Turtle with Adobe Photoshop”
-

Hallo , please i wanted download psd of the tutorial ‘flying turtle ‘
But is not available.
any help please ?kind regards
geyskenstheot@gmail.comThank you in advance
-
Thanks for letting us know, the link has been fixed!
-
-
link psd broken :(
Leave a Reply