
Step 20
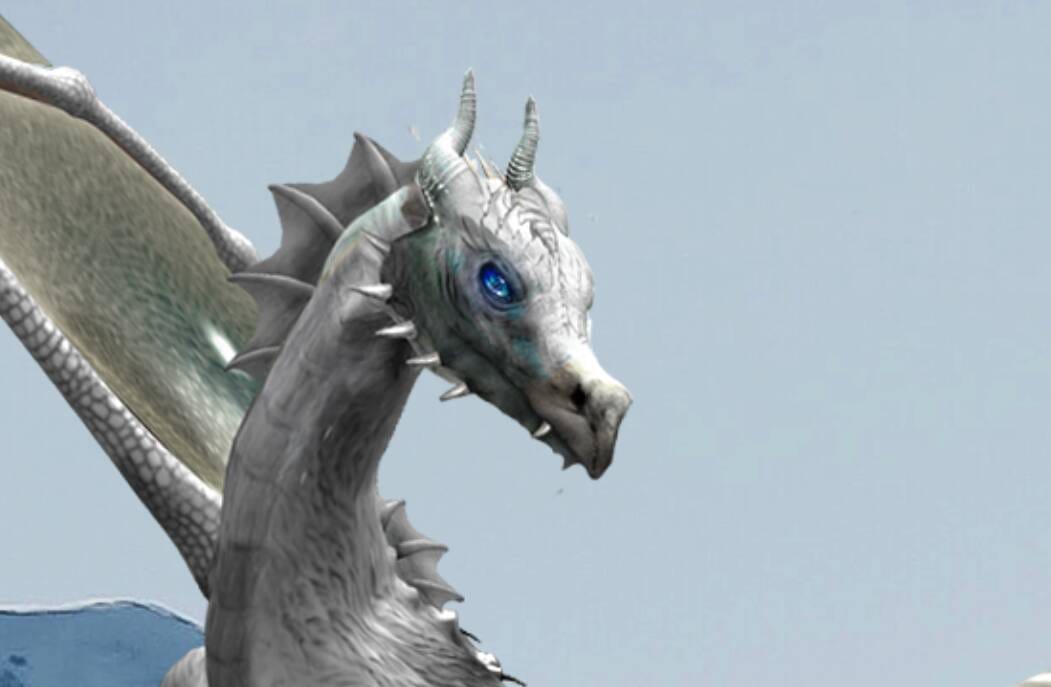
Next, place Moon Go to File > Place and select Moon. Then place it to our work canvas, position the image with the transform tool (Ctrl / Cmd + T). Hold Alt + Shift and rasterize like the image below. In Photoshop CC only hold Alt to rasterize all sides together. Blend mode change to Screen.

Blend mode change to Screen with Opacity 85%

Step 21
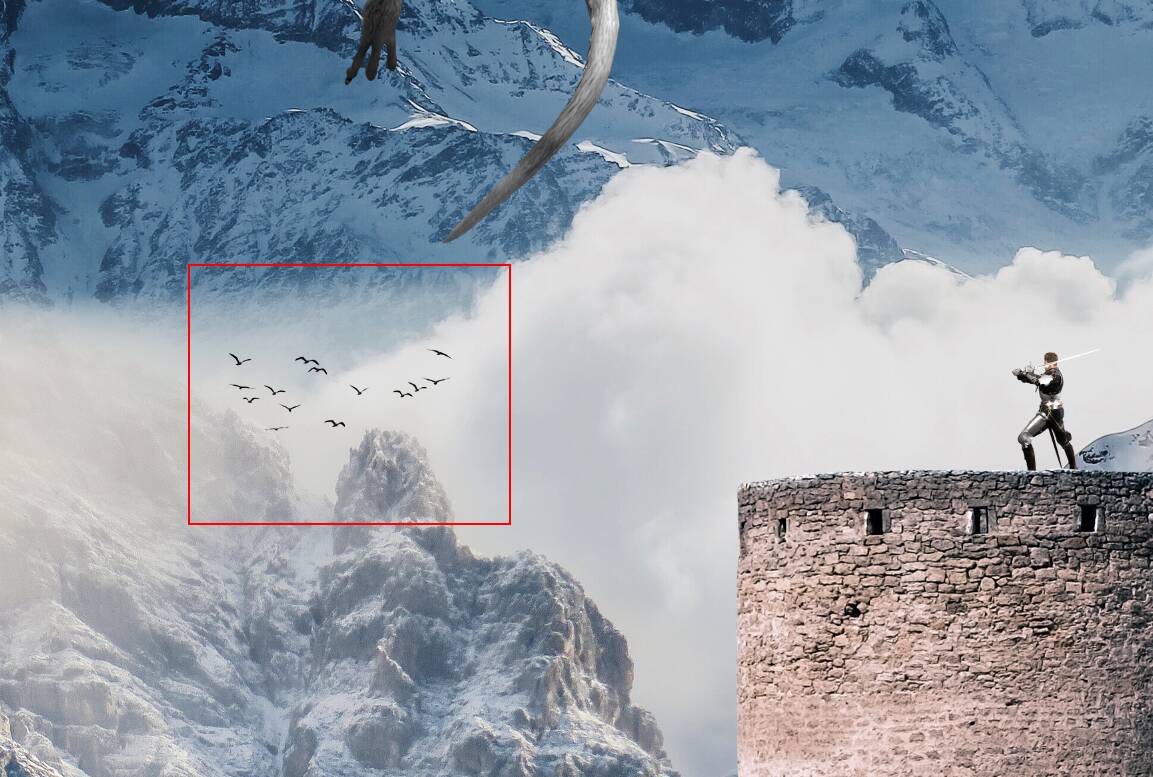
Open Birds and hold Ctrl/Cmd and click on the layer and after the selection area has been created, simply copy (Ctrl / Cmd + C) and Paste (Ctrl / Cmd + V) it to our work canvas. Then position the image with the transform tool (Ctrl / Cmd + T). Hold Alt + Shift and resterize like the image below. In Photoshop CC only hold Alt to resterize all sides together.
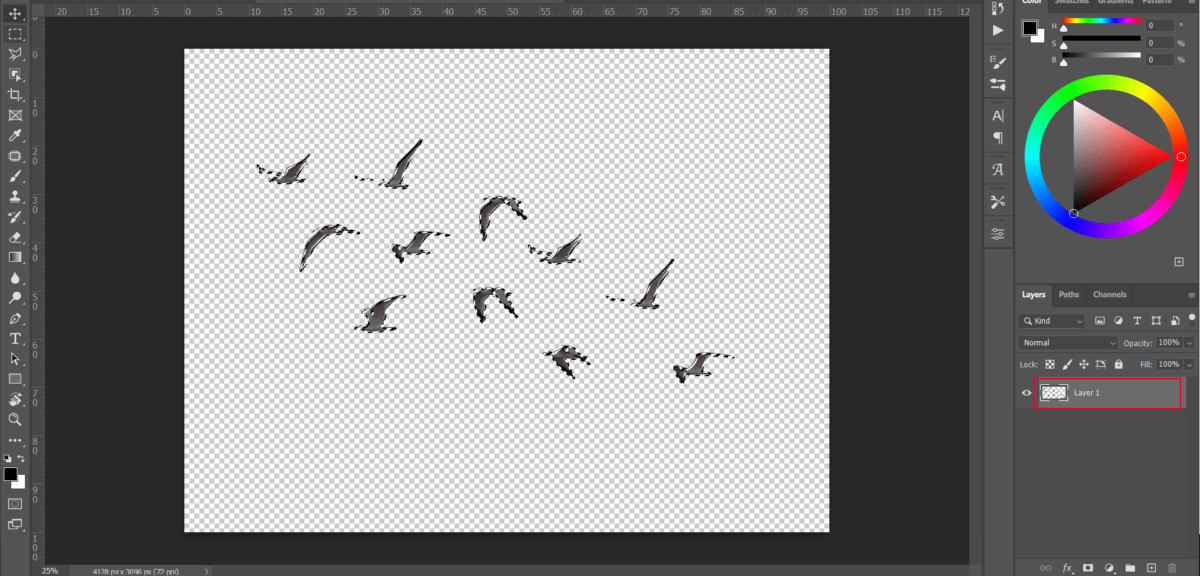
Blend mode change to Overlay
Step 22
Next, we add Clouds but first, we need to import brushes. Select a Brush Tool(B) and right-click on the background. Now click on the gear icon and Import Brushes (Select a downloaded brush).
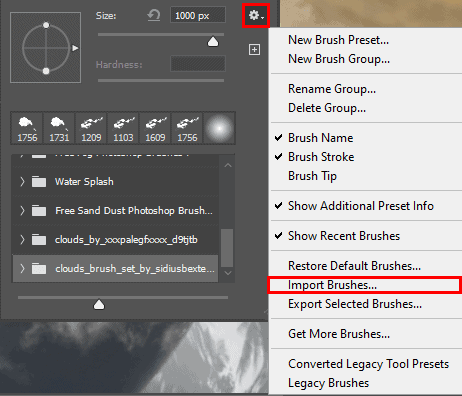
Now we can paint Clouds. Create a new layer and Foreground color use White.


Step 23
Next, we will add Ray Highlights but first, we need to import brushes. Select a Brush Tool(B) and right-click on the background. Now click on the gear icon and Import Brushes (Select a downloaded brush).
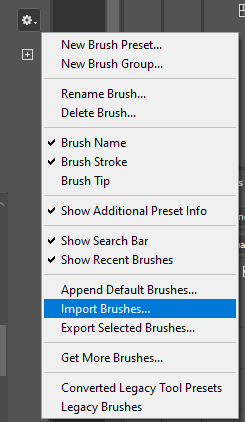

Now we can paint rays.

Step 24
Add Adjustment Layer “Color Lookup” FoggyNight and Opacity set to 50%.

Step 25
Add Adjustment Layer “Gradient Map” blend mode Soft Light and Opacity 43%.

Step 26
When we finished all this, now merge all layers into one. Select the last layer and hold CTRL/CMD + SHIFT + ALT + E. Now we have a final layer, right-click on the mouse and select Convert to Smart Object. Then go to Filter > Camera RAW Filter. At its most basic, the Photoshop Camera Raw filter allows you to use the functions of the ACR interface at any time within Photoshop.

Step 27
Now in Camera Raw Filter, set the Value: Basic
- Temp: -3
- Exposure: -0.25
- Contrast: +5
- Highlights: +3
- Shadows: -15
- Whites: +5
- Texture: +10
- Clarity: +10
- Vibrance: +15
- Saturation: -7

Curve
- Highlights: +5
- Lights: +3
- Darks: -8

Graduated Filter
- Exposure: -0.55

Graduated Filter
- Exposure: +0.50

And finally, everything should look like this.

Final Results


Leave a Reply