

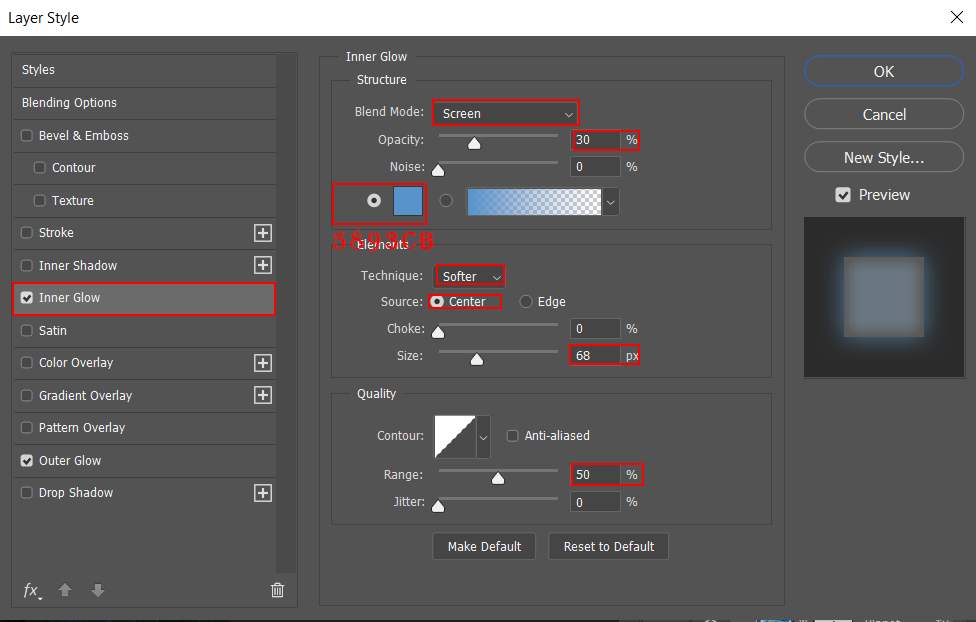
Right click on layer and select Blending Options. We now get an Layer Style options window.
1. Inner Glow
2. Outer Glow

Step 20
Add Adjustment Layer “Curves”

Step 21
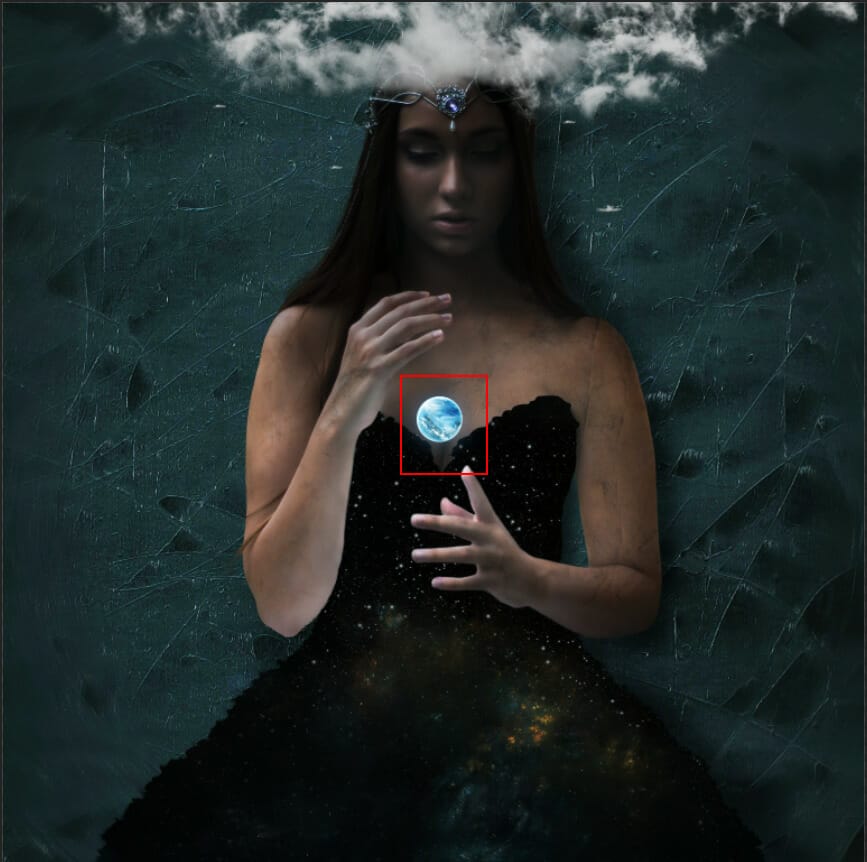
Now in this step below planet layer place Stars, Go to File > Place and select Stars. Then place it to our work canvas and position the image with the transform tool (Ctrl / Cmd + T). Hold Alt + Shift and rasterize like the image below. In Photoshop CC only hold Alt to rasterize all sides together.


Blend mode change to Screen
Step 22
Now create a three separate layers and set blend mode to Linear Dodge (Add) with Opacity 35%. Use Brush Tool (B) Soft Round with foreground color blue #1e4a6e and paint on planet. Then on second layer use Color #627686 with biger brush and paint on planet. On last layer use the bigest brush and paint, the color code is #7999ac


Step 23
In this step place a Texture 2. File > Place and select Texture 2. Blend mode change to Screen with Opacity 20%.


Step 24
Go to open Particles, File > Open and select Particles. Use Rectangular Marquee Tool(M). With the Rectangular Marquee tool, drag over the area you want to select. Hold down Shift as you drag to constrain the marquee to(release the mouse button before you release Shift to keep the selection shape constrained).


Blend mode change to Screen.
Step 25
Add Adjustment Layer “Hue/Saturation”

Step 26
Create a new layer and set Opacity to 65% then use a Brush Tool(B) Soft Round with foreground color white and Size to max(5000px). Then paint left.

Step 27
When we finished all this, now merge all layers to one. Select the last layer and hold CTRL/CMD + SHIFT + ALT + E. Now we have a final layer, right click on mouse and select Convert to Smart Object. Then go to Filter > Camera RAW Filter. At its most basic, the Photoshop Camera Raw filter allows you to use the functions of the ACR interface at any time within Photoshop.

Step 28
Now in Camera Raw Filter, set the Value: Basic
- Exposure: -0.25
- Contrast: +10
- Highlights: +11
- Shadows: -15
- Whites: -15
- Texture: +10
- Clarity: +10
- Vibrance: +30
- Saturation: -8

Curve
- Highlights: +10
- Darks: +5
- Shadows: -7

Color Mixer
- Hue
- Reds: +40
- Yellows: +16
- Greens: -42
Saturation
- Reds:-18
- Oranges:-20
- Yellows: -12
Luminance
- Reds:-19
- Oranges: -5
- Yellows: -16
- Aquas: -11
- Blues: +4

Gradulated Filter
- Exposure: +0.30
- Highlights: -35
- Shadows: -15
- Blacks: -4

Gradulated Filter
- Exposure: +0.10
- Highlights: +19
- Shadows: +13
- Whites: +18

And finally, everything should look like this.

Final Results

Download the PSD
2 responses to “How to create a Galaxy Portrait in Photoshop”
-

thank you!
-
I really like this project, one question you did not include a link for the clouds!
Thanks
Leave a Reply